Painting Guides & Techniques – Learn to Paint Better Today
Want to paint more confidently? You’re in the right spot. Below you’ll find straightforward tips that work right away, no fluff. Whether you grab a brush for the first time or have a dozen canvases at home, these ideas help you get clearer, richer results.
Choosing the Right Medium
First thing: pick a medium that fits your style and schedule. Watercolor dries fast and lets you play with transparent washes, but it can be tricky if you like to correct mistakes. Oil paint stays wet longer, giving you time to blend and rework, yet you’ll need solvents and more drying space. Acrylics dry quickly like watercolor but behave like oil when you add a retardant medium. Test each on a scrap piece – the feel, the smell, the drying time – and stick with the one that feels natural.
Don’t overlook paper or canvas choice. Rough watercolor paper holds water well, while smooth hot‑pressed paper is better for fine details. For oils and acrylics, primed canvas prevents the paint from soaking through. A simple stretch of canvas using a staple gun and pliers can make a huge difference in how your paint sits.
Essential Painting Techniques
Now that you’ve got your supplies, let’s talk technique. One of the most useful tricks is the “fat‑over‑lean” rule for oils: start with thin, solvent‑heavy layers and finish with thicker, oil‑rich layers. This stops cracking as the painting ages. For acrylics, work from dark to light – the fast drying time makes it easier to add highlights on top of base colors.
Try the scrubbing technique to create texture. Lay a dry brush over a wet layer, drag it lightly, and you’ll see a grainy effect that adds depth to branches or rocky surfaces. The smearing technique works great for soft transitions in portraits – just use a soft brush or a palette knife and move the paint horizontally to blend edges.
Whenever you paint a portrait, remember the Rule of 3. Divide your canvas into thirds both ways and place key features (eyes, mouth, highlights) near the intersections. It creates balance and draws the eye naturally. Mixing a bit of complementary color into shadows can also make skin tones pop without looking fake.
Don’t forget to step back often. A quick glance from a few feet away shows you whether values are right and if the composition feels balanced. If something looks off, use a clean rag to lift excess paint or a thin glaze to adjust the tone.
Cleaning up properly prolongs your tools’ life. Rinse brushes with water for acrylics, and use a gentle soap for oils after the solvent is gone. Store paints in a cool, dry place – oil paint cans should be sealed tightly to avoid a skin forming on top.
Finally, keep a sketchbook handy. Jot down color mixes, brush experiments, and quick studies of light. Over time you’ll see patterns in what works for you, making future projects faster and more enjoyable.
Ready to try something new? Pick a medium, set up a simple still life, and apply one of the techniques above. You’ll see improvement after just one session, and the confidence will keep you painting more often.
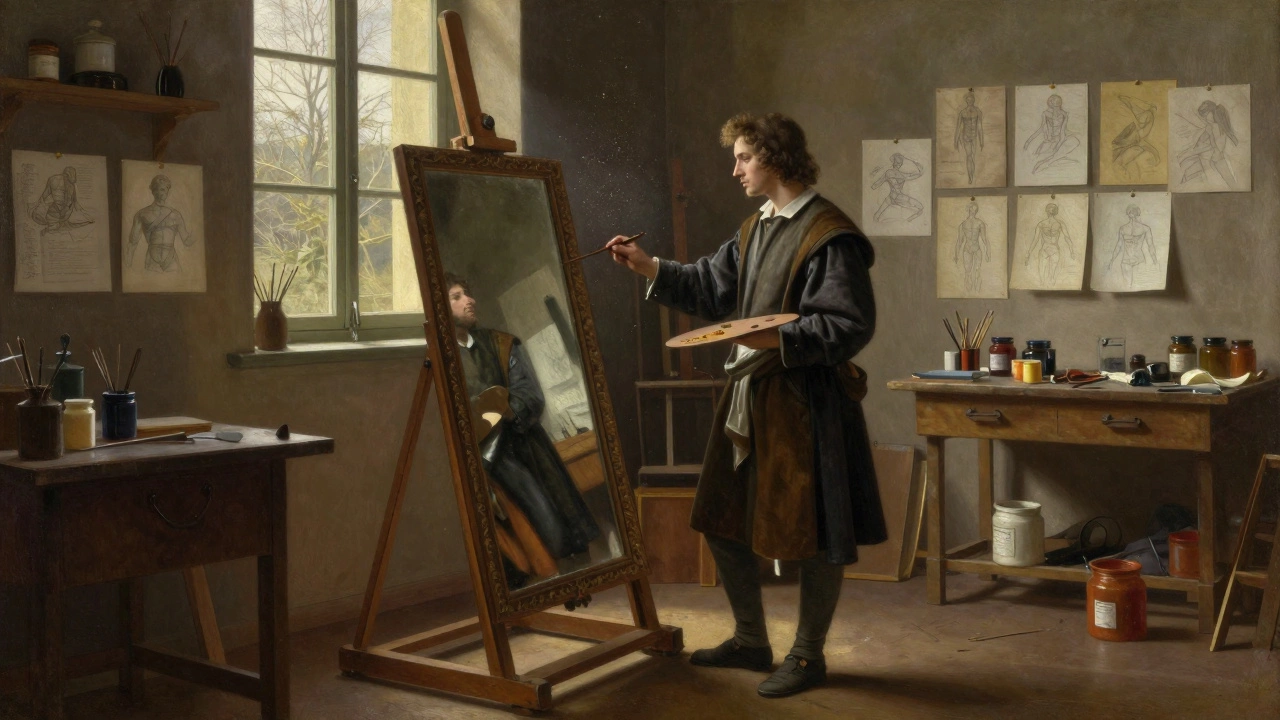
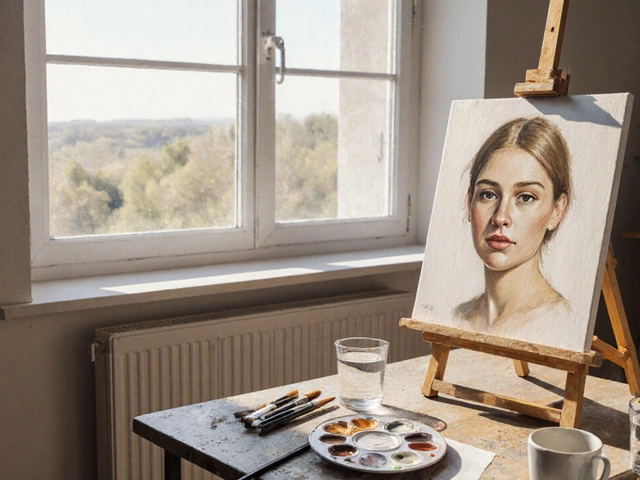
Why Artists Paint Self-Portraits: A Guide to the Genre
Explore why artists create self-portraits, from practical cost-saving measures to deep psychological exploration. Learn about famous examples from Rembrandt to Frida Kahlo and how this genre defines artistic identity.
Continue Reading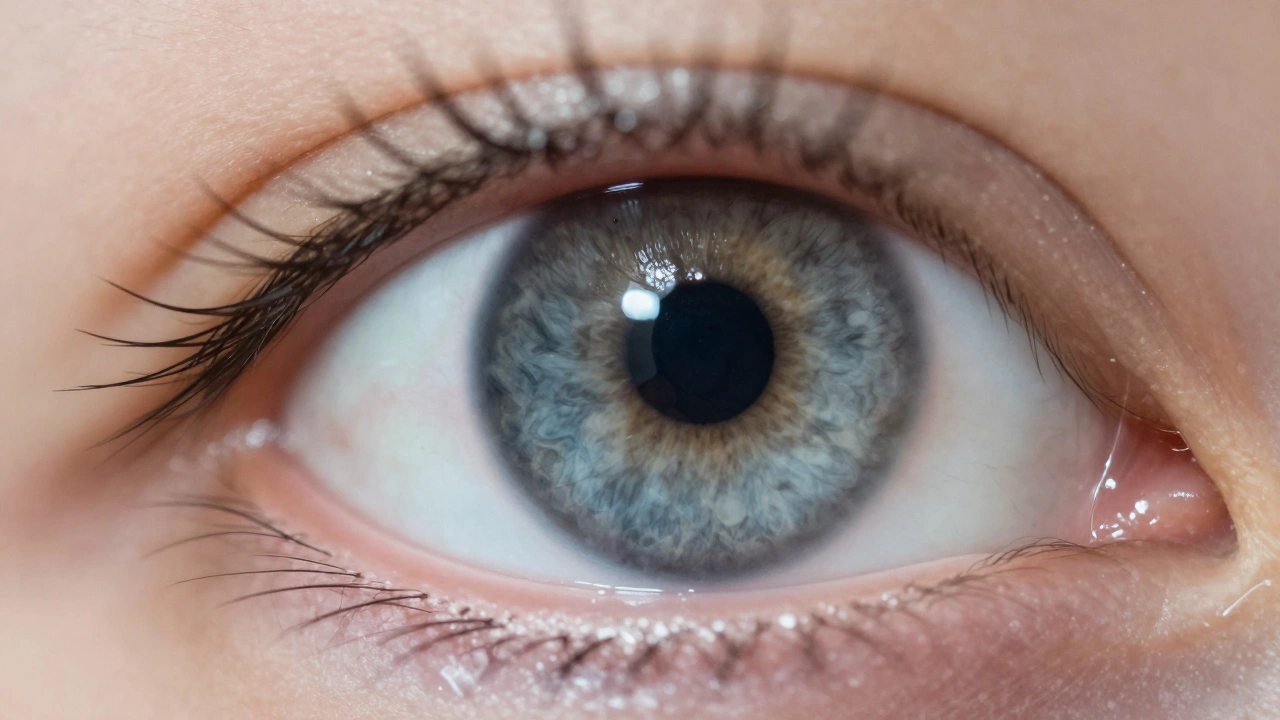
Why Eyes Are the Most Important Part of a Portrait Painting
Discover why eyes are the focal point of portrait painting. Learn techniques for capturing life, emotion, and realism through proper anatomy, lighting, and color theory.
Continue Reading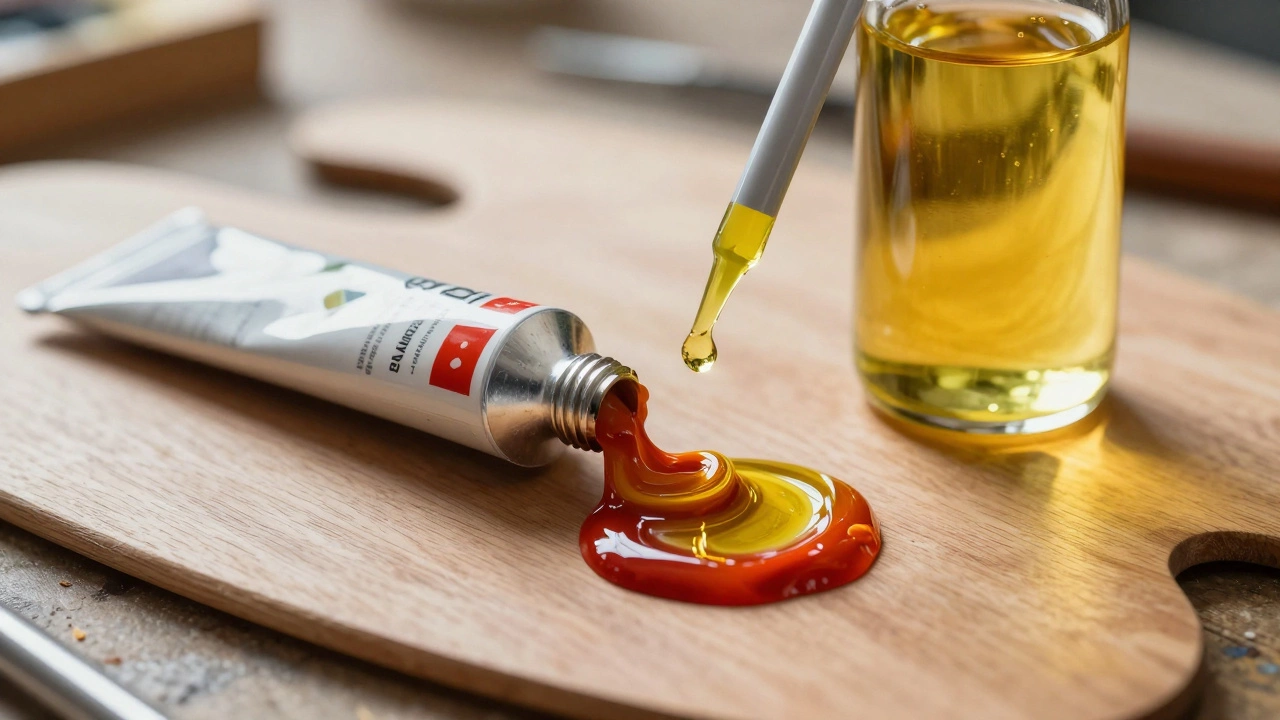
What Does Adding Linseed Oil to Oil Paint Do? A Practical Guide
Discover how adding linseed oil affects oil paint consistency, drying time, and color saturation. Learn the pros, cons, and best practices for using this essential medium.
Continue Reading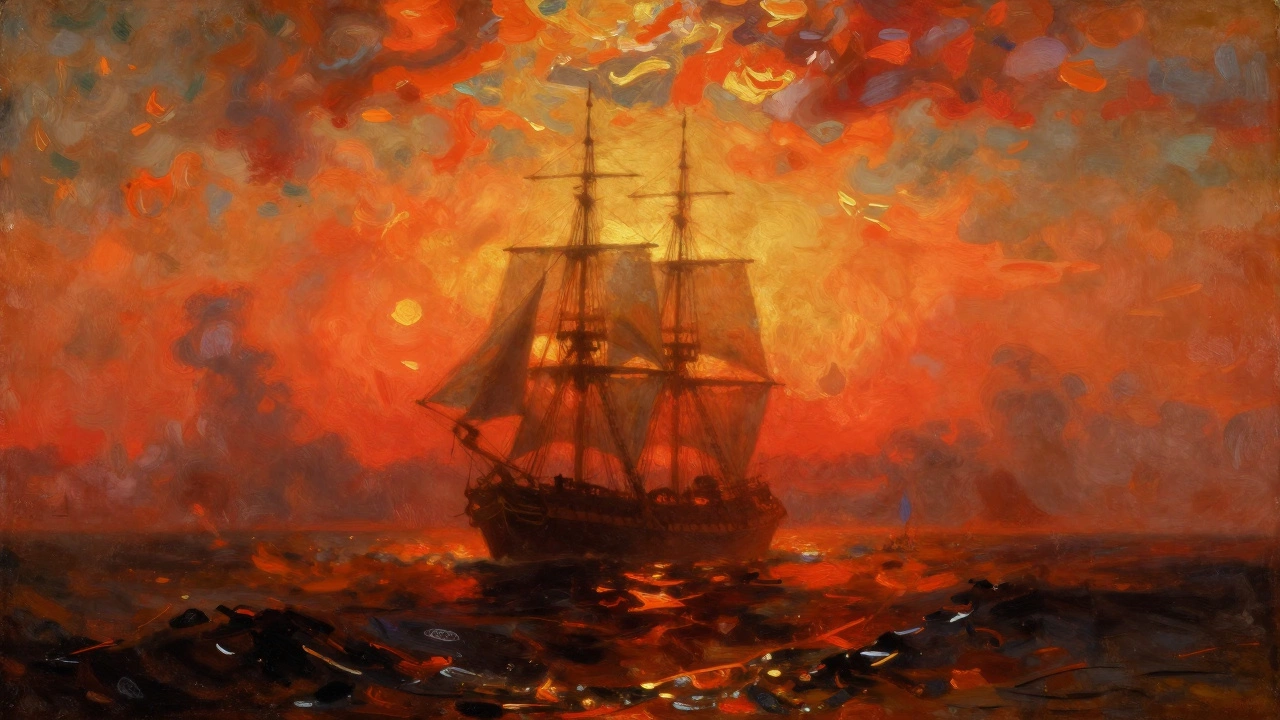
Who Was the Most Famous in Landscape Painting? A Look at Turner, Constable, and Monet
Discover who the most famous landscape painter is. We compare J.M.W. Turner, John Constable, and Claude Monet to see who truly shaped the art of painting nature.
Continue Reading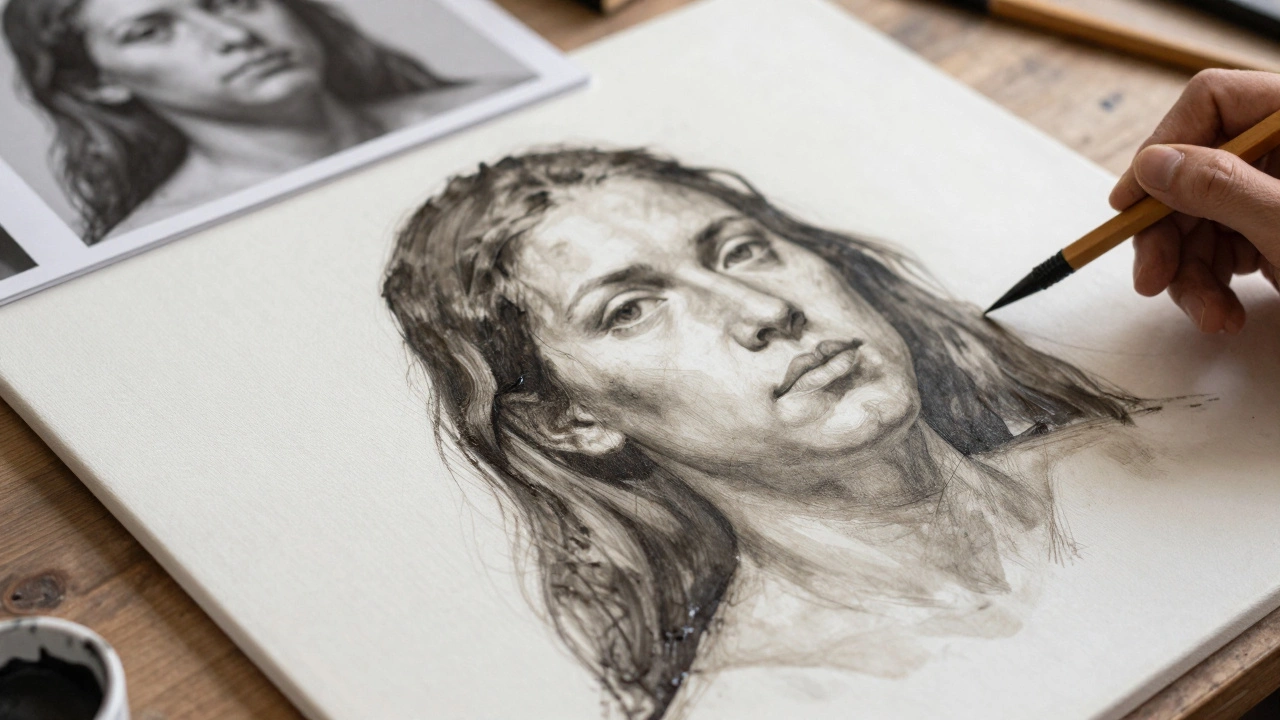
How to Make Portrait Paintings Look Professional: A Step-by-Step Guide
Learn how to elevate your portrait painting skills with professional techniques. From mastering value structures to controlling edges and mixing realistic skin tones, this guide covers the essential steps for creating lifelike art.
Continue Reading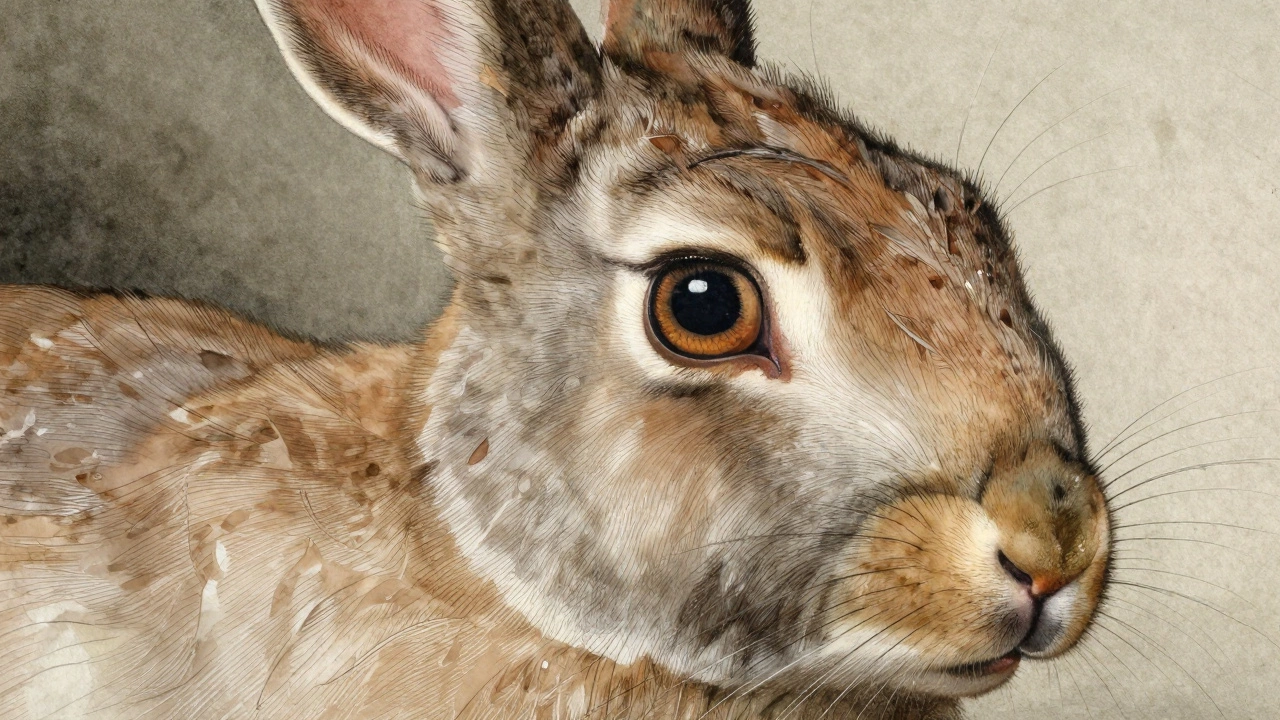
Famous Artists Who Mastered Watercolor: From Turner to Hokusai
Discover the famous artists who mastered watercolor, from Albrecht Dürer's precise studies to J.M.W. Turner's atmospheric landscapes. Learn why these masters chose this challenging medium.
Continue Reading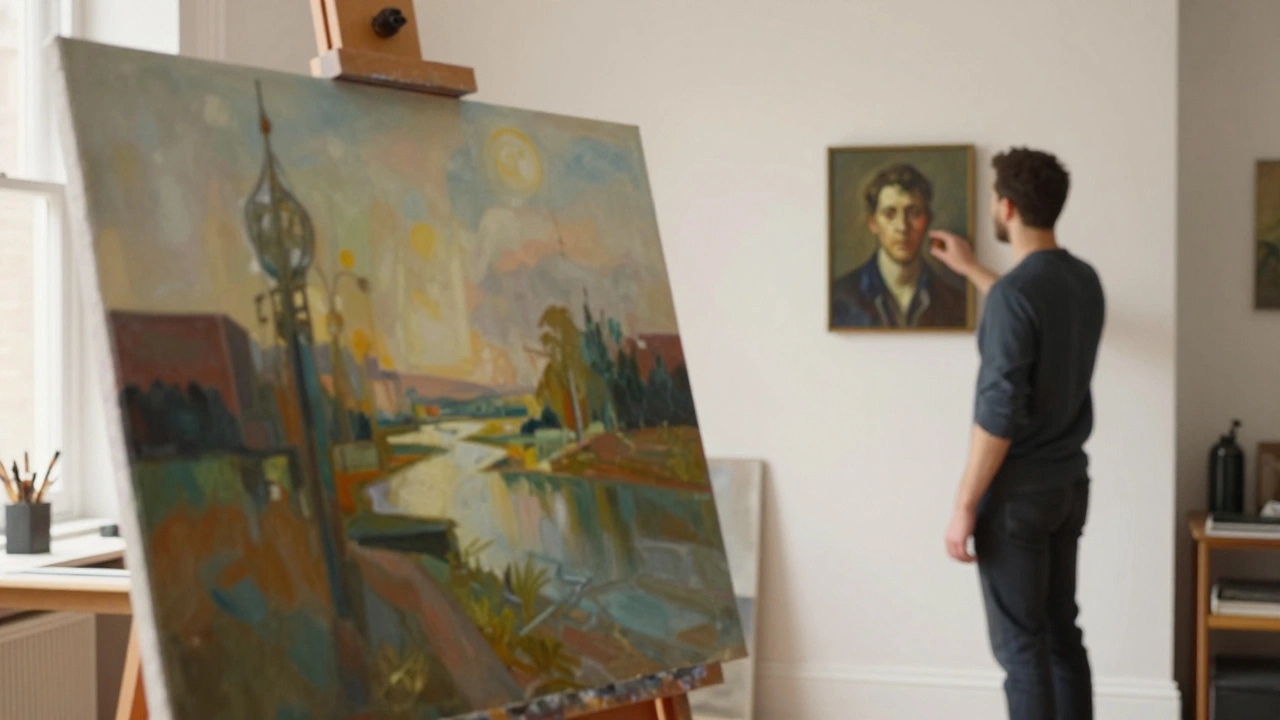
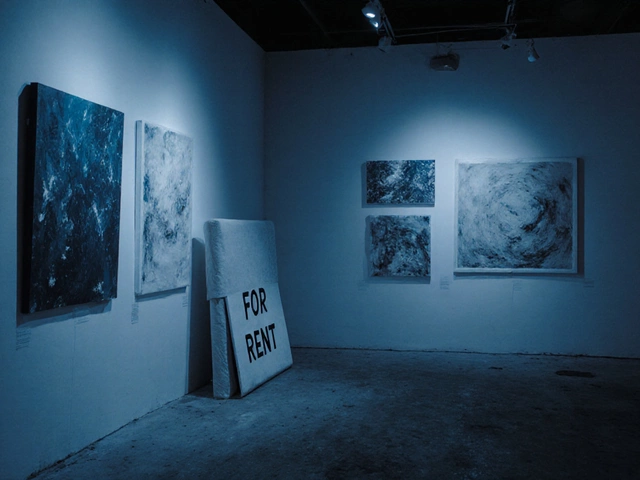
What Is the Most Profitable Art to Sell in 2026? A Guide for Portrait Painters
Discover which art genres generate the highest income in 2026. Learn why portrait painting, pet portraits, and strategic prints offer superior profitability for artists seeking financial success.
Continue Reading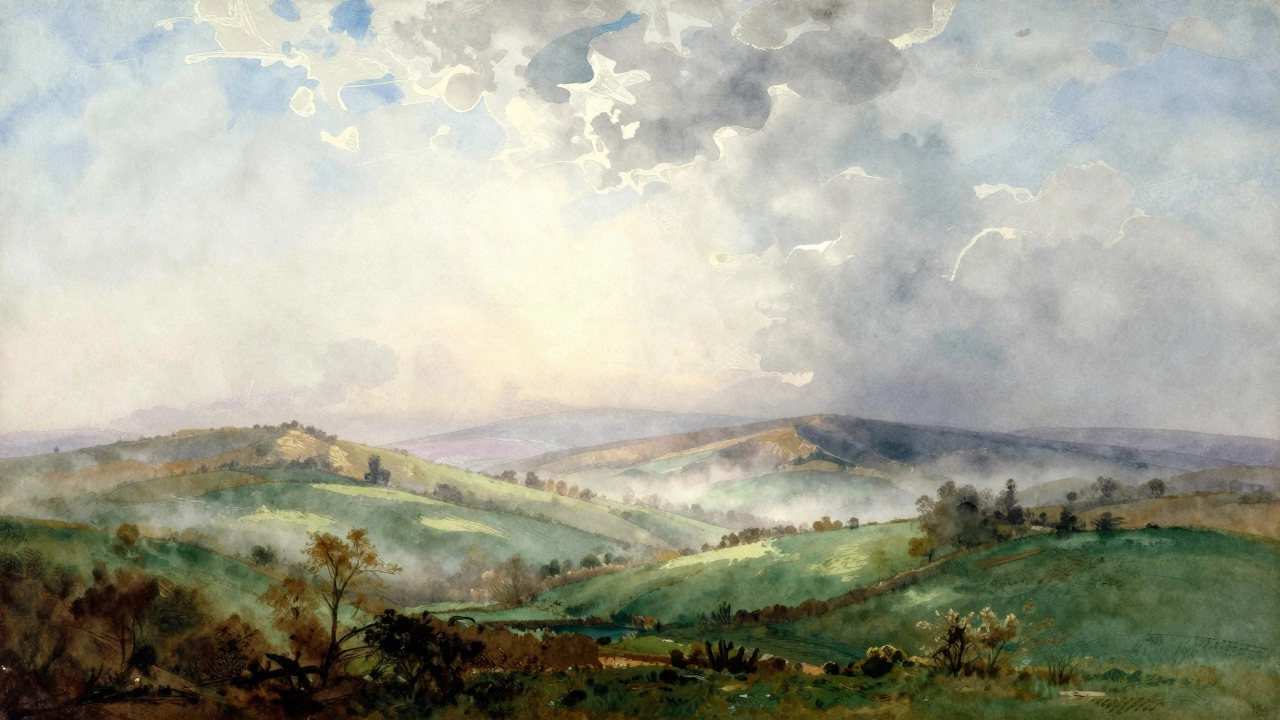
Which Country Is Famous for Watercolor Painting? The Definitive Guide
Discover which countries are famous for watercolor painting. From British landscapes to Chinese ink wash, explore the history and styles that define this versatile medium.
Continue Reading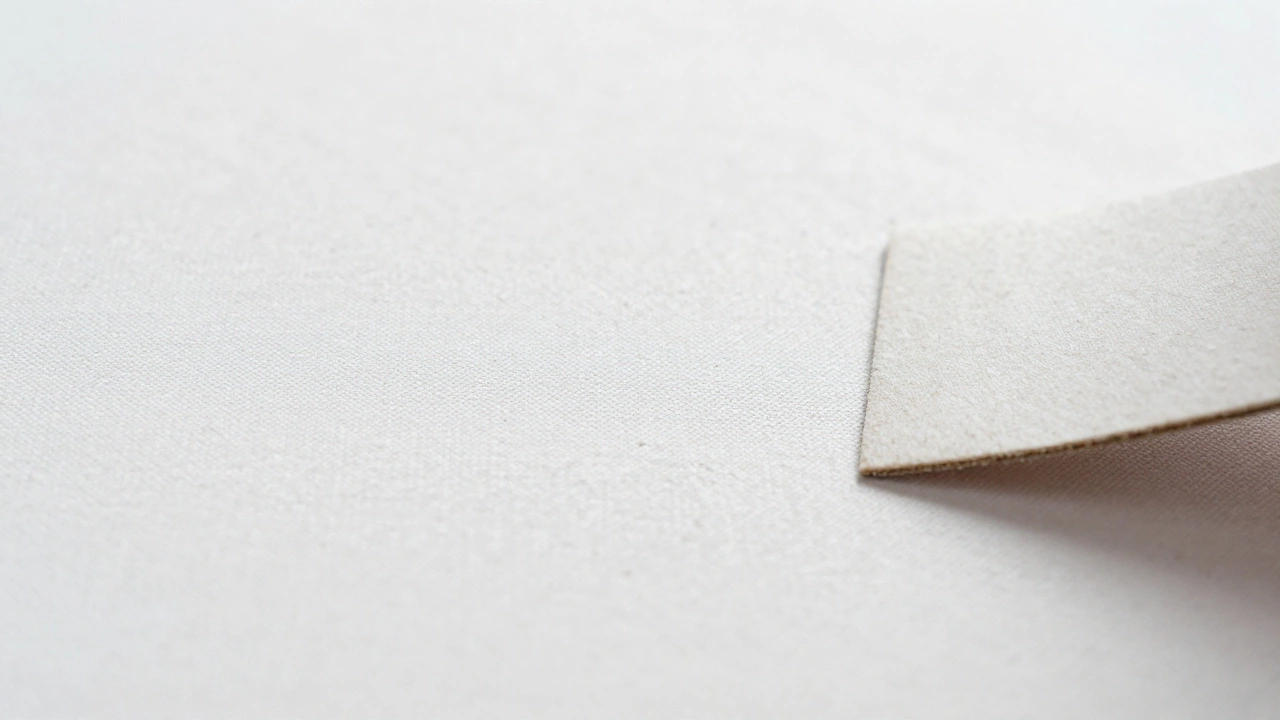
How to Make Oil Paintings Look Smooth: Techniques for a Flawless Finish
Learn practical techniques to achieve a smooth finish in oil paintings, including proper surface prep, glazing, and brush selection.
Continue Reading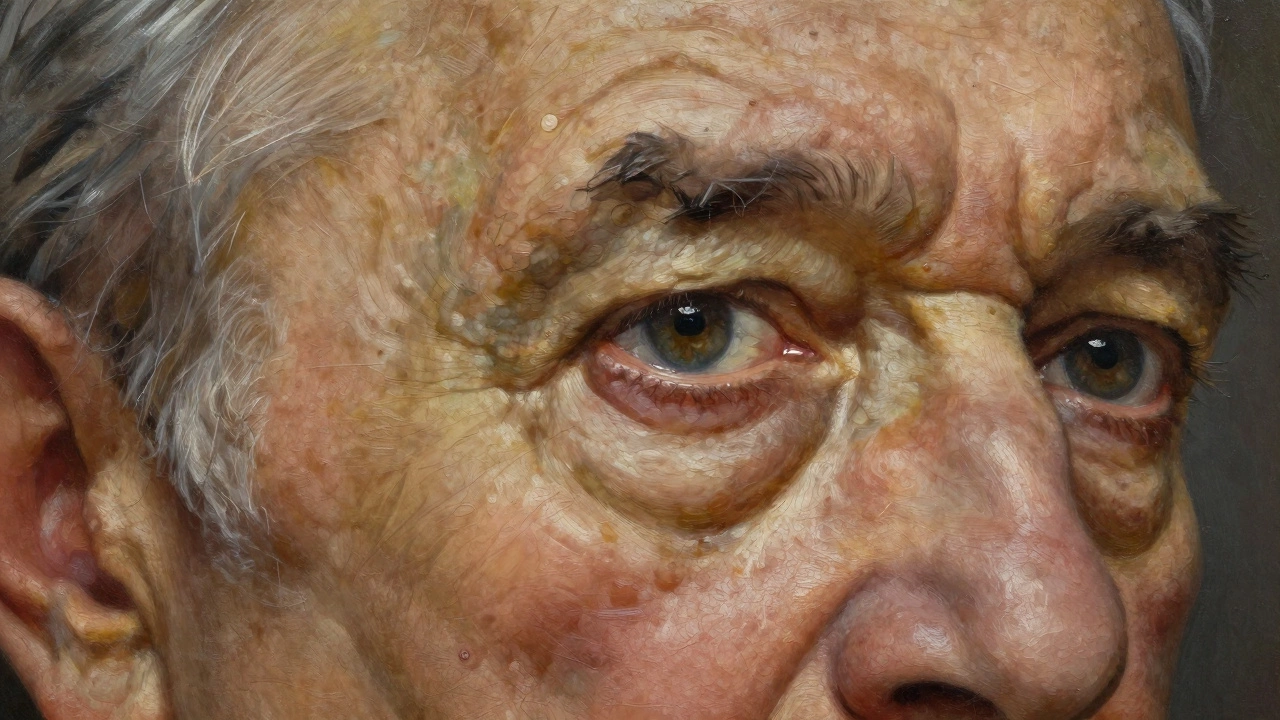
What Are Realistic Portraits Called? A Guide to Hyperrealism, Photorealism, and Verism
Discover the names behind ultra-detailed art: from Photorealism to Hyperrealism and ancient Verism. Learn how these styles differ, the techniques used, and why artists push realism to its limits.
Continue Reading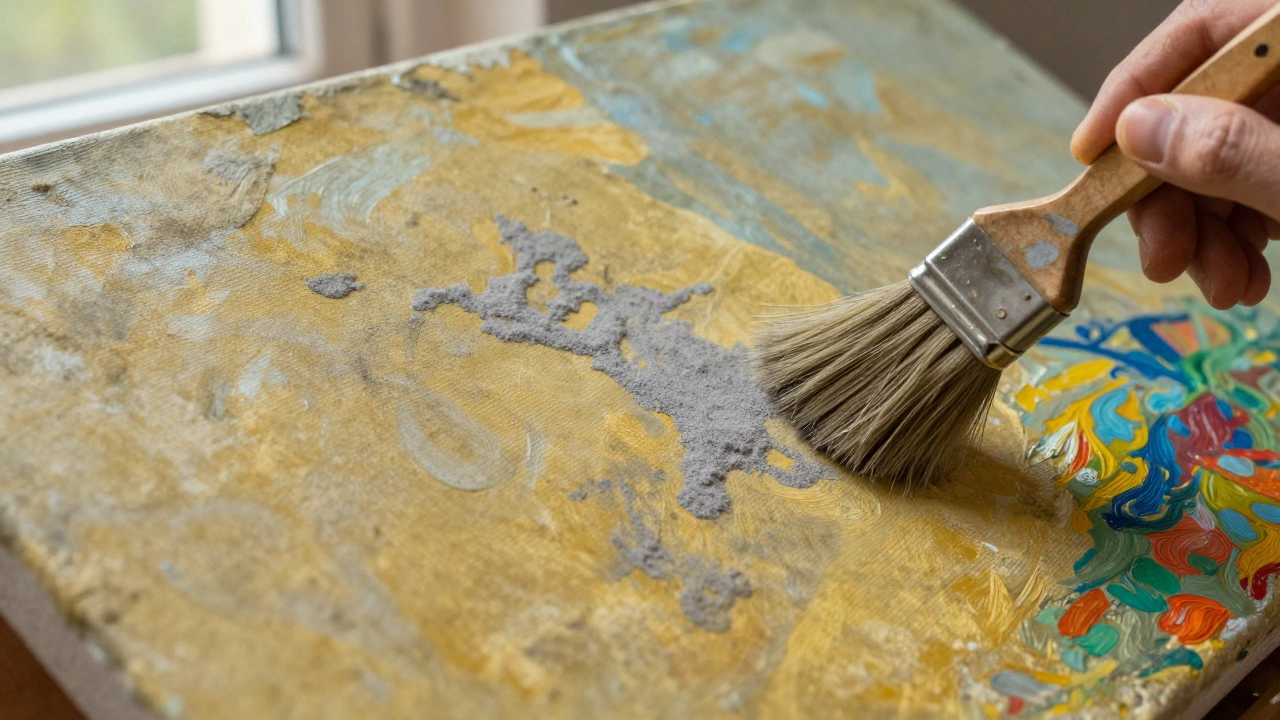
How to Brighten a Dull Oil Painting: Professional Restoration Tips
Learn how to restore the vibrancy of a dull oil painting. From removing oxidized varnish and surface grime to using professional glazes, get expert restoration tips.
Continue Reading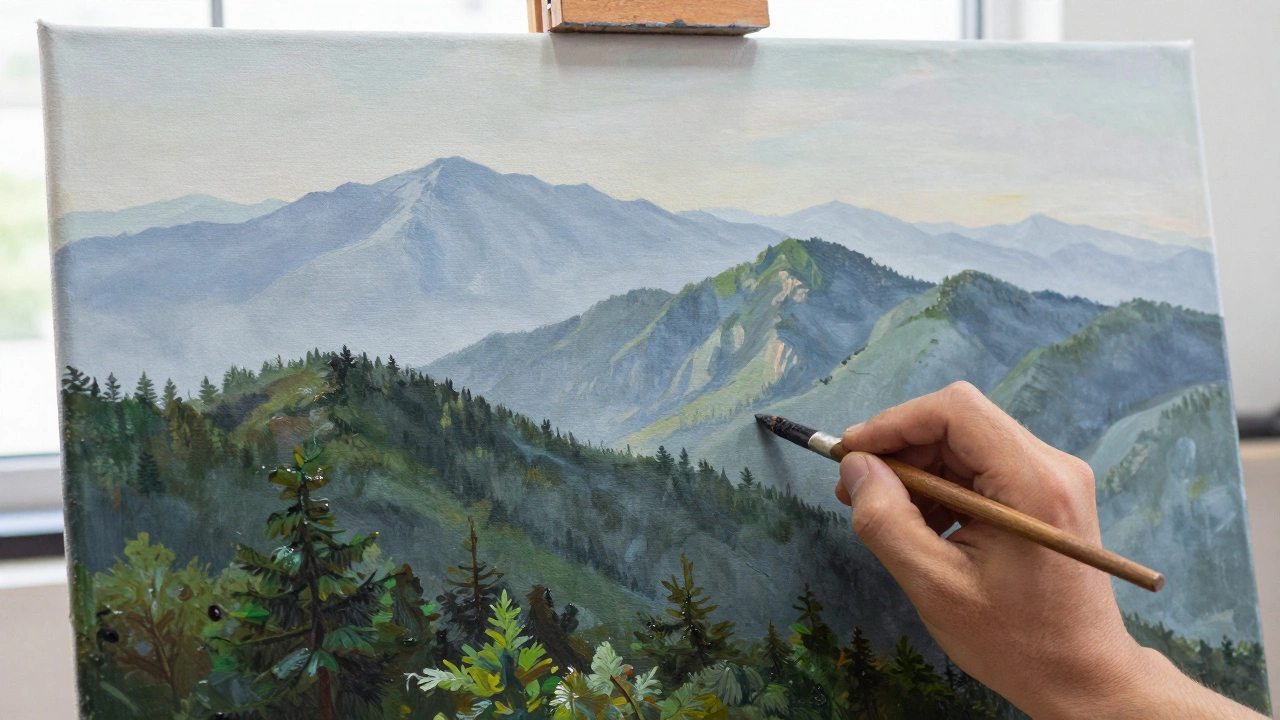
Mastering Landscape Painting: Essential Techniques for Realistic Nature Art
Discover professional landscape painting techniques, from atmospheric perspective and impasto to plein air methods. Learn how to create depth and realism.
Continue ReadingCategories
Most popular
-
-
-
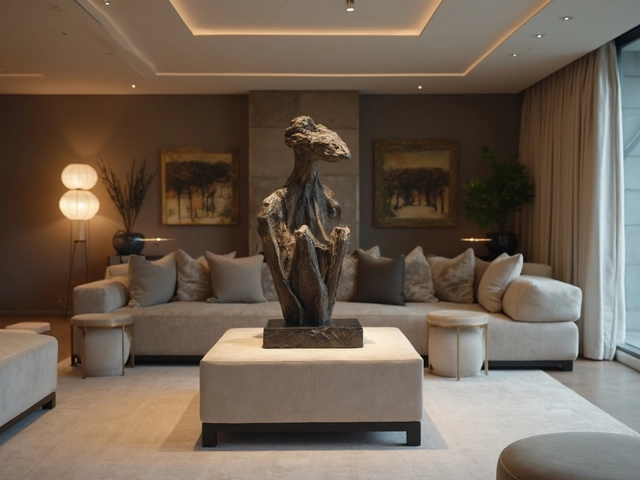 Sculpture Display: Two Things That Matter Most Apr 27 2025
 -
-