Oil Painting Underpainting Drying Time Calculator
Calculate your underpainting drying time
Estimated Drying Time
Why this matters: Drying time affects paint adhesion and prevents cracking. Wait until the layer is completely dry before adding color layers.
Important Notes
Wellington Tip: In damp climates like Wellington, always add 1-2 extra days to your calculation.
Pro Tip: Test your mixture on scrap canvas first. The surface should feel cool and dry to the touch, not tacky.
When you start an oil painting, the first layer isn’t just a wash of color-it’s the foundation that holds everything together. Skip it, or do it wrong, and your painting can crack, turn muddy, or fall apart over time. So what should that first layer actually be? The answer isn’t one-size-fits-all, but there’s a clear, time-tested approach most professional painters use.
The Purpose of the First Layer
The first layer, often called an underpainting, isn’t meant to be the final image. It’s a roadmap. Think of it like sketching in pencil before you ink a drawing. It establishes values, composition, and light direction without committing to color. Without this step, you’re painting blind. You might mix colors beautifully, but if the underlying structure is off, the whole piece feels unbalanced.
Many beginners try to jump straight into rich reds, deep blues, or bright yellows. That’s tempting, but oil paint dries slowly. If you layer thick color on top of wet or unprepared paint, you risk cracking, lifting, or creating a greasy mess. The first layer fixes that.
What Material to Use
The most common and reliable material for the first layer is a thin wash of burnt umber mixed with a solvent like odorless mineral spirits. Burnt umber is a transparent, earthy brown that dries quickly and doesn’t yellow like raw umber. It’s neutral enough to let you see where light and shadow fall without influencing the final colors too much.
You don’t need a full palette here. Just one or two pigments. Some painters use raw sienna for a warmer tone, or even black mixed with a touch of white for a cooler grayscale. But burnt umber is the standard for a reason: it’s predictable. It dries in 2-4 days, depending on humidity and thickness. In Wellington’s damp climate, I’ve seen it take closer to five. Patience matters.
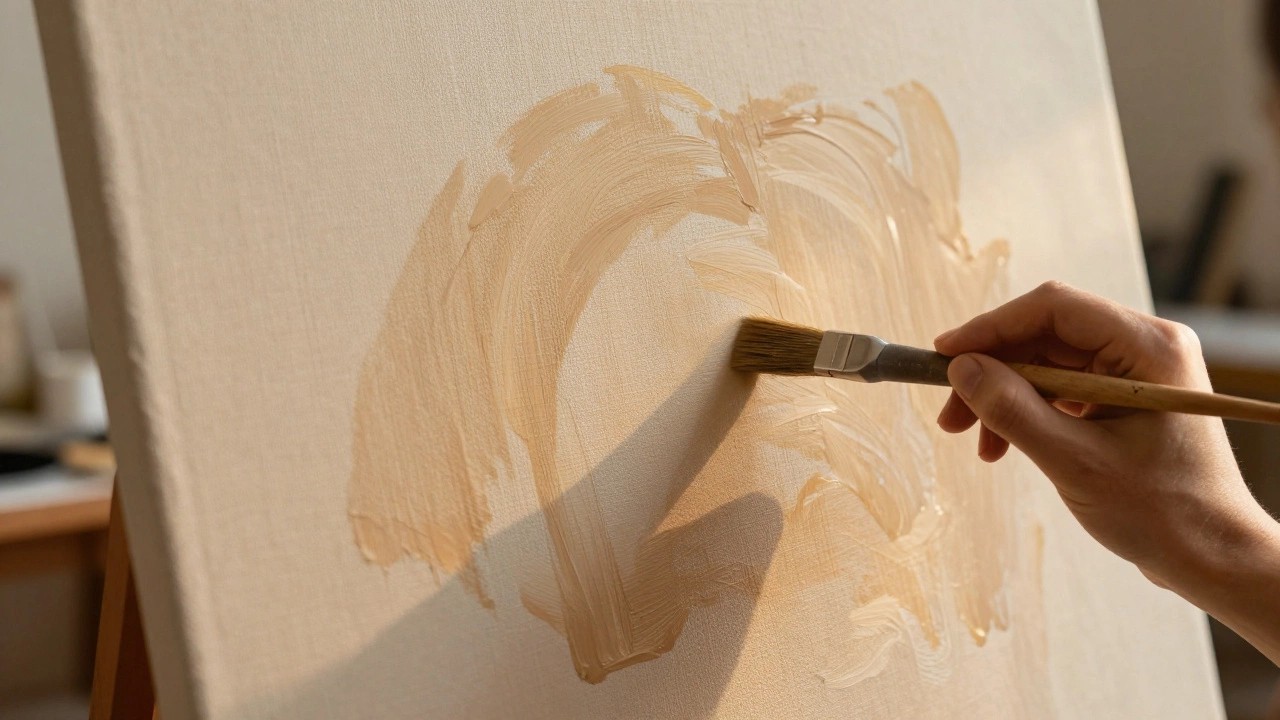
How to Apply It
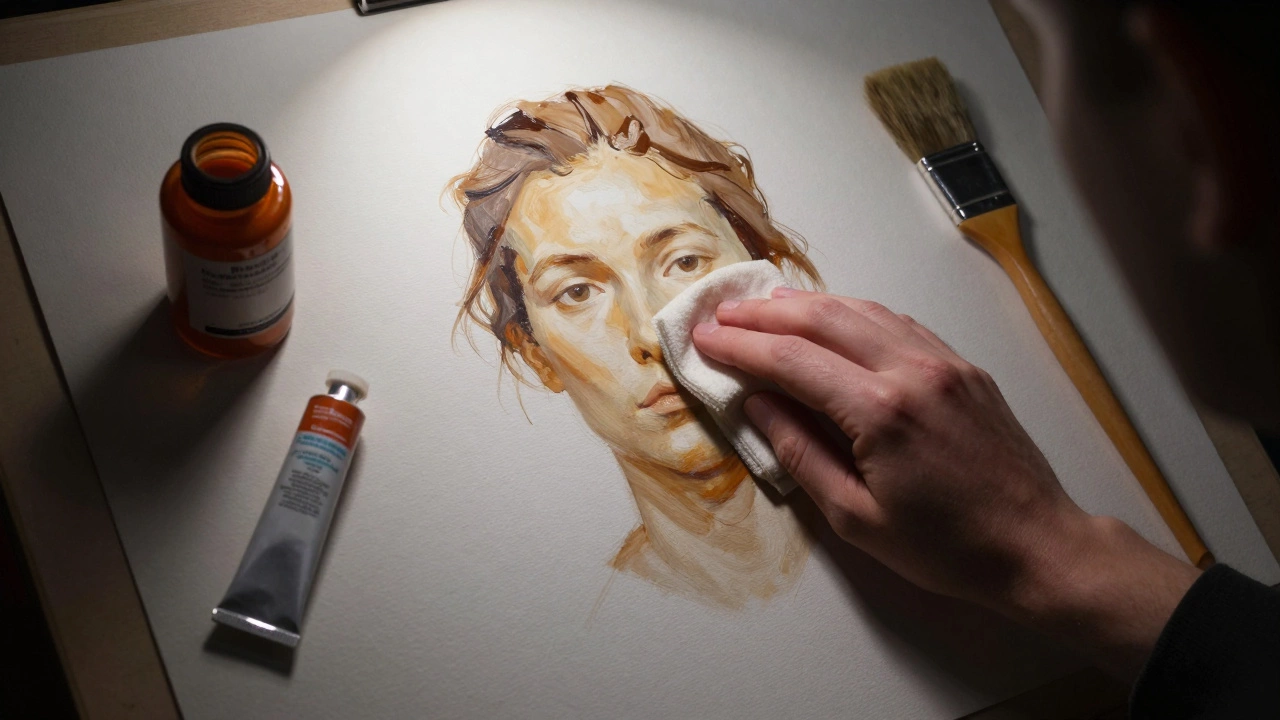
Start with a clean, properly primed canvas. Linen or cotton duck, gessoed at least twice, is ideal. Then, thin your burnt umber with solvent-think milk consistency, not paint. Use a large, soft brush, like a hog bristle flat. Don’t worry about detail. Sweep the paint across the surface to block in the major shapes: the shadow side of the face, the dark valley behind the tree, the edge of the table. Let the brush drag. Let the paint sink into the weave. You’re not drawing; you’re mapping.
Some artists use a rag to wipe away excess paint in areas that should stay light. This is called subtractive underpainting. It’s a great way to preserve highlights without painting them in later. It’s also forgiving. If you mess up, you can wipe it off and start again before it dries.
Why Not Use Color?
You might wonder: why not just paint the whole thing in the final colors? Because oil pigments don’t mix the way watercolors do. If you lay down a thick layer of cadmium red, then try to glaze a blue over it, the red will muddy the blue. The underpainting avoids this. By sticking to a single, neutral tone, you keep your later layers clean and luminous.
Think of it like building a house. You don’t install the windows and doors before the frame. The underpainting is the frame. It’s the structure that supports the finish. Once it’s dry, you can glaze color over it-thin, transparent layers that let the underpainting show through. That’s how you get depth, not just surface color.
When to Skip the Underpainting
There are exceptions. If you’re doing a quick alla prima painting-wet-on-wet, done in one session-you might skip the underpainting. But even then, many pros use a quick tonal sketch with thinned paint before diving in. It’s not a rule, but it’s a habit most professionals swear by.
Another exception: abstract work. If you’re not trying to represent form or light, then maybe the first layer doesn’t need to be a tonal map. But even then, many abstract painters use a wash to unify the surface, prevent the canvas from absorbing too much paint, and create a subtle texture underneath.
What Happens If You Get It Wrong
Bad underpainting leads to three big problems:
- Muddy colors - if the underpainting is too dark or too saturated, your top layers lose their clarity.
- Crazing and cracking - if you use too thick a layer or oil-rich paint, it won’t dry properly, and later layers will pull and split.
- Loss of luminosity - without a clean, neutral base, your glazes turn dull. The light can’t bounce through.
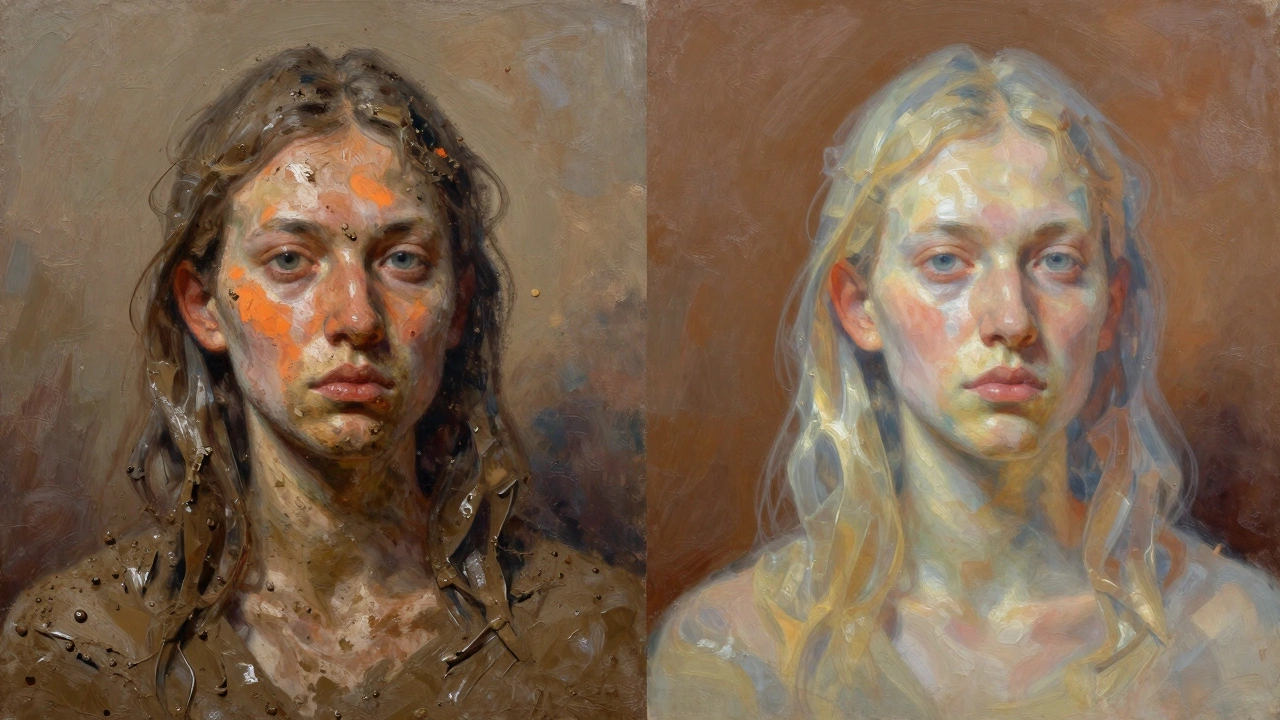
I once watched a student paint a portrait with a thick, warm orange underpainting. The final skin tones looked like they’d been sunburned. She couldn’t fix it. She had to scrape it off and start over. That’s the cost of skipping the basics.
Pro Tips
- Test your mixture on scrap canvas first. See how it dries. Does it look too dark? Too light? Adjust before you commit.
- Let it dry completely. Don’t rush. A tacky layer will ruin your next step.
- Use a hairdryer on low heat if you’re in a hurry, but keep it moving. Don’t blast one spot.
- After it dries, lightly sand any raised edges with 400-grit sandpaper. It smooths the surface for the next layer.
What Comes Next
Once the underpainting is dry, you can begin your color layers. Start with thin washes-what painters call glazes. Build up slowly. Let each layer dry before adding the next. This is where oil painting shines: the depth you get from multiple transparent layers can’t be matched by acrylic or watercolor.
And remember: the first layer isn’t about beauty. It’s about control. It’s about knowing where the light hits and where the shadow falls before you ever touch a tube of cadmium yellow. Master that, and everything else becomes easier.
Can I use acrylic for the first layer before oil paint?
Yes, but only if you’re using acrylic as an underpainting and then applying oil on top. Acrylic dries quickly and creates a stable, non-oily base. Many painters do this to speed up the process. But never apply acrylic over oil-it will crack. The rule is always: oil over acrylic, never the other way around.
Do I need to varnish the underpainting before adding color?
No. Varnish is for the final, finished painting. Applying it over the underpainting will make it harder for your color layers to adhere. It can also trap moisture and cause long-term damage. The underpainting should be dry and absorbent, not sealed.
Is burnt umber the only color I can use?
No. Burnt umber is the most popular because it’s neutral and dries well, but you can use raw sienna for warmth, Payne’s gray for cool tones, or even a mix of black and white for a grayscale. The key is to pick a single pigment that’s transparent, fast-drying, and doesn’t overpower your final colors.
How long should I wait before painting over the first layer?
At least 2-5 days, depending on thickness and humidity. In damp climates like Wellington, wait 5-7 days if you’re unsure. Touch it lightly-if it feels cool or tacky, wait longer. Rushing this step is the most common mistake beginners make.
Can I use the first layer to create texture?
Yes, but sparingly. A thin, even wash is best for most subjects. If you want texture-like rough bark or cracked earth-you can use a stiff brush or even a palette knife to apply slightly thicker paint in specific areas. Just keep it minimal. Too much texture in the underpainting will interfere with your later glazes.
Final Thought
The first layer of an oil painting isn’t glamorous. It doesn’t show up in Instagram posts. But every great oil painting you’ve ever admired started with this quiet, unglamorous step. It’s the difference between a painting that lasts and one that fades, cracks, or turns dull. Don’t skip it. Don’t rush it. Just do it right.