Oil Paint – Essential Tips for Better Painting
If you’ve ever mixed a dull brown or watched a wet‑on‑wet layer crack, you know oil paint can be tricky. The good news? Most problems have simple fixes. Below you’ll find the everyday tools, the rules that keep paint stable, and a few habits that separate hobbyists from pros.
Choosing the Right Mediums
The first step is picking a medium that actually helps the paint flow. Straight linseed oil adds gloss and a long drying time – perfect for smooth blends but risky if you stack many layers quickly. If you need a faster dry, try a walnut or poppyseed oil; they thin the paint without turning it matte. For quick work, a small amount of mineral spirits or odorless turpentine will thin the paint and clean the brush, but don’t over‑do it – too much solvent weakens the film and can cause cracking later.
Many artists blend a little alkyd medium into their mix. Alkyd speeds up drying while still giving you the buttery feel of traditional oil. It’s especially handy when you want to finish a portrait in a week instead of months. Remember the rule of thumb: start with one part medium to two parts paint, test on a scrap, and adjust from there.
Key Painting Rules
The most talked‑about rule is “slow over fast.” In plain English, let the first layer dry (or at least become tacky) before you put a slower‑drying layer on top. If you reverse the order, the top layer stays wet while the bottom dries, and the paint can lift, wrinkle, or peel.
Another rule is to keep your color palette simple. Mixing too many pigments in one batch leads to muddy results and unpredictable drying times. Stick to a core set of primaries, a few earth tones, and a single warm or cool accent. You’ll find it easier to predict how the paint behaves and how the colors interact on the canvas.
Finally, always protect the finished surface. A thin coat of varnish not only deepens the colors but also seals the paint from dust and humidity. Choose a damar varnish for a classic gloss or a synthetic acrylic varnish for a non‑yellowing matte finish.
Putting these ideas together makes a huge difference. Start your next piece by setting up a clean workspace, measuring your medium, and testing a small swatch. Watch how the paint spreads, how fast it dries, and whether the colors stay vibrant. Adjust your medium ratio, respect the slow‑over‑fast rule, and you’ll see smoother blends, stronger adhesion, and a longer‑lasting artwork.
One more practical tip: label your jars. It’s easy to forget which bottle holds mineral spirits and which contains linseed oil, especially after a long session. A simple sticker saves you from mixing the wrong stuff and keeps your studio safe.
Oil painting is rewarding, but it doesn’t have to be a trial‑and‑error nightmare. With the right mediums, a few core rules, and a habit of testing before you commit, you’ll spend more time creating and less time fixing. Grab your brushes, mix a fresh batch, and watch your canvas come alive.
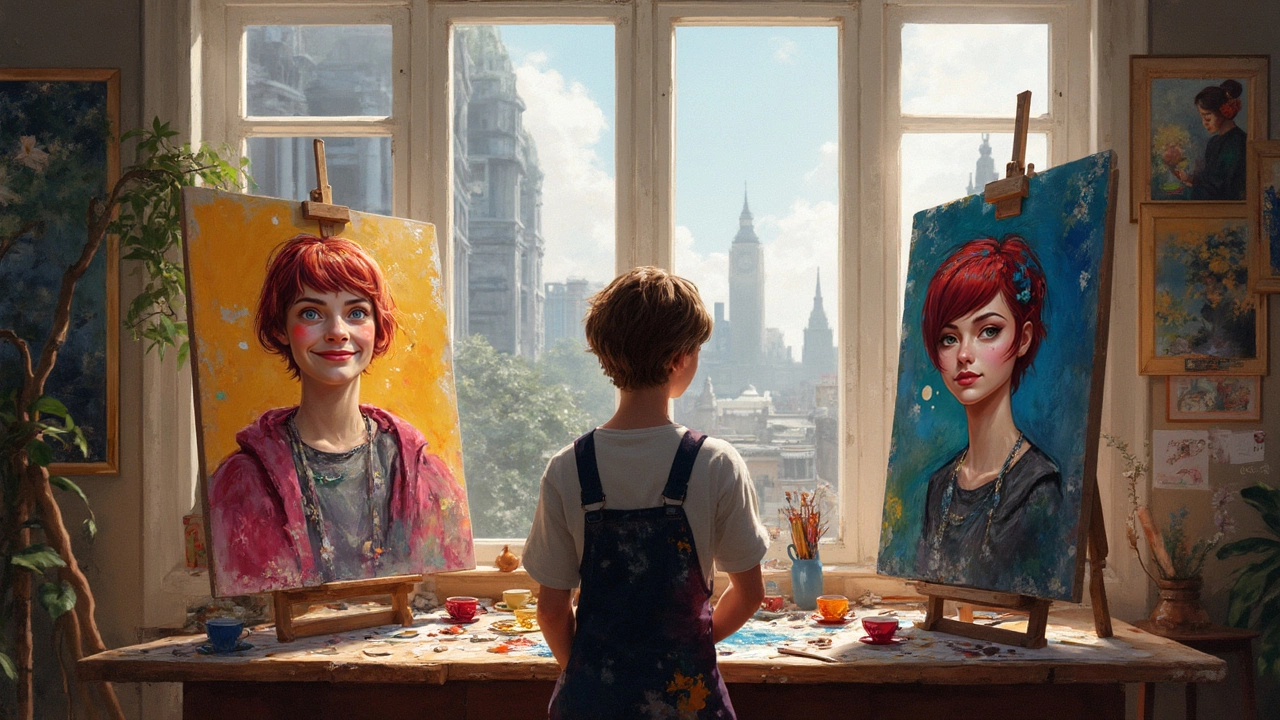
Acrylic vs Oil: Which Is Easier for Portrait Painting?
Discover whether acrylic or oil paint makes portrait painting easier. This guide lays out the strengths and quirks of both mediums, comparing drying time, blending, layering, and common mistakes. Learn what to expect as a beginner or hobbyist, and pick up some practical tricks along the way. No sugarcoating—just honest help for artists facing the easel.
Continue Reading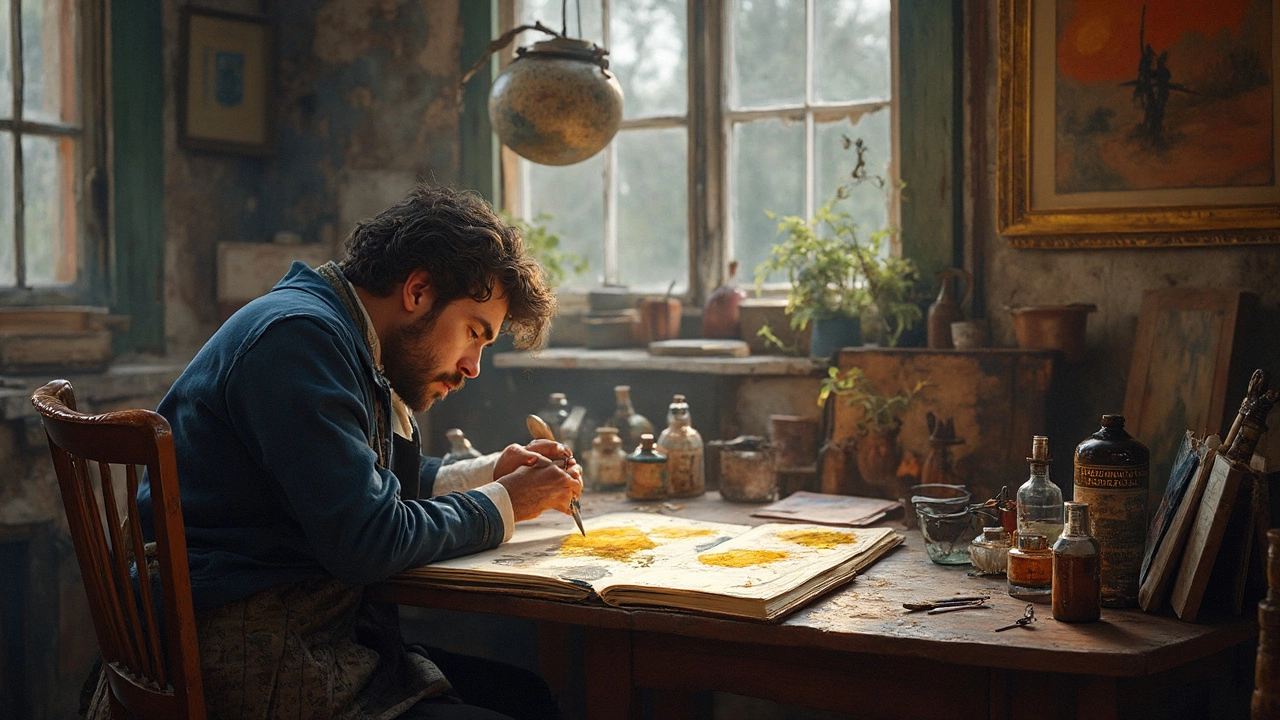
What Oil Paint Did Van Gogh Use? Unpacking His Artistic Tools
Curious about the exact oil paints Van Gogh used? This article digs into the real brands, pigments, and quirky choices behind his bold masterpieces. Learn why the paint mattered, how it shaped his technique, and what makes his materials so fascinating to artists today. You'll pick up practical tips on choosing modern equivalents if you want to paint like Van Gogh. Get the facts and stories that bring his art supplies to life.
Continue ReadingCategories
Most popular
-
 What Is an Almost Famous Broadway Musical? Nov 24 2025
 -
-
-
-