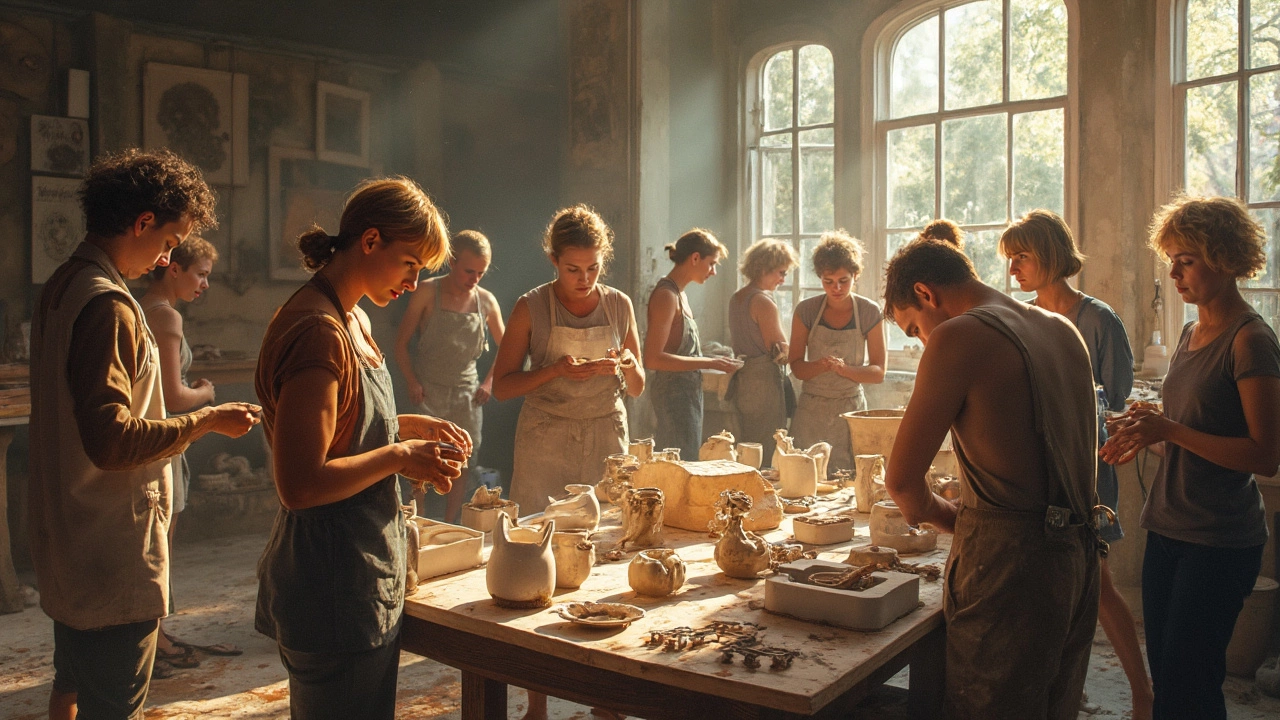
Ever stared at a statue and wondered how someone turns a lump of stuff into something that actually looks like a person, a dog, or even a giant banana? There’s no magic wand—just four main techniques artists use to make it happen: carving, modeling, casting, and assembling. Each one feels totally different, and honestly, you don’t need a fancy studio or ancient wisdom to get started.
If you’ve got kids at home (like my two), or even just a curious cat (looking at you, Whiskers), chances are you’ve already tried at least one of these methods. Remember squishing clay at the kitchen table or snapping Legos together until some masterpiece happened? That’s modeling and assembling in disguise.
Here’s what separates the pros from the beginners: knowing when and how to use each technique. Some work best with wood and stone, others are perfect for clay or even melted metal. If you want your projects to last longer than a week (or survive a couple curious paws), it’s worth picking the right approach from the start.
Pull up a seat—and maybe grab something squishy or snappable. These four basic techniques are your map to diving into sculpture, whether you’re after a kitchen masterpiece or dreaming of something shiny on a city square.
- A Quick Look at Sculpture’s Core Methods
- Carving: Starting Big, Finishing Bold
- Modeling: Making Shapes from the Inside Out
- Casting: Copying with a Twist
- Assembling: Building with Found Pieces
- Tips, Fun Facts, and Starting Ideas
A Quick Look at Sculpture’s Core Methods
Before you get lost in YouTube rabbit holes or toss cash at expensive tools, you need to know the four basics of making sculpture. It all comes down to carving, modeling, casting, and assembling. You’ll find these techniques everywhere, from ancient statues in museums to modern art parks and even your kid’s school projects.
Here’s the rundown:
- Sculpture techniques are broken down by how artists handle the materials. Some are about digging into a solid block. Others are about building up from nothing or pulling a copy from a mold.
- Each method gives you totally different vibes. Carving feels permanent and risky—once you take off a chunk of marble, you can’t really slap it back on. Modeling is more forgiving; you can keep squishing and reshaping as much as you want. Casting lets you reproduce stuff, sometimes dozens or hundreds of times. Meanwhile, assembling is all about creating something new from everyday parts, which is wildly popular in modern art and school crafts alike.
Let’s look at how long these ideas have been around:
| Technique | Main Materials | Earliest Known Examples |
|---|---|---|
| Carving | Stone, wood, bone | Over 30,000 years ago (Venus figurines!) |
| Modeling | Clay, wax, even Play-Doh | Ancient Mesopotamia slabs, 4000+ years old |
| Casting | Bronze, plaster, resin | Ancient China/Bronze Age, 3000+ years ago |
| Assembling | Found objects, metal, junk, wood | Early 20th century (Picasso glued a bike seat & handlebars into a bull’s head) |
You don’t need a PhD or a trust fund to get started with these. Half the time, the biggest block is just figuring out which method matches what you want to make—and what you’ve actually got on hand.
Carving: Starting Big, Finishing Bold
Carving means you start with something solid—usually a block of stone or wood—and you cut or chip away bits to reveal your sculpture hiding inside. The cool thing? You can’t just glue stuff back if you mess up. Every chunk you remove is permanent, so this technique is all about careful planning and having some guts.
Some of the world’s most famous art comes from carving. Think Michelangelo’s David or those massive faces in Mount Rushmore. Carving has real history. People were chipping away at stone figures back in ancient Egypt and Greece, mostly using basic tools like hammers and chisels. These days, artists have some fancier gear, but it still comes down to patience and elbow grease.
If you want to try carving, here are the basics you’ll need:
- A block of material (like soapstone if you’re just starting out—it’s soft and safe)
- Chisels, mallets, or small carving knives
- Safety goggles—chips fly everywhere
- A rough plan or sketch of what you’re making
One key thing: start sculpture techniques small, simple, and don’t rush. Even experienced artists make test cuts or practice on scraps—nothing says “bad day” like slicing off a piece you needed.
Check out this quick comparison for popular carving materials:
| Material | How Hard? | Common Uses |
|---|---|---|
| Soapstone | Soft | Beginner practice, small pieces |
| Wood (basswood, walnut) | Medium | Figurines, panels, toys |
| Marble | Hard | Monuments, statues |
| Limestone | Medium | Architecture, detailed work |
Here’s a tip: If you want something quick and safe to try with kids, grab a bar of soap and a butter knife. You can actually carve out shapes in half an hour, and trust me—kids (and cats) love poking at the shavings.
Carving is not about rushing to the finish. It’s about slowly peeling away what you don’t need until you’ve got your piece. There’s a reason even pros make lots of dust before the details start popping out.
Modeling: Making Shapes from the Inside Out
If you’ve ever messed with playdough, you already know the basics of modeling. This is the go-to technique for anyone who likes using their hands to squish, pinch, or build things up little by little. Artists shape soft, flexible materials like clay, wax, or even newer stuff like polymer clay or plasticine. It’s like building a snowman, but you can nail so much more detail, and if you mess up, just squish and start again.
The cool part about modeling is the freedom it gives. Unlike carving, where you chip away at stone or wood, here you’re adding material to create form. Michelangelo had to carve his David from a giant slab of marble, but if you handed him a lump of clay, he could build a whole new figure from scratch, arm by arm, nose by nose.
Why is this technique so popular? It’s forgiving, flexible, and easy on your wallet. No chisels or dust storms in your living room – just your hands or maybe a few simple tools. Artists can stop, step back, and tweak things as much as they want. That’s why you see modeling in everything from school art projects to famous museum pieces.
If you’re curious about how pros use modeling today, check out this comparison table. It shows materials, drying times, and how easy they are to use. Super handy if you’re thinking of buying supplies.
| Material | Drying/Setting Time | Good For Beginners? |
|---|---|---|
| Clay (water-based) | Dries in hours to days (air), minutes if fired | Yes – cheap and easy |
| Oil-based clay | Never fully dries | Yes – reusable |
| Wax | Hardens as it cools | Trickier – melts easily |
| Polymer clay | Hardens when baked (15–45 min) | Yes – mess-free, lots of colors |
Some modeling tips from the real world: keep your fingers damp with water when using clay so it doesn’t stick; use toothpicks or the back of a pencil to draw in fine lines; always cover projects with plastic wrap between work times to keep them from drying out. And don’t be afraid to start over—seriously, even museum sculptors re-do noses or ears ten times before they get it right.
My kids go through buckets of clay every year, but I get it—modeling isn’t just for little hands. If you’ve ever watched a stop-motion movie (like “Wallace & Gromit”), all those clay characters start with modeling. It’s old-school, but it’s also super modern. You just need a bit of space, some patience, and maybe a spot your cat can’t climb onto. Happy squishing.
Casting: Copying with a Twist
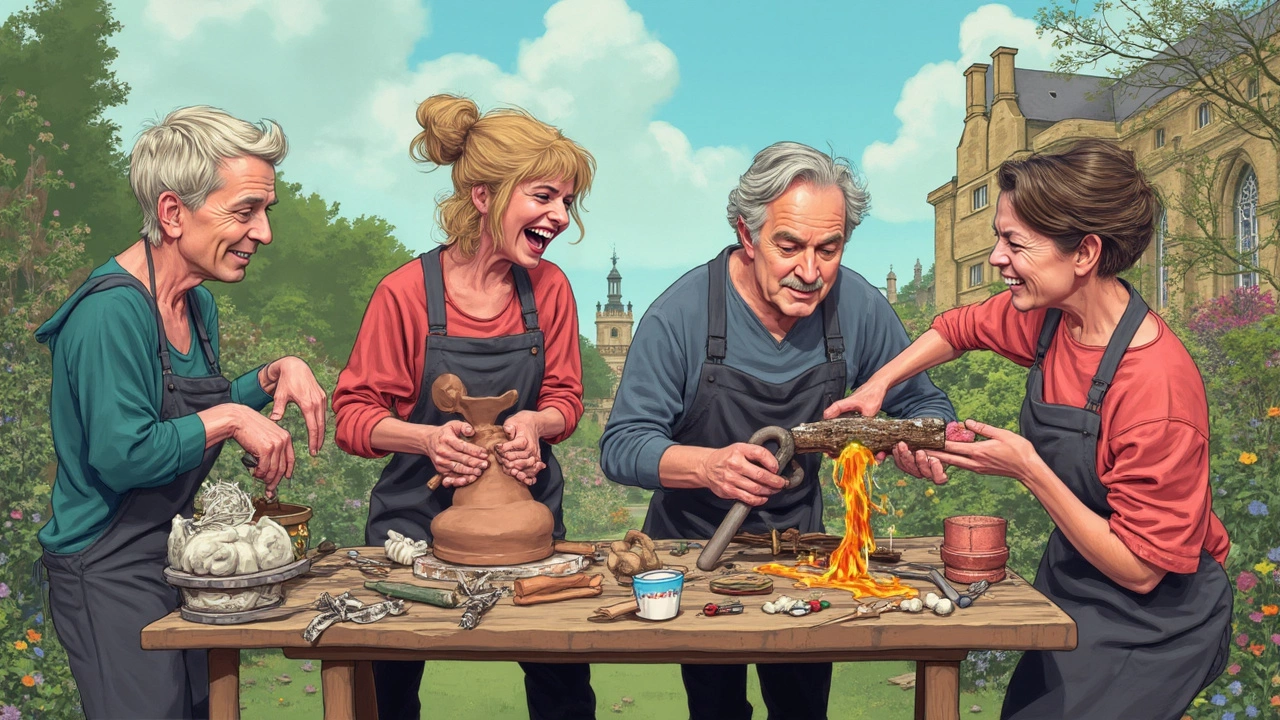
This is the technique artists grab when they want to make exact copies—or at least really close ones—of any sculpture. Here’s the simple idea: make a mold, pour something liquid (like plaster, bronze, or even chocolate) inside, and let it harden. That’s casting.
You’ll see casting in just about every museum you step into. Think about those shiny bronze statues in city parks or ancient-looking masks at art fairs. The cool part? One original gets turned into as many copies as the artist wants, which is why you often see the same figure over and over.
Here’s a quick breakdown of how casting usually works:
- Start by building a model—could be clay, wax, or whatever holds shape.
- Cover that model in a material that hardens (like silicone or plaster) to make a mold.
- Take the model out, so now the mold’s hollow inside—the empty space is your artwork’s shape.
- Pour in the casting material (metal for strong sculptures, plaster for quick work, resin for fun colors) and let it set.
- Crack open the mold and you’ve got your copy, ready to sand, paint, or show off.
Some famous methods within this world: “lost wax casting” for bronze, which people have used for 6,000 years (no joke—ancient Egyptians crushed it with this). Lost wax makes it possible to pick up crazy tiny details, so even whiskers on a cat or wrinkles on a face get copied perfectly.
| Common Casting Materials | Use Case | Setting Time |
|---|---|---|
| Bronze | Outdoor statues, public art | Hours (plus cooling) |
| Plaster | Art class models, fast casts | 20-30 minutes |
| Resin | Colorful, lightweight art | 30 minutes to a day |
| Concrete | Garden decor, big projects | Several hours |
One tip: if you ever see two identical statues on opposite sides of a park, casting is the reason. Artists love it because they can experiment with finishes, try out new patinas, or just save time when making editions of a popular sculpture. It’s as close to 3D printing as old-school art gets
Assembling: Building with Found Pieces
Assembling is probably the most hands-on, anything-goes technique in sculpture. Instead of shaping or carving, you build by connecting different materials. It could be wood, metal, glass, old bike parts—basically anything that fits your idea and can be glued, welded, or screwed together.
This way of making art exploded in the early 20th century when artists like Pablo Picasso started gluing stuff onto canvas and calling it 'sculpture.' This wasn’t just a fad—assembling has become one of the most popular ways to create both indoor and outdoor art, from funky junk-yard robots to massive pieces you see in public parks.
Here’s what you can expect from assembling as a sculpture technique:
- There are no limits on materials. Cardboard next to steel? Totally fine.
- If you can stick it together, you can use it—think glue, tape, rivets, welding, even zip-ties.
- It’s super kid-friendly (just skip the welding at home), since anything that snaps or clicks or sticks is fair game.
If you want a quick snapshot of what materials and tools get used in assembling, check this out:
| Material | Common Tools | Can You Try It at Home? |
|---|---|---|
| Wood scraps | Saws, glue, clamps | Yes |
| Metal bits | Welding gear, pliers, screws | Maybe (with adult help) |
| Plastic | Hot glue, snips, rivets | Yes |
| Found objects (toys, utensils) | Glue, tape, imagination | Absolutely |
One tip: Before you start, lay your pieces out and move them around. Sometimes the best ideas show up when you shuffle things around on the table. Famous sculptures like Louise Nevelson’s wall pieces came together by just stacking and rearranging wood scraps until everything fit.
Don’t be afraid to work big or weird. Assemblage can handle it. And if your cat steals a part for their own art project (Whiskers did that once with a plastic spoon), just grab something else and keep going. That’s the magic of assembling—it’s about piecing together a story one object at a time.
Tips, Fun Facts, and Starting Ideas
Okay, time for the nitty-gritty—how do you actually get started, and what makes sculpture techniques fun to mess with? Here’s what you probably didn’t hear in art class.
- Michelangelo called sculpting 'freeing the figure from the stone.' With carving, you’re actually removing material, so there’s no undo if you take off too much. Measure twice and find your shape before you go wild with the chisel—even artists mess up by rushing!
- Modeling is forgiving, and that’s why clay is a favorite for beginners. If you make a thumb too long, just pinch it off and try again. Kids love it because nobody’s yelling about mistakes—you just squish, fix, and keep building.
- People have used casting for thousands of years. The lost-wax method dates back to the ancient Egyptians. Artists still use this technique to create detailed bronze statues, meaning your hands could craft something in a way the pharaohs would recognize.
- Assembling can turn trash into treasure. Sculptor Louise Nevelson made art out of discarded wood pieces—kind of like real-life grownup LEGO. If your family’s recycling bin overflows like mine, you’ve got free material waiting.
Not sure where to start? Try these simple projects at your kitchen table:
- Carving: Start with a bar of soap and a butter knife. Mark a design, then scrape away gently. Even Whiskers can’t make too much mess with this one.
- Modeling: Grab some playdough or air-dry clay and have everyone in the house try making tiny animals. Compare results—the cat will judge in silence.
- Casting: Use plaster bandages (the kind for crafts) to wrap a balloon or toy. Let it set, then pop out the original. Boom, homemade mold and sculpture.
- Assembling: Raid the junk drawer for bottle caps, buttons, and wire. Hot glue turns all those bits into a robot or wildlife scene—no rules, just create.
It’s worth looking up local community centers or workshops if you want to go bigger. Sometimes you can find classes that let you try welding or casting with real metal. Just make sure to bring old clothes—mess is part of the process.
One last tip: snap photos of every project. Even the weird ones. Progress feels slow while you’re learning, but looking back shows just how quickly your skills add up. And if you’re like me, your kids (or your cat) will want to show off their own wild sculptures too.
