Sculpture Material Cost Calculator
If you want to make a sculpture but don’t have a big budget, you’re not alone. Many artists start with whatever’s lying around-old cans, broken toys, scrap wood, or even dirt. The truth is, the cheapest material to make a sculpture isn’t something you buy at an art store. It’s often something you already have, or something someone else is throwing away.
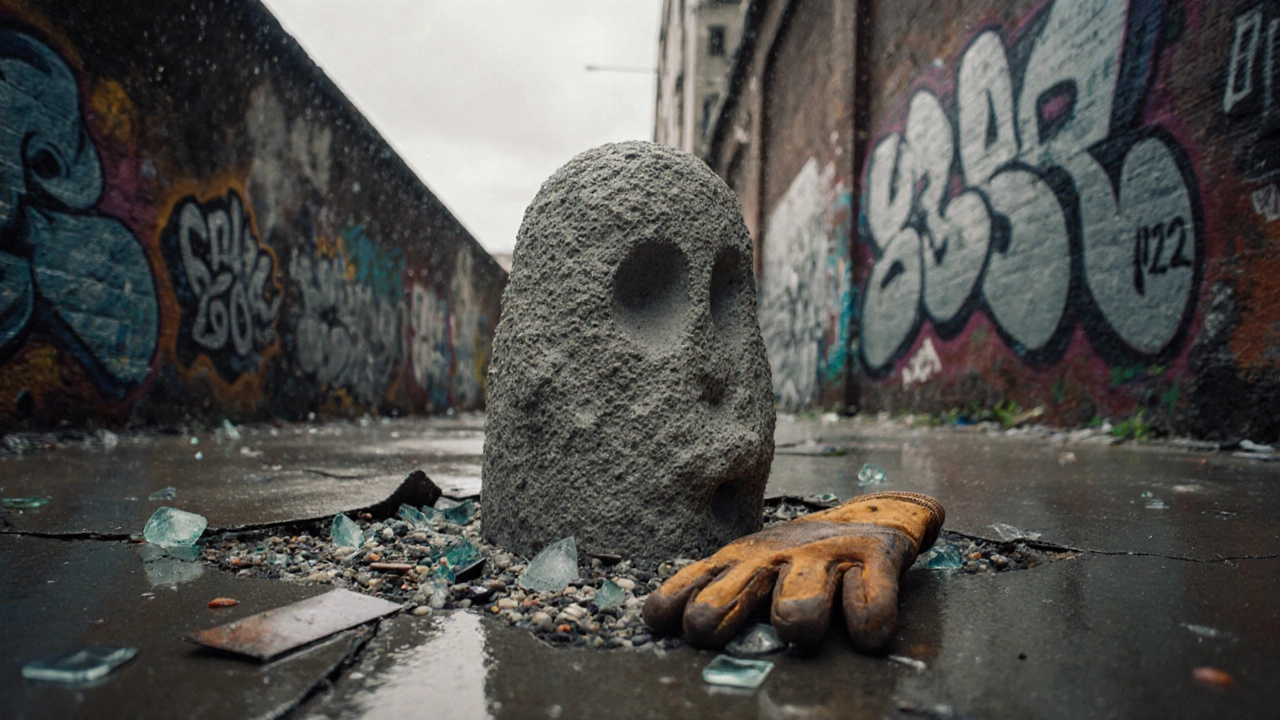
Concrete: The Silent Workhorse
Concrete is the most affordable sculpting material you can find if you’re starting from scratch. A 20kg bag of ready-mix concrete costs around $10-$15 at any hardware store. That’s less than a latte in most cities. You can mix it with water, pour it into a mold made from cardboard, plastic containers, or even old shoes, and let it harden. After a few days, you’ve got a solid, weather-resistant form.
Concrete doesn’t need special tools. A trowel, a bucket, and some gloves are enough. Artists like Isamu Noguchi used concrete in early works because it was cheap and strong. Today, street artists in cities like Bogotá and Jakarta use it to make public installations for pennies. You can even mix in gravel, broken glass, or metal scraps to add texture without spending more.
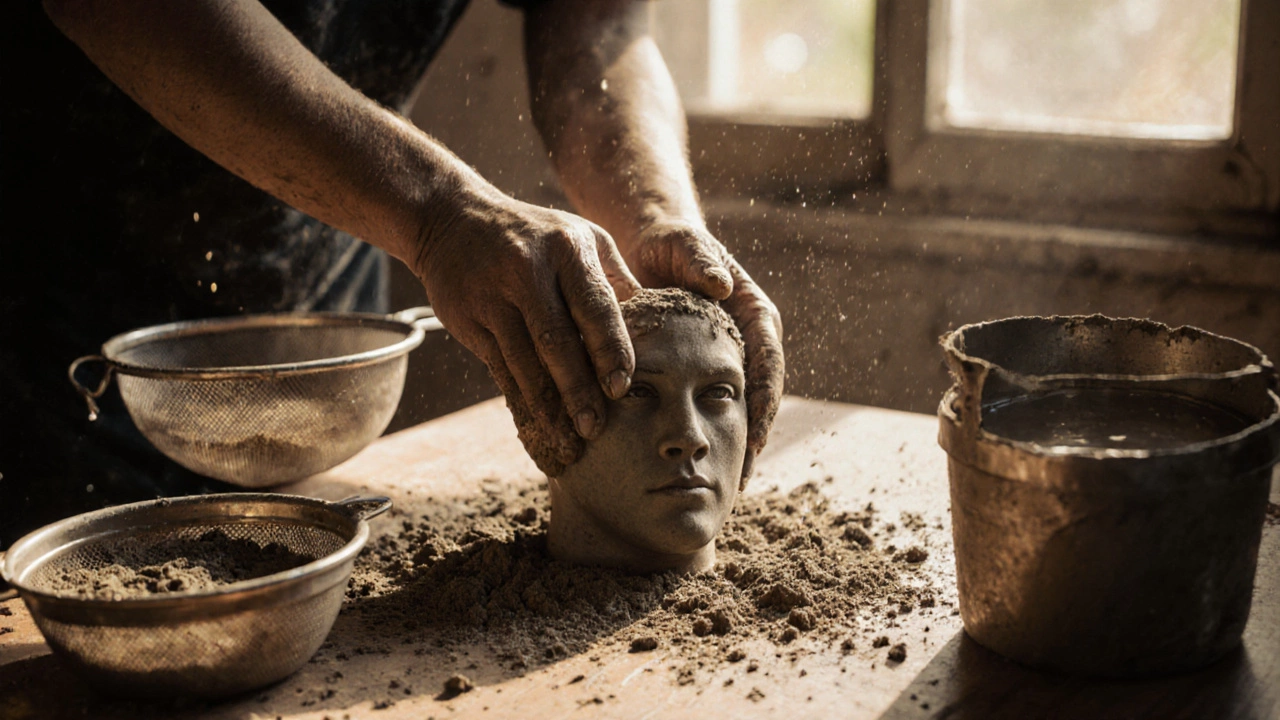
Clay: Dirt That Turns to Art
Clay is dirt. Not fancy dirt-just soil with the right mineral content. If you live near a riverbank, a construction site, or even a backyard with heavy soil, you can dig up clay for free. Sieve out the rocks and leaves, add water, and knead it like dough. Let it dry slowly, then fire it in a kiln-or skip firing entirely and let it air-dry into a fragile but beautiful sculpture.
Most commercial air-dry clay costs $15-$25 per kilo. But homemade clay? Zero cost. In rural India, villagers have been making terracotta figures for centuries using soil from their own fields. You don’t need a studio. A kitchen table and a sunny window are enough. The downside? It cracks if dried too fast. But that’s part of its charm. Cracks tell a story.
Recycled Plastic: From Trash to Texture
Plastic bottles, containers, packaging foam, and even old toys can become sculpture material. A single plastic bottle can be cut into petals, twisted into coils, or melted into abstract shapes with a heat gun. You don’t need to buy new plastic-you’re saving it from the landfill.
Artists like El Anatsui use discarded bottle caps to create massive tapestries. In New Zealand, sculptors in Wellington have turned plastic bags into woven forms that hang like kelp in public gardens. Plastic is lightweight, waterproof, and endlessly moldable. It’s also the hardest to glue, so use hot glue or epoxy. A $5 tube lasts for months.
Wood: Scrap Is Your Friend
Wood is everywhere. Construction sites leave behind broken pallets. Furniture stores throw out off-cuts. Tree trimmers drop branches. All of it is free for the taking-if you ask.
Softwoods like pine and cedar are easy to carve with a pocket knife or sandpaper. Hardwoods like oak or maple are tougher but last longer. You don’t need a lathe or chisel set. A handsaw, a file, and a little patience are enough. A 2-meter piece of scrap timber from a demolition site might cost nothing. A finished sculpture? It can be as simple as a stacked arrangement of wood pieces, like the works of Richard Serra, but on a backyard scale.
Wire and Metal: Bend, Twist, Repeat
Steel wire, copper pipe, and aluminum foil are all cheap or free. Hardware stores sell 100 meters of galvanized steel wire for under $10. You can bend it by hand into figures, animals, or abstract shapes. It’s the go-to material for wire sculptures in schools and community art programs.
Aluminum cans can be flattened, cut into strips, and woven into forms. Old coat hangers? Straighten them out and twist them into faces or figures. Metal doesn’t need paint to look good-it oxidizes, rusts, and patinas over time, adding character. A sculpture made from scrap metal can look like it came from a post-apocalyptic museum. And it cost you less than a pizza.
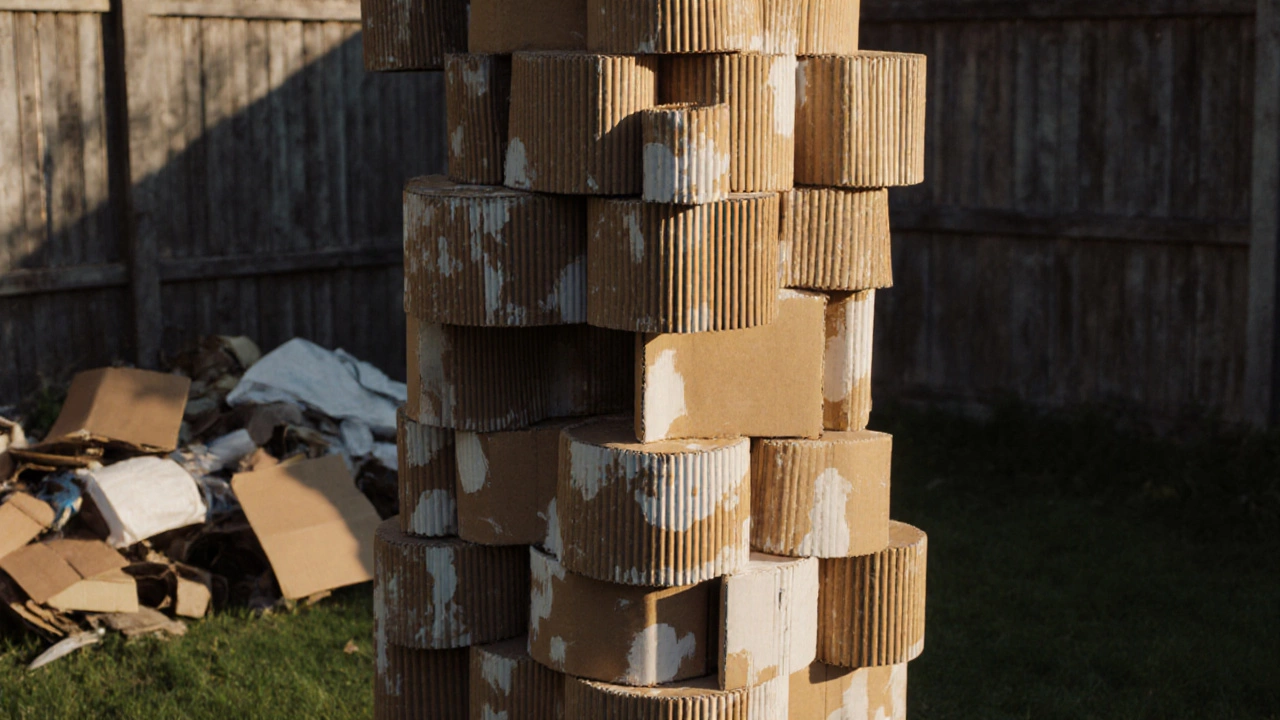
Cardboard and Paper: The Forgotten Medium
Cardboard is the most underrated sculpting material. Boxes from deliveries, packaging from appliances, cereal boxes-they’re all free. Layer them with glue and water (a paste made from flour and water works fine), then cut, fold, and glue them into complex shapes. Once dry, they’re surprisingly strong.
Artists like Judith Scott used cardboard and fabric to build towering, wrapped sculptures. In Japan, paper-mâché is still used to make festival masks. You can make a full-sized human figure from cardboard tubes and boxes. Paint it with acrylics or leave it raw. The texture of corrugated cardboard adds depth without cost.
Why These Materials Win
None of these materials require a studio, a license, or a degree. You don’t need to wait for a shipment or pay for shipping. You don’t need to buy a kiln, a welder, or a lathe. You just need curiosity and a willingness to experiment.
The cheapest material isn’t the one with the lowest price tag-it’s the one you already have access to. Concrete, clay, plastic, wood, wire, and cardboard all cost less than $20 to start. Some cost nothing at all. And they all respond to your hands, your mistakes, your rhythm.
Many famous sculptures started this way. Picasso made his first bull’s head from a bicycle seat and handlebars. Louise Bourgeois used old fabric and wood scraps from her home. Art isn’t about expensive tools. It’s about seeing value where others see waste.
What Not to Do
Don’t buy marble or bronze unless you’re planning to sell your work or have a grant. Even resin kits, which seem affordable, cost $40-$80 and require ventilation and safety gear. You don’t need them.
Don’t waste time comparing brands of clay or wire. The differences are negligible at this level. Use what’s free. Use what’s broken. Use what’s ignored.
Don’t wait for perfect conditions. Start now. With your hands. With your trash. With your neighborhood.
Getting Started: A Simple Plan
Here’s how to begin today:
- Walk around your home or neighborhood. Collect five things you’d normally throw away: a plastic bottle, a cardboard box, a piece of wire, some dirt, and an old can.
- Choose one. Don’t overthink it.
- Shape it with your hands. No tools needed.
- Let it dry, harden, or sit for a day.
- Look at it. Does it feel like something? If yes, you’ve made a sculpture.
You don’t need permission. You don’t need approval. You just need to start.
Can I make a durable sculpture with cardboard?
Yes, if you reinforce it properly. Layer cardboard with glue and water paste (or Mod Podge), let it dry, then seal it with acrylic varnish or waterproof spray. Multiple layers make it strong enough to hold its shape for years, even outdoors. Many street artists use this method for temporary installations.
Is air-dry clay better than homemade clay?
Air-dry clay is more consistent and less likely to crack, but it costs money. Homemade clay from soil is free and has a unique texture, but it’s fragile. If you’re experimenting, start with homemade. If you want something you can display indoors without worry, buy a small block of air-dry clay. Both are valid-just know their limits.
Can I use recycled metal without a welder?
Absolutely. Use wire, twist ties, or strong epoxy glue to hold metal pieces together. You can also drill small holes and use bolts or nails for connections. Many wire sculptures use no welding at all. The key is to design shapes that interlock or hook into each other.
What’s the best way to seal a sculpture made from plastic or cardboard?
For cardboard, use acrylic sealer or Mod Podge. For plastic, use a clear spray paint designed for plastics, like Krylon Fusion. Both are cheap, easy to apply, and protect against moisture. Avoid oil-based sealers-they can melt plastic.
Do I need to fire clay to make it permanent?
No. Air-dry clay hardens naturally, though it remains fragile. Firing clay in a kiln makes it ceramic and waterproof, but you don’t need a kiln to start. Many artists leave their clay pieces unfired as a statement about impermanence. If you want durability, look for community kilns-some art centers offer low-cost firing for a small fee.
Next Steps
Go outside. Look at the ground. Look at the trash bin. Look at the pile of old boxes behind your garage. Pick up one thing that looks interesting. Don’t ask if it’s art. Just hold it. Now imagine what it could become.
That’s how every sculpture starts.