Watercolor Scrubbing: Simple Tips for Clean, Bright Results
If you’ve ever tried to fix a wet spot on a watercolor painting, you know how easy it is to make things worse. Scrubbing can help lift pigment, but only if you do it right. In this guide we’ll cover why you might need to scrub, the tools that work best, and a safe step‑by‑step process you can try on any paper.
Why Scrubbing Matters
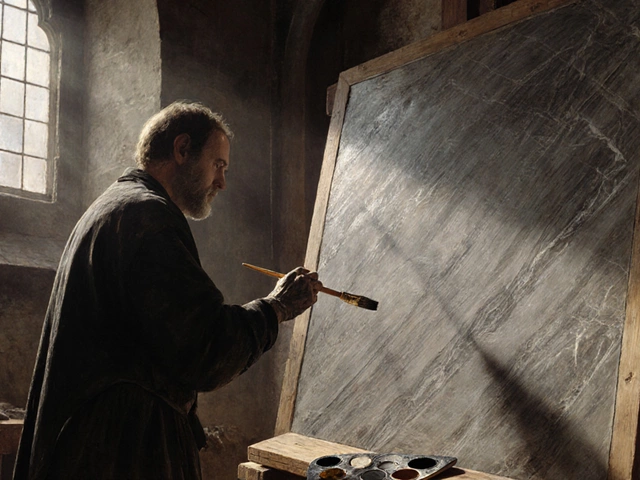
Watercolor pigment sits on the surface of the paper. When the paint is still wet, a light scrub can pull colour out of a mistake or soften a harsh line. It’s useful for creating softer edges, fixing stray drops, or adding texture. The trick is to act before the paint dries completely – once it’s set, scrubbing will just damage the surface.
How to Scrub Properly
1. Gather the right tools. Use a soft, clean brush (like a round sable or synthetic brush) and a damp clean cloth. Avoid harsh sponges or rough fabrics; they can tear the paper.
2. Moisten the area. Dip the brush in room‑temperature water, then gently tap off excess. Lightly tap the problem spot to re‑activate the pigment. Too much water will cause the paper to warp, so keep the dab small.
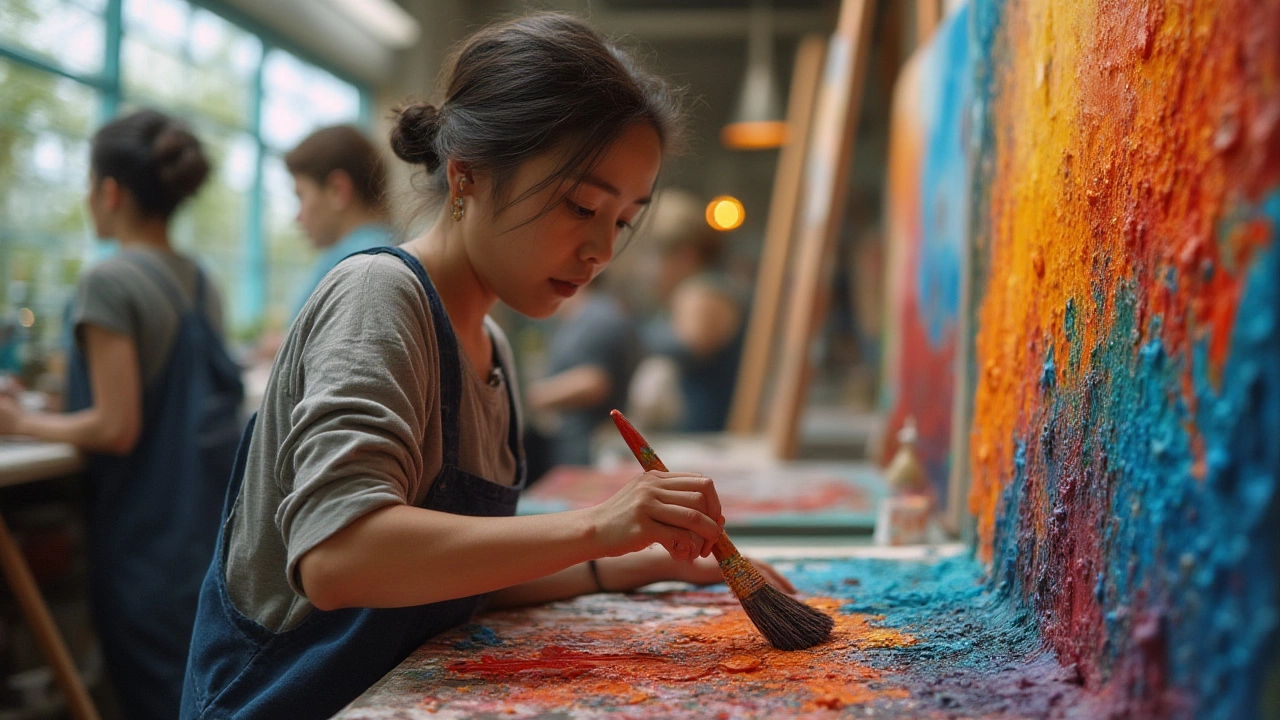
3. Scrub with a light circular motion. Using the tip of the brush, move in tiny circles for a few seconds. Watch the colour lift. If it doesn’t move, add a drop more water and try again. The goal is to lift pigment, not to erase the paper.
4. Blot, don’t rub. After scrubbing, place a clean cloth over the area and gently press. This absorbs excess water and pigment. Rubbing will grind the fibers and leave a rough spot.
5. Let it dry flat. Lay the paper on a clean board or towel, avoiding any folds. The paper will settle back into its original texture as it dries, leaving a smoother finish.
These steps work on most standard watercolor papers (140 lb or heavier). If you’re using a cheaper, thin paper, be extra gentle and test on a corner first.
Common mistakes to avoid
- Using too much water – it creates pools that bleed and warp the sheet.
- Scrubbing too hard – you’ll damage the fibers and create holes.
- Waiting until the paint is completely dry – the pigment is locked in and won’t lift.
- Using dirty brushes – old pigment can mix into the new area and create muddy colours.
By keeping these pitfalls in mind, you’ll find scrubbing a handy rescue tool instead of a disaster.
Want to improve your overall watercolor technique? Pair scrubbing with a quick dry‑brush touch‑up. After you lift the unwanted colour, use a dry brush to add a fresh highlight. The contrast looks natural and saves you from starting a whole new layer.
Remember, practice makes perfect. Try these steps on a scrap piece before you work on a finished painting. Over time you’ll get a feel for how much water and pressure each paper needs.
With the right approach, watercolor scrubbing becomes a simple, reliable way to clean up mistakes and add subtle texture. Give it a try on your next piece and see how a small, gentle motion can save a big spot.
Scrubbing Technique in Painting: A Step-by-Step Guide to Art's Textural Secret
Learn what the scrubbing technique in art really means, how artists use it for texture, and tips for mastering this simple but powerful tool in your paintings.
Continue ReadingCategories
Most popular
-

-
-

-
 Understanding Contemporary Art in Today's World Jan 14 2025
 -