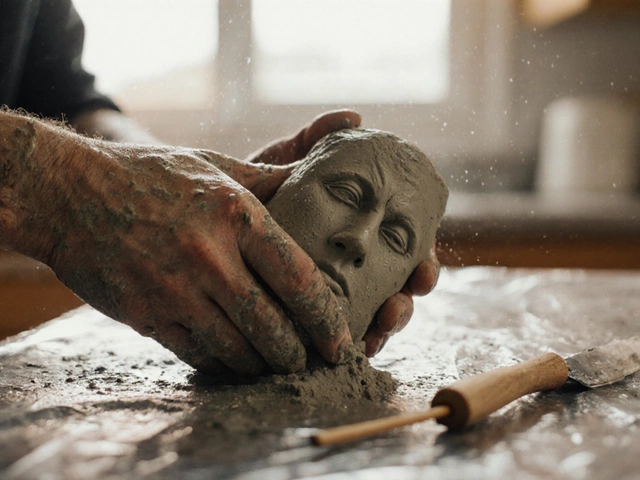
Starter Sculpture Tips: Easy Guide for Absolute Beginners
Want to turn a lump of clay or a block of wood into something you’re proud of? You don’t need years of training or a fancy studio. The right tips can get you shaping your first piece in a weekend. Below are the basics that will keep you from feeling lost and help you make progress fast.
Essential Tools and Materials
First, gather a few low‑cost tools. A basic set of carving knives, a wire loop cutter, and a wooden modeling stick cover most beginner needs. If you’re working with clay, grab a small amount of air‑dry or polymer clay – they harden without a kiln, so you can finish quickly. For wood, a soft pine plank works well; it’s easy to cut and sand.
Don’t forget a sturdy work surface. A cheap, thick piece of MDF or a sturdy cardboard board can protect your table and give you a stable base. Keep a bowl of water nearby when you use clay; it stops the material from drying out. A sandpaper set (80, 120, 220 grit) will help you smooth edges once the shape takes form.
Simple Techniques to Get Your First Shape
Start with a simple form – a sphere, a cylinder, or a basic animal silhouette. Pick the shape that feels most exciting and break it down into easy steps. For a clay sphere, roll a ball between your hands until it’s smooth, then press it gently on a flat surface to create a flat base. If you’re carving wood, sketch the outline on the plank, then use the carving knife to remove bulk material, working from big cuts to finer details.
Use the “pinch and pull” method for clay: pinch a section of the ball, pull it outward, and smooth the surface with your fingers or a modeling stick. This creates limbs or protrusions without breaking the material. When you feel stuck, step back and look at the piece from different angles – often a fresh view reveals where more material needs to be added or taken away.
Remember to work in stages. Rough out the big mass first, then refine details gradually. Don’t try to perfect a feature on the first pass; a little roughness is okay and makes later sanding easier. Once the shape feels right, let air‑dry clay sit for 24 hours, or sand wood until the surface is even.
Finish with a simple seal. A spray fixative for clay or a clear wood varnish protects your work and gives it a professional look. Even a quick wipe‑on acrylic sealer makes the piece feel sturdy and ready for display.
These starter sculpture tips keep the process fun and manageable. With the right tools, a simple technique, and a patient mindset, you’ll go from a blank block to a finished piece without feeling overwhelmed. Grab your tools, pick a shape, and start sculpting today – the only thing stopping you is not trying.
Beginner Sculpture Ideas: What to Make First
Getting into sculpture can be exciting but also a little overwhelming when you’re not sure what to make first. This guide covers easy and practical ideas for beginner sculptures, whether you’re using clay, wood, or any other starter material. You’ll find facts about basic tools, tips for successful first projects, and reasons certain subjects work better when you’re just starting out. The focus is on stress-free learning and projects you’ll actually finish. Learn simple ways to build skills and confidence right out of the gate.
Continue Reading


