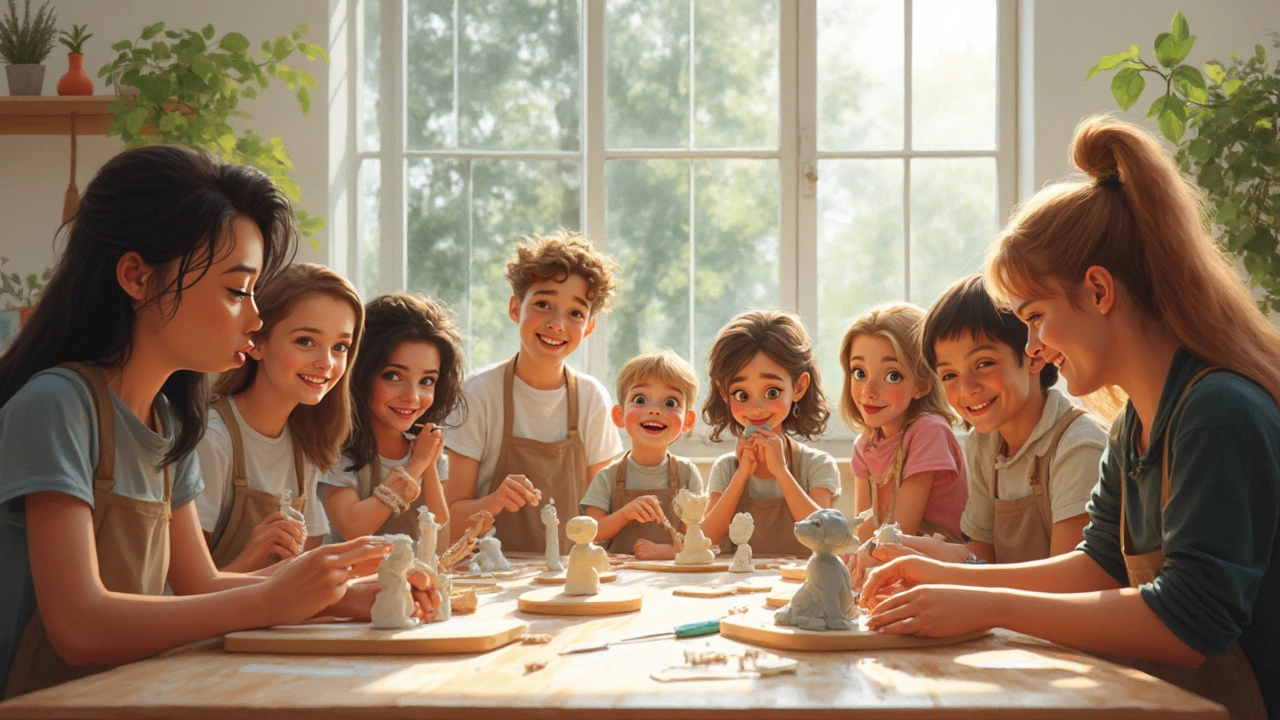
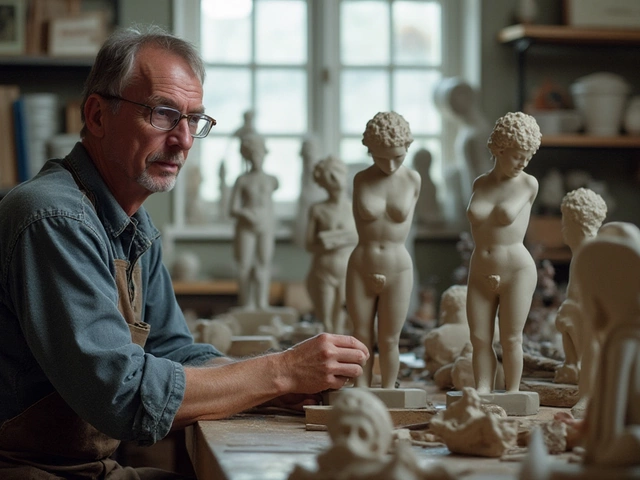
Jumping into sculpture is kind of like riding a bike for the first time—with the right starting point, you're much less likely to crash. The trick? Pick something you’ll actually finish. Loads of beginners get stuck trying to do too much, too soon, and then the project sits in a corner collecting dust. Save the grand, multi-headed dragons for later. Start with something simple that teaches you the ropes without frying your patience.
For your first sculpture, you want projects that use basic shapes, clear lines, and material that's forgiving. Think pinch pots, simple animals, geometric forms, or a basic human face—stuff you recognize but don't need a thousand tools or years of practice to pull off. Clay wins for beginners by a mile because you can tweak it endlessly, and if you really mess up, just roll it into a ball and start over.
- Why Your First Sculpture Matters
- Best Materials and Tools for Starters
- Simple and Fun Ideas You Can Try
- Common Mistakes and How to Dodge Them
Why Your First Sculpture Matters
Your first go at sculpture is more than just a random project—it's where you learn what works (and what doesn't) with your own hands. If you start off with something way too complex, frustration builds up fast, and a lot of beginners throw in the towel. Getting that first win matters for building confidence and actually wanting to do it again.
Picking a sculpture for beginners that keeps things simple but interesting makes all the difference. Easy projects let you figure out how the material feels, how tools work, and what your eyes and hands can do together. Most teachers suggest working with clay at first because it's easy to fix mistakes and try again.
Turns out, about 70% of new sculptors stick with the hobby long-term if their first project is small, simple, and finished within a week (according to a 2022 beginner clay workshop study from the UK). When folks bite off too much and leave things unfinished, most don't try a second piece.
| Type of First Project | Finish Rate | Likelihood to Continue Sculpting |
|---|---|---|
| Simple (animal, pinch pot, abstract form) | 80% | 70% |
| Intermediate (detailed bust, complex figure) | 35% | 20% |
Your brain needs to connect the dots from "messy lump" to "hey, I made that!" It’s way better for your motivation to have a finished piece—even if it’s just a little frog—than half of a detailed castle that never gets done. So, trust the process: a simple start isn’t lame—it’s smart. It builds skills you’ll need for much cooler stuff down the road.
Best Materials and Tools for Starters
If you want to actually finish your first sculpture, you’ve got to start with the right stuff. The go-to for most beginners? Clay. It’s cheap, easy to shape, and forgiving when things go sideways. Most folks don’t realize that the sculpture for beginners crowd usually uses either air-dry clay or polymer clay, both available at any craft store.
Air-dry clay is great since you don’t need a kiln or fancy equipment. It hardens up overnight by just sitting out—simple as that. Polymer clay is a bit different; you bake it in an oven to set your work, making it good for smaller, detailed pieces. Both types cost between $10–$20 for starter packs, which generally gives you enough to make several practice pieces.
Let’s be real—not all tools are created equal. You don’t need a suitcase full of gear to get going. Honestly, you can start with a simple wooden modeling stick, a small knife, an old toothbrush (for texture), and some wire for supporting larger shapes. Want a shortcut? Some people use kitchen spatulas or basic plastic utensils to shape and smooth the clay.
- Wooden Modeling Sticks: Help with shaping and carving.
- Metal Wire: Useful for armatures (the skeleton under your sculpture).
- Toothpicks: For adding fine details or poking holes.
- Rolling Pin: Easily flattens clay for slab shapes.
- Plastic Spoons/Forks: Quick texture makers.
If you’re allergic to mess or short on space, consider using modeling wax or even play dough. These won’t last forever but they’re perfect for practice, especially if you’re just figuring out hand movements or design basics.
Take a look at this simple rundown comparing beginner materials:
| Material | Price Range | Mess Level | Hardening Method | Best For |
|---|---|---|---|---|
| Air-Dry Clay | $10–$20/box | Medium | Air Dry | Larger, simple forms |
| Polymer Clay | $10–$20/pack | Low | Oven Bake | Small, detailed work |
| Modeling Wax | $15–$25/block | Low | No hardening | Practice, reusable |
| Play Dough | $5–$10/set | High (but washable) | Dries out or stays soft | Kid-friendly, practice |
Start with what feels comfortable and works for your space and budget. The main goal is to pick something that won’t frustrate you or keep you from finishing your first project. Once you get the hang of it, you can try more advanced materials like wood or stone—but don’t rush into the expensive stuff until you know you like sculpting.

Simple and Fun Ideas You Can Try
If you just want to dive into beginner sculpting and skip the guessing game, there are solid project ideas made for your skill level. Nobody expects you to chisel a hyper-realistic statue from day one. You learn much quicker by shaping easy forms and building up from there.
Here’s a list of hands-on sculpture ideas proven to work for new artists:
- Sculpture for beginners: Pinch pots. These are the bread and butter of beginner ceramics. Just grab a chunk of clay and pinch it outwards into a bowl shape with your fingers. You get a feel for the material and pick up control fast.
- Simple animals: Try making a tiny turtle, bird, or fish. Stick to basic shapes; no need for fancy details yet. Break the figure into balls and logs—attach them, then smooth over the seams.
- Mini masks: Slice a flat oval for a face, then press in the eye sockets, nose, and mouth. These don’t have to look realistic. Cartoon faces and silly expressions work great.
- Stacked rocks: Roll clay into basic stones, then arrange them into a little cairn or tower. It’s oddly relaxing and helps understand balance and weight in your hands.
- Fruit and veggies: Bananas, apples, and carrots are instantly recognizable. No need for tiny detail work, so they're perfect practice projects.
If you like step-by-step instructions, check out how to make a pinch pot:
- Get a ball of clay about the size of a tangerine.
- Push your thumb into the middle to make a hole.
- Pinch the walls outward, turning as you go, so the pot stays round.
- Smooth the rim and sides with your fingers. Let it dry before painting or glazing.
Clay isn’t the only thing to use. Some folks like starting with air-dry clay (no kiln required), polymer clay (bakes in the oven), or even soap or play dough if you’re after a zero-stress experience.
Curious how long these projects usually take? Check out this table for a quick comparison:
| Project | Skill Level | Average Time |
|---|---|---|
| Pinch Pot | Beginner | 30 minutes |
| Mini Animal | Beginner | 30–60 minutes |
| Simple Mask | Beginner | 45 minutes |
| Stacked Rocks | Beginner | 20 minutes |
| Fruit or Veggie | Beginner | 30 minutes |
Keep projects small and you’ll finish them, which seriously boosts your confidence. Once you get through these, you’ll notice your skills picking up quick. Every finished piece is a step closer to nailing those bigger, crazier ideas down the line.
Common Mistakes and How to Dodge Them
Nothing kills excitement faster than running into the same beginner hurdles over and over. I've seen folks walk away from sculpture for months just because their early efforts turned into a mess. Here’s a rundown of the usual traps—plus how to side-step them without ripping your hair out.
- Jumping into complex designs too soon. It’s tempting to attempt something wild, but slow down. Start with simple shapes; save the lifelike animals or detailed busts for later.
- Ignoring the basics of support. Gravity’s not your friend with wet clay or soft materials. Beginners often forget internal supports (like simple wire for arms and necks). Without this, sculptures start sagging or collapsing fast.
- Letting projects dry out—or stay too wet. Clay especially is sensitive; if you let it sit uncovered, it dries and cracks. If you keep it too wet, lots of details will slump and surfaces get mushy.
- Rushing dry times. Sometimes you want your piece done by tomorrow, but kiln-drying clay or air-dry clay needs patience. If you fire or paint too soon, cracks will pop up everywhere.
- Using the wrong tools for the material. People grab kitchen knives or toothpicks instead of proper sculpting tools. Real tools make things smoother and easier, even for a sculpture for beginners.
Here’s a quick comparison table about common errors and what usually happens if you ignore them:
| Mistake | What Usually Happens | Quick Fix |
|---|---|---|
| Jumping into detailed pieces | Getting stuck halfway, unfinished work | Pick small, basic projects first |
| No armature inside | Sculpture sags, falls apart | Use simple wire skeletons |
| Improper drying | Cracks, warped shapes, mushiness | Keep covered with plastic, dry slowly |
| Wrong or dull tools | Jagged edges, hard to add detail | Get a set of simple sculpting tools |
| Skipping reference images | Shapes look "off," proportions weird | Use photos or real objects as a guide |
Here’s a pro tip I wish someone had drilled into my head early—always have pictures or objects to look at while sculpting. Trying to “wing it” rarely works, even for pros. And when it feels like you’re messing up every step, just roll out the clay and start again. Most early pieces are more about learning than showing off.
