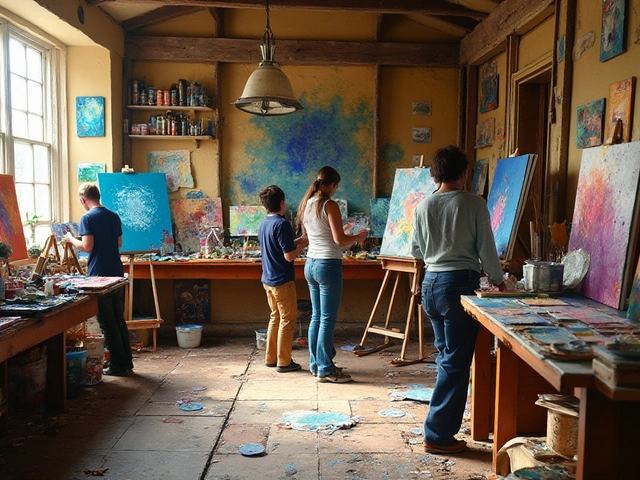
Most people imagine tubes of thick, buttery color when they think of oil paint. But here’s the kicker—those chunky pigment blobs won’t glide, blend, or shine until you activate them. And if you ever thought oil paint works like watercolor or acrylic, you’re in for a surprise. The magic lies in the chemistry. When I first started painting in my Wellington flat, I figured water would do the job. Spoiler alert: it absolutely won’t. So, what REALLY wakes oil paint up and makes it workable? And what’s the difference between thinning, mixing, or adding zing to those lush colors on your palette? Let’s pull back the curtain.
The Unique Nature of Oil Paint
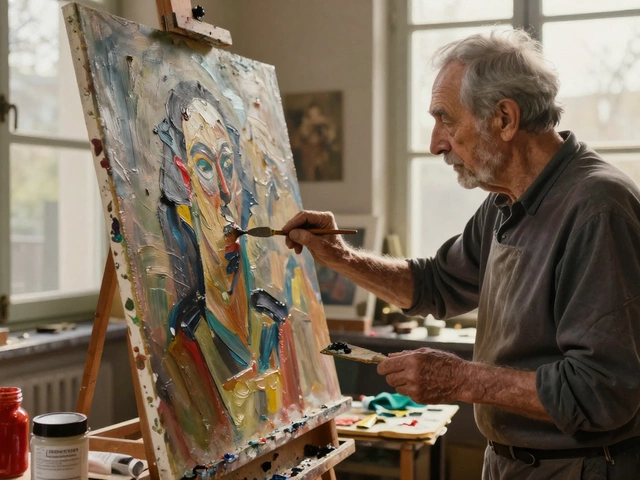
It’s easy to assume all paint is basically the same—wet, colorful, ready to go. But oil paint has a secret weapon: oil. Every tube combines pigment blended with a carrier oil, usually linseed. This isn’t just a random choice. Linseed oil is crazy strong against time, which explains how some paintings from hundreds of years ago still look freshly minted, despite endless New Zealand sun streaming into Wellington galleries. But oil paint right out of the tube isn’t exactly ready for the canvas. In fact, used straight, it can feel stubborn, slow, and rough around the edges. That’s because oil paint is made to be adjusted by the artist. You tweak it to suit your style—looser, creamier, faster-drying, more transparent, or glossy. Water won’t work: oil repels it, just like butter in a frypan. You’ll need the right stuff to make it sing.
The chemical trick is pretty interesting, too. The drying process for oil paint isn’t really about evaporation like with acrylics. It’s called oxidation, which means the oil reacts with oxygen from the air and slowly turns solid. That’s why oil paintings can take weeks (or even months) to fully dry. In short, oil paint stands in a world of its own. To activate it, you have to think with your inner alchemist.
Solvents: The First Step to Activation
If you’ve ever wandered into an art shop and taken a sniff, you know oil painting comes with a tangy aroma. That’s mostly the smell of solvents. Solvents are the classic way to activate and thin down oil paint, especially when you’re blocking in your painting or doing an underpainting sketch.
Here are the big names you’ll see on the shelf:
- Turpentine – The old-school choice, drawn from tree resin. Turpentine is powerful, especially when you want quick, bold washes, but it’s also strong-smelling and can irritate eyes and lungs.
- Odorless Mineral Spirits (OMS) – These have the muscle of turpentine, but with much less scent. Still, even "odorless" versions can have fumes, so my friend Paul keeps his Wellington window open wide when painting with them.
- White Spirit – Cheaper, and pretty effective, but not much more gentle than the rest.
Solvents do one job: they thin oil paint and clean brushes. They break down the oily structure, making paint flow more like watercolor. Great for early stages when you want fluid strokes or a lean base layer. But there’s a catch: solvents evaporate quick and can strip paint of its body and brilliance. That’s why later in the painting process, most artists skip solvents and reach for mediums.
Check out this quick data spread about common solvents and their properties:
| Solvent | Scent | Evaporation Speed | Common Uses |
|---|---|---|---|
| Turpentine | Strong | Very Fast | First layers, cleaning |
| Odorless Mineral Spirits | Low | Fast | Thinning, cleaning |
| White Spirit | Moderate | Fast | Thinning, cleaning |
Tip: Always use a brush washer pot with two chambers or a jar with a coil at the bottom so sediment can settle away from your brush bristles. This keeps colors crisp and bristles alive for years.
Mediums: Customizing Your Paint Experience
Solvents get paint moving, but mediums are the real heart of oil painting. Mediums are liquid add-ons—the nerdy secret sauce you stir into your palette to nudge paint how you want it. Want glossy, translucent effects like New Zealand’s cloud reflections at dusk? Or thick, buttery impasto? It depends on what you mix in. Here’s what most painters keep at hand:
- Linseed oil – It’s the classic additive. It loosens the paint, boosts gloss, and slows drying a bit. Perfect for rich glazes or subtle blending work. Actually, linseed is often what originally makes pigment 'oil paint' in the factory.
- Stand oil – This is just thickened linseed oil. It creates super-smooth, glassy finishes and levels brushstrokes so well you’d swear the painting polished itself overnight. Slow to dry, though, so patience is key.
- Walnut oil – A gentler, slightly faster-drying alternative. Less likely to yellow over time, which is handy in places with strong sunlight like Wellington’s north-facing studios.
- Alkyd mediums – These turbo-charge drying times, getting you from touch-dry to ready-to-varnish sometimes within days. Gamblin’s Galkyd and Winsor & Newton’s Liquin are loved for this.
- Damar or resin-based mediums – They boost gloss and allow interrupted layering techniques straight from the techniques of Old Masters like Rembrandt.
Mediums aren’t a one-size-fits-all fix. One artist might swear by pure linseed; another blends three products to get the right flow. Some even make their own, boiling up mysterious brews. The rule of thumb is ‘fat over lean’—your underpainting uses mostly solvent (lean), and each layer after gets oilier (fat). That keeps your painting flexible and helps prevent cracking later.
Fun fact: Leonardo da Vinci experimented with his own oils and mediums. If he hadn’t, the Mona Lisa might have faded by now!
How NOT to Activate Oil Paint
Every beginner wants shortcuts, but oil painting doesn’t forgive errors easily. Here’s where you can go wrong fast:
- Using water. Oil and water literally can’t mix. If you add water, the paint will clump, streak, and refuse to stick or dry right. Some brands make “water-mixable oil paint” which works differently, but the usual stuff stays petrified under a water rinse.
- Piling on too much solvent or oil. Think about making soup—too much liquid, and your meal’s a mess. If your paint pools or beads up, you’re over-activating. The colors can look pale, grainy, or weak. If it runs off the canvas, you’ve gone way too far.
- Mixing synthetic and natural oils without a game plan. Some oils, like poppy seed, dry extra slow. If you paint fast-drying over slow-drying, the top layer might crack. The chemistry of painting is as real as cooking—and as tricky!
Pro tip: If you mess up, don’t just wipe it all down in despair. Scrape off the worst with a palette knife. If things get sticky, use a dab of solvent to lift the residue, then try again. Artists through history have done wild things to recover “ruined” paintings. If in doubt, call it a 'creative underpainting'.
The Practical Magic: Routine and Troubleshooting
Every oil painter develops rituals over time. Before I start, I set out a palette with a thumb-sized dollop of turpentine or mineral spirits, two neat puddles of linseed and stand oil, and a brush washer with crisp, clean spirits. I knead my paints a bit on a glass palette to soften them, especially on chilly Wellington mornings when even the bristle seems to shiver.
Here’s a foolproof way to activate oil paint for any style:
- Start with a drop or two of solvent—use just enough to spread the paint thinly for sketching out your ideas.
- As you build layers, switch to just adding oil medium. For detail work or dry scumbling, use paint straight from the tube. For blending and soft edges, use a touch of linseed or stand oil—don’t overdo it. The mix should look like slightly thickened cream, not milk or butter.
- Play with different ratios. In a typical session, I’ll use one part medium to two parts paint, unless I want a bold, transparent layer, in which case it’s usually fifty-fifty.
Ran out of medium? Try a dab of walnut oil or sunflower oil if you’re in a pinch. Some Kiwi painters have even used flaxseed oil in emergencies, but stick to art-quality products for consistency and longevity.
Common problems and quick fixes:
- If paint pulls or cracks while drying, you likely broke the fat-over-lean rule. Try applying an oilier glaze next layer.
- If your brush feels gummy, clean in spirits, wipe, then reload with straight paint or add a bit more medium.
- If colors look dull or chalky, try a glossing medium or a bit more oil—dry, absorbent surfaces soak up oil and kill vibrancy.
- If a painting takes forever to dry, use a bit of alkyd medium next time. It’s a common lifesaver in chilly New Zealand winters!
Your tools matter, too. Hog bristle brushes move thick paint well, but if you want delicate, glowing glazes, try soft sables or synthetics. And keep those brushes clean: nothing ruins subtle blending like a mucky brush still sticky from yesterday’s session. Merriweather swears by brushing them out in linseed oil before a final wash—old school, but it works a treat.
If you like to read numbers, here’s a rundown on popular drying times based on medium:
| Medium Type | Expected Drying Time (hours) |
|---|---|
| Pure Paint (no medium) | 18 - 36 |
| With Solvent | 4 - 8 |
| Linseed Oil | 24 - 48 |
| Stand Oil | 48 - 72 |
| Alkyd Medium | 6 - 24 |
So next time you pop a tube and wonder how to get that luscious, swirling color to actually move and flow, remember: forget water. Reach for your favorite solvent or oil, mix mindfully, and let your inner chemist loose. That’s what really activates oil paint—and brings your vision to life.