Realistic Painting Techniques to Bring Your Art to Life
If you want your paintings to look like a photograph, you need a toolbox of proven tricks. The good news? You don’t need a fancy studio or pricey supplies. A few core ideas—how to layer oil, when you can roll watercolor, and how to add texture—make a huge difference. Below you’ll find the most useful tips you can try right now.
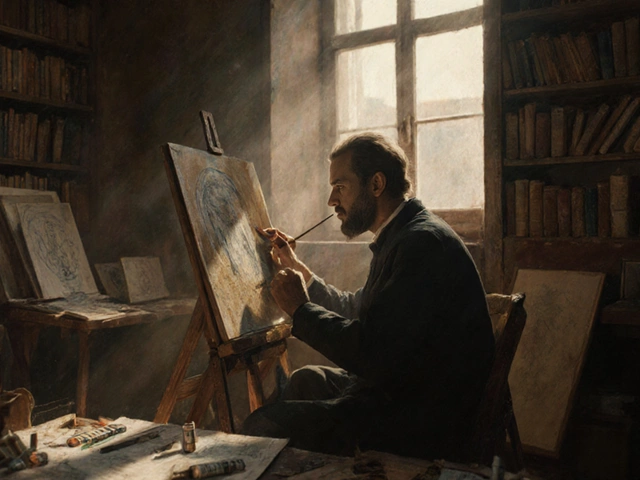
Build a Solid Foundation with Oil Paint Rules
The first rule every oil painter swears by is the “slow over fast” rule. Start with the thinnest, quickest‑drying layers and work toward thicker, slower‑drying paint. This stops cracks and keeps colors vibrant. A quick test: dab a thin wash of burnt sienna, let it dry, then add a thicker layer of cadmium red. If the red stays smooth, you’ve got it right.
Next, think about activation. Oil paint only moves when the right solvent or medium is in the mix. A few drops of linseed oil or a modern odorless solvent will loosen the paint enough to blend without turning it into a puddle. Mix in small amounts; you’ll see the paint open up and become easier to work with.
Finally, remember the “slow over fast” rule when you add details. A fine highlight on a wet underpainting will look flat; wait until that base is tacky, then place the highlight on top. The result is a natural shine that mimics real light.
Add Depth and Texture with Simple Tools
Texture can turn a flat scene into something you can almost feel. The scrubbing technique is a low‑tech wonder. Load a dry brush with a little paint, then drag it quickly across the canvas. The fibers of the brush leave broken, fuzzy marks that work great for foliage, stone, or skin pores. No need for special gels or impasto—just a brush and a bit of patience.
Watercolor artists often wonder if they can roll their work for storage. The short answer: yes, but only with heavy, well‑stretched paper that’s fully dry. Roll gently with the paint side outward to avoid creases. If you must ship a rolled piece, place it in a sturdy tube and add a stiff cardboard core. When you unroll, a quick damp press will flatten any lingering waves.
For those who love both media, digitizing your work gives you a backup and lets you experiment further. A flatbed scanner captures the true color range of watercolors, while a DSLR with a macro lens does wonders for oil textures. Once digital, you can tweak contrast or combine layers without messing up the original.
Putting these ideas together creates a realistic look faster than you might think. Start with a solid oil base, respect drying times, add texture with scrubbing, and protect your work with proper rolling or digitizing. Your paintings will move from “nice” to “wow” in a few practice sessions.
Try one tip today—maybe the slow‑over‑fast layering—and see how your next piece feels more three‑dimensional. You’ll notice the difference instantly, and the confidence will push you to experiment with the other techniques. Realistic painting isn’t magic; it’s just smart, simple habits that anyone can pick up.
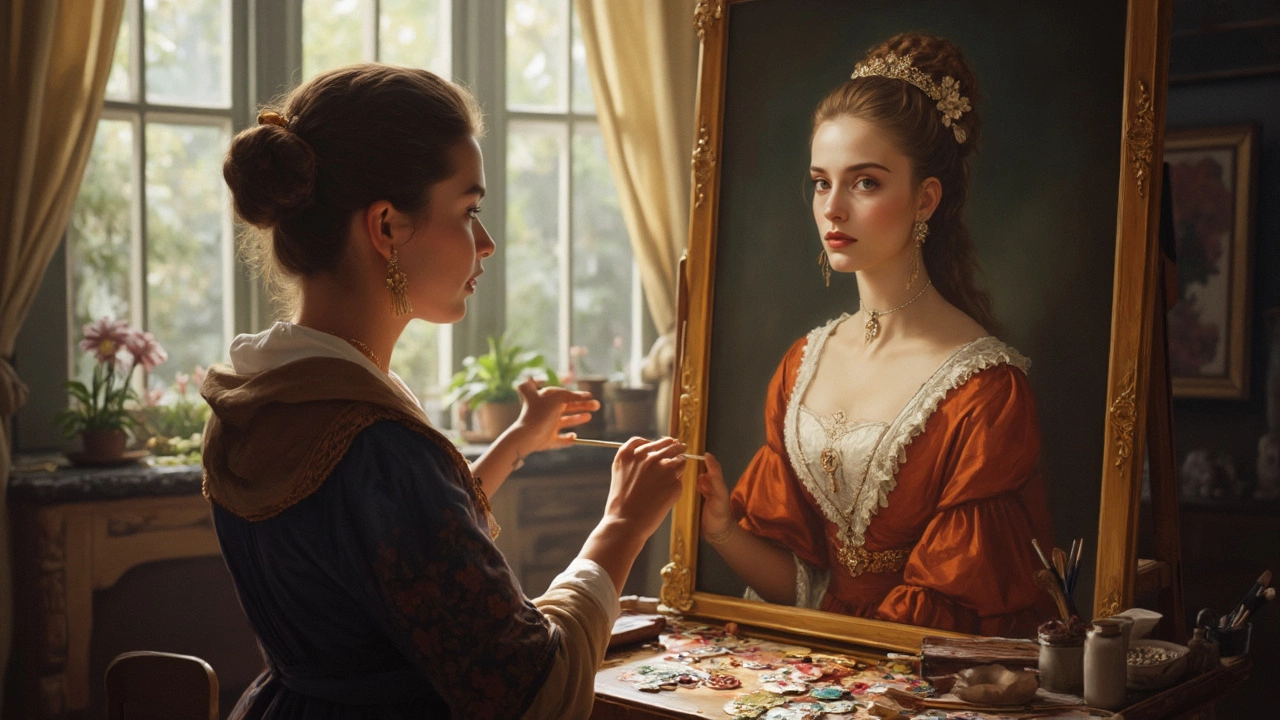
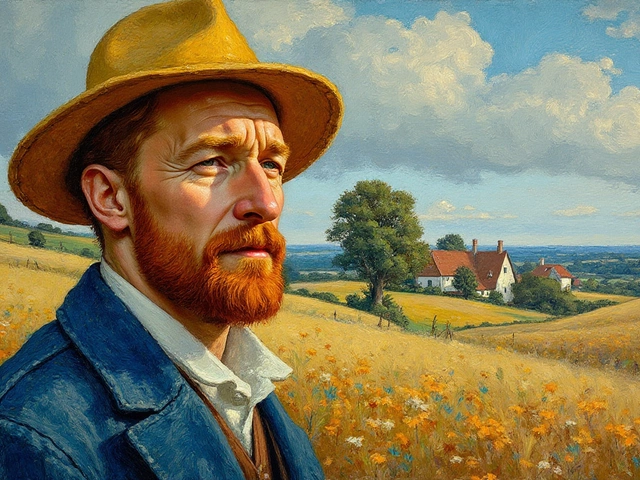
The Realism of Portrait Painting: Finding the Most True-to-Life Style
Portrait painting that captures realistic likeness has intrigued us for centuries. This article explores the characteristics that make portrait painting realistic, highlighting the techniques and styles that lend themselves to lifelike depictions. Whether you’re an artist or an admirer, discover tips and interesting facts that reveal how realism in portraiture captures the essence of the subject. Dive into the most effective tools and methods used by artists today. Learn about the artists who have mastered this art form and why their work speaks to the human experience.
Continue Reading