Photograph Artwork: Easy Tips for Capturing Paintings and Prints
If you’ve ever tried to snap a picture of a painting and ended up with glare or blurry edges, you’re not alone. Photographing artwork is a bit different from regular snap‑shooting because you want every color, texture, and detail to look true to the original. The good news? You don’t need an expensive studio. With a few smart choices, even a modest camera setup can give you gallery‑ready images.
Gear You Really Need
The biggest myth is that you must own a high‑end DSLR. In reality, a good mirrorless or even a recent smartphone with manual mode can do the job. What matters most is a stable platform – a tripod that won’t wobble. A tripod lets you use slower shutter speeds without blur, which is crucial when you’re shooting under soft light. Pair that with a neutral‑density (ND) filter if you’re working in bright rooms; it cuts down harsh reflections on glossy surfaces.
For lenses, a standard 50mm prime or a 24‑70mm zoom gives you flexibility without distortion. Avoid wide‑angle lenses unless you’re capturing a large mural and need to fit it all in one frame. A remote shutter release or the camera’s built‑in timer also helps keep the camera steady when you press the button.
Lighting and Setup Tricks
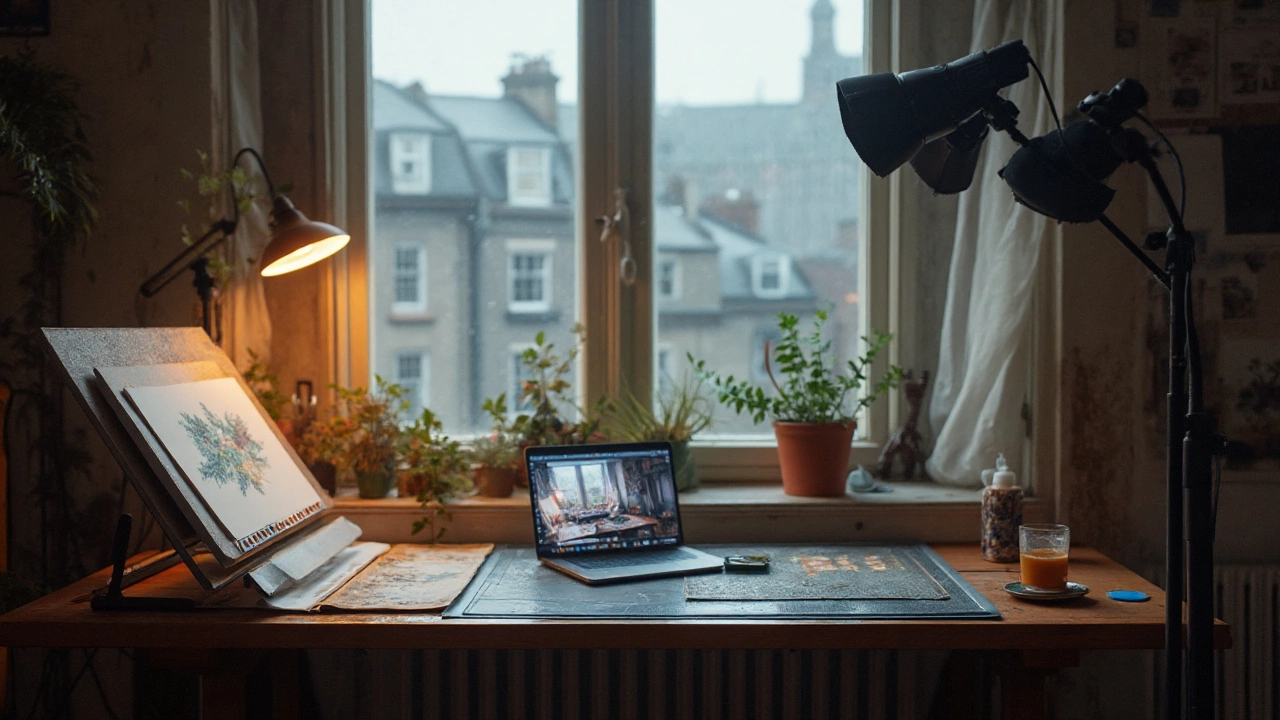
Lighting is the heart of art photography. Natural light from a north‑facing window provides soft, even illumination without color shifts. Position the artwork so the light hits it at a 45‑degree angle; this reduces glare and highlights texture. If natural light isn’t an option, use two softbox lights placed on either side of the piece, tilted slightly inward.
Make sure the light temperature is consistent. Set your camera’s white balance to “daylight” or use a custom Kelvin setting around 5600K. This keeps whites neutral and avoids the warm or cool tint that can make a blue sky look orange. When you’ve set up the lights, shoot in RAW – it gives you the most latitude in post‑processing to fine‑tune exposure and color.
Don’t forget to level the artwork. Use a bubble level or a straight edge to ensure the canvas or frame is perfectly vertical. Even a tiny tilt can make the final image look off‑center, especially when you crop later. A quick check with your camera’s grid overlay helps you spot any slant before you hit the shutter.
Once you have the shot, spend a few minutes in post‑processing. Adjust exposure to bring out faint details, correct any color drift, and sharpen selectively – too much sharpening can create halos. Export the final image as a high‑resolution JPEG or TIFF, depending on whether you need it for online use or print.
With these steps, photographing artwork becomes a repeatable routine rather than a guessing game. You’ll get crisp, true‑to‑life images that showcase every brushstroke, without spending a fortune on gear or studio rentals. Ready to try it out? Grab your camera, set up a tripod, and give your favorite piece a fresh, professional look.
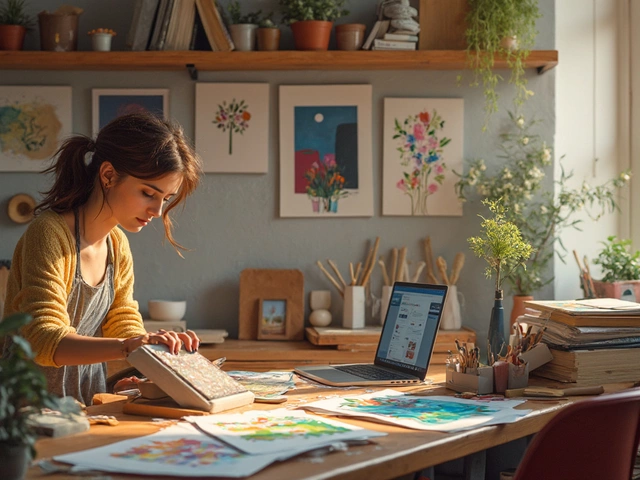
How to Turn Your Art into Digital Art: Scanner, Camera, and Pro Editing Workflow
A practical 2025 guide for beginners on digitizing drawings and paintings. Learn scanner vs camera workflows, color fixes, file formats, and print-ready exports.
Continue Reading