Modeling in Art: A Practical Guide for All Skill Levels
Modeling is the backbone of almost every art form – whether you’re shaping clay, drawing a live figure, or building a 3D character on a computer. It can feel intimidating at first, but breaking it down into small, doable steps makes the whole process a lot smoother. Below you’ll find straightforward advice you can start using today, no matter what medium you prefer.
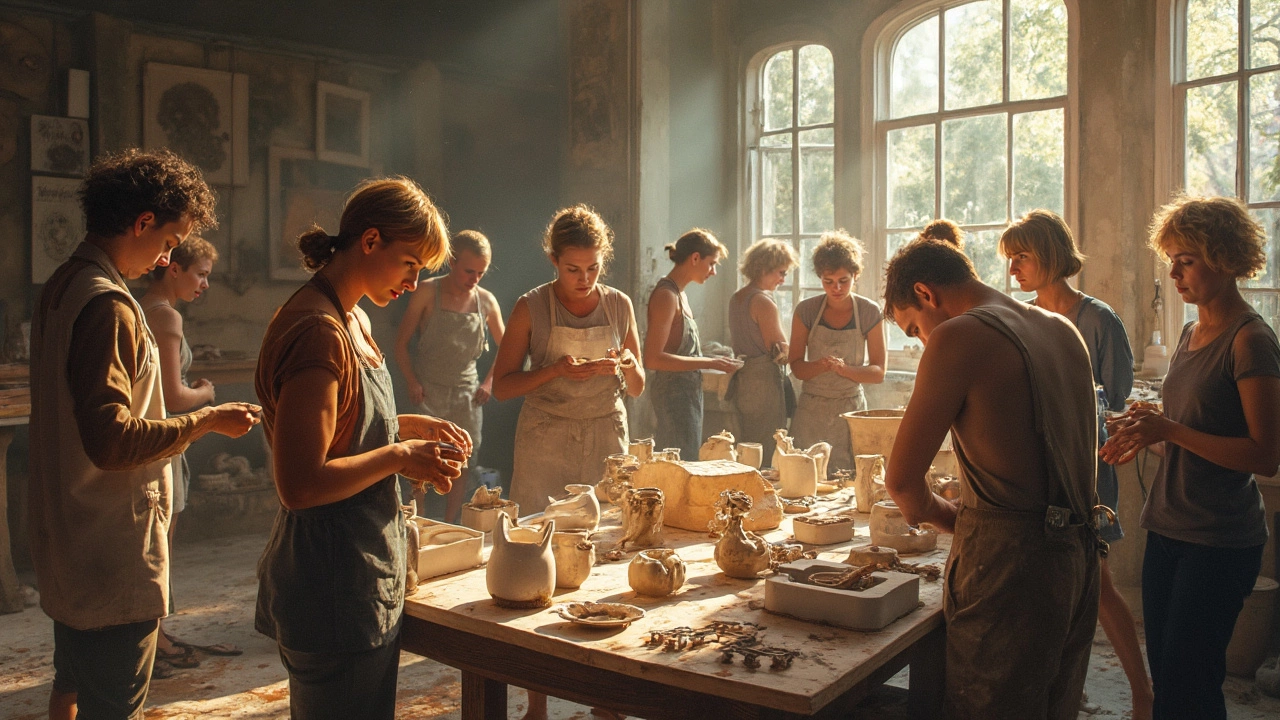
Physical Modeling: Sculpting and Figure Work
When you work with real materials, the first thing to remember is to stay loose. Pick up a simple tool like a wooden modeling stick or a flexible wire armature and start by blocking out basic shapes – think spheres for heads, cylinders for limbs. These forms give you a solid framework to add details later.
Don’t chase perfection on the first pass. Rough out the anatomy, then step back, twist your view, and add volume where it feels off. A quick tip: use a mirror to catch asymmetries you might miss. If you’re new to figure modeling, try observing a live model or a reference photo for just five minutes at a time. Short, focused sessions train your eye without overwhelming you.
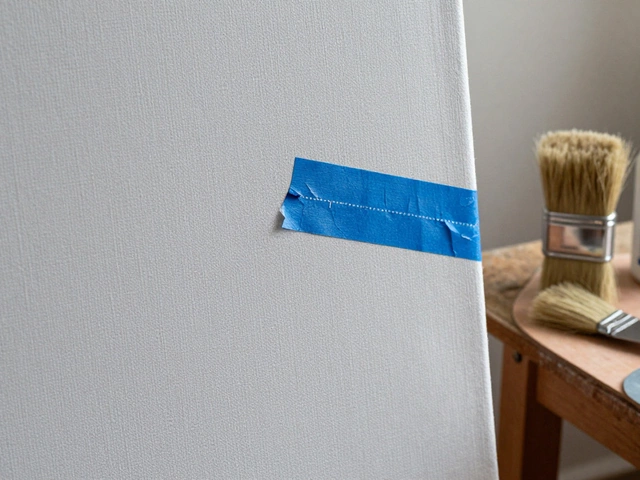
Materials matter, too. For beginners, oil-based clay is forgiving because it stays soft longer, letting you reshape without cracking. Once you’re comfortable, experiment with plaster or polymer clay for harder finishes. And always keep a spritz bottle handy – a light mist prevents the surface from drying too quickly, giving you more time to refine details.
Digital Modeling: From Sketch to 3D
Digital modeling follows many of the same principles as physical sculpting, only the tools are virtual. Start with a simple block-out in your favorite 3D software (Blender, ZBrush, or Maya work well). Use basic primitives – cubes, spheres, cylinders – to match the silhouette you’d create with clay.
One common pitfall is over‑refining too early. Keep the mesh low‑poly at first, focusing on the overall shape. Once the silhouette feels right, increase the polygon count and add finer details like wrinkles, folds, or surface texture. Think of it like adding layers of clothing: you wouldn’t wear a sweater before you have a shirt underneath.
Keep your workflow organized with naming conventions and layer groups. It saves minutes, sometimes hours, when you need to adjust a specific part later. And don’t forget to reference real‑world lighting – a quick test render can reveal where your model’s proportions need tweaking.
If you’re stuck, there are plenty of free resources: YouTube tutorials that walk through a single model from start to finish, online communities where artists share their work‑in‑progress, and downloadable base meshes you can modify. Use them as a learning scaffold, not a shortcut.
Whether you’re shaping a clay bust or a digital avatar, the core idea stays the same: start simple, iterate often, and trust your eye. With these habits, modeling becomes less of a mystery and more of a playful problem‑solving session. Dive in, make a mistake, fix it, and watch your skills grow fast.
Sculpture Techniques: The 4 Basics Every Artist Should Know
Sculpture isn’t just about chipping away at marble or molding bits of clay. Four main techniques—carving, modeling, casting, and assembling—shape almost everything you see in the world of three-dimensional art. This article strips away the jargon and breaks these down in plain English. Whether you want to get hands-on with materials or just understand how artists work their magic, you’re about to get a new appreciation for sculptures everywhere. Let's dig into what makes these techniques so different and so cool.
Continue Reading