Lighting Tips Every Artist Should Know
Good light can make a sketch pop, a painting shine, and a photo look sharp. If you’ve ever struggled with shadows or dull colors, you’re not alone. Below are simple steps to help you get the right light without buying expensive gear.
Choosing the Right Light Source
First, think about the kind of light you need. Daylight bulbs (5000‑6500K) mimic natural sunlight and show true colors. They’re perfect for painting because you can see the real hue of your pigments. If you work at night, a cool white LED desk lamp does the job without heating up the room.
Cheap desk lamps often have a built‑in diffuser. That spreads the light evenly and cuts harsh shadows. If your lamp has a focused beam, add a simple white sheet or a piece of tracing paper in front of it. You’ll get soft, even light in seconds.
Controlling Light in Your Workspace
Position matters. Place your light source at a 45‑degree angle from your canvas or easel. This angle reduces glare and lets you see texture. If you’re photographing a finished piece, use two lights – one on each side – to balance highlights and shadows.
Don’t forget about ambient light. A bright window can flood your studio with natural light, which is great in the morning but can change color temperature as the day goes on. Use sheer curtains to filter harsh sunlight and keep the light consistent.
If you need to dim the light, a simple lamp dimmer or a pull‑chain works fine. Dimming lets you see subtle shifts in tone without straining your eyes. For video tutorials, a ring light around your camera gives even illumination and makes your face look clear.
When you’re setting up for an art exhibition, think about spotlights. Small LED spotlights with a narrow beam focus attention on a single piece. Place them a foot or two above the artwork and angle them slightly down. This highlights details and draws viewers in.
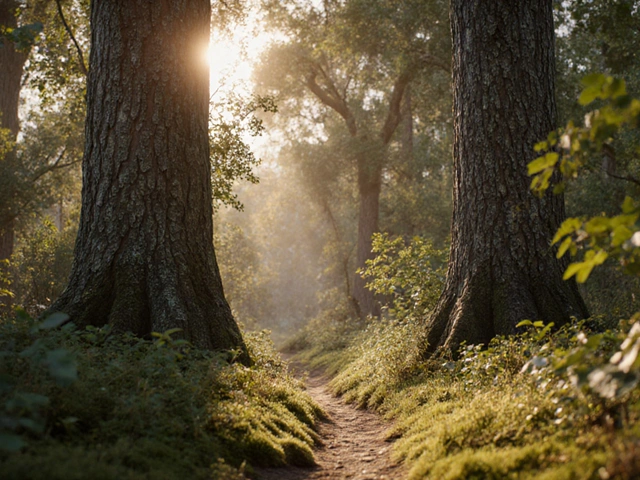
For photographers, the “golden hour” – the hour after sunrise or before sunset – provides a warm, soft light that flatters portraits and still‑life. If you can’t shoot outside, mimic that look with a warm LED panel and a diffuser.
Keep your lights clean. Dust on a bulb can scatter light and create unwanted color casts. A quick wipe with a dry cloth keeps the output bright and true.
Finally, test your setup. Take a photo of a color swatch under your lighting and compare it to the original. If the colors look off, adjust the distance or add a filter. The more you experiment, the faster you’ll discover what works for you.
Good lighting isn’t a secret – it’s about using the right tools, positioning them smartly, and tweaking until the result looks right. Try these tips in your next session and see the difference straight away.
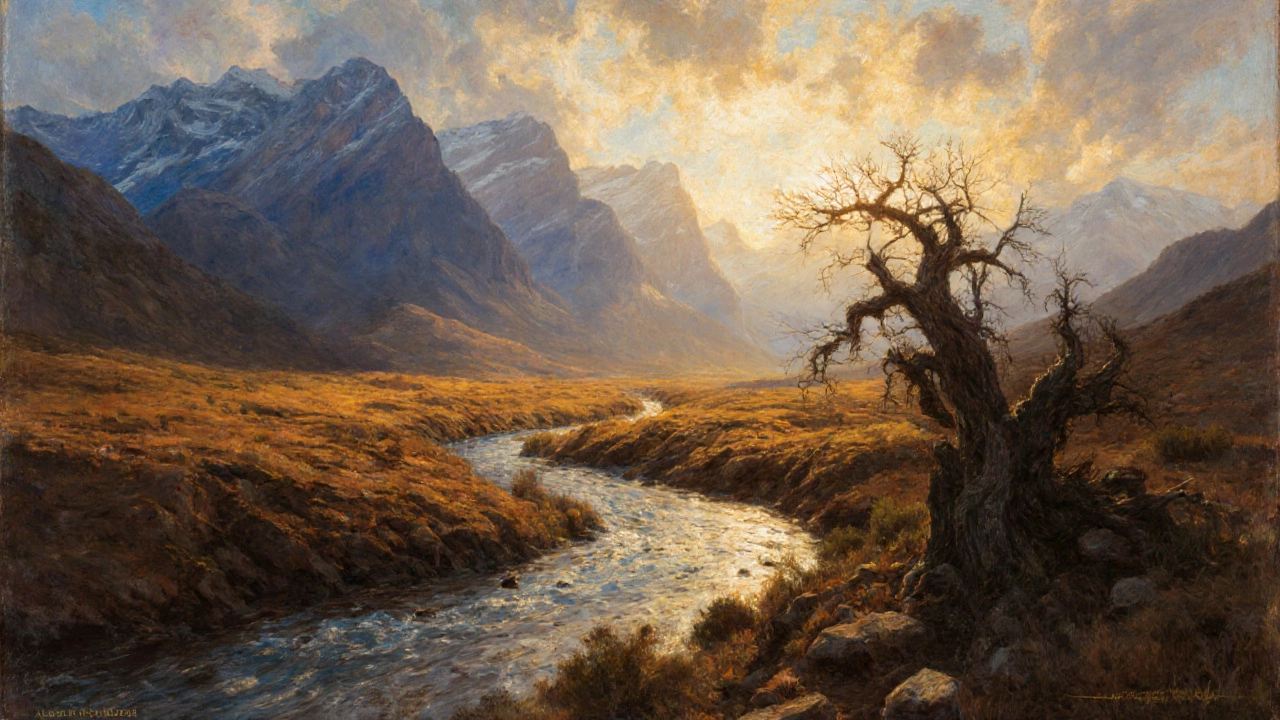
What Are the 4 Essentials to a Landscape Photo?
Discover the four essential elements-composition, lighting, depth, and color harmony-that make landscape paintings unforgettable. Learn how to turn ordinary scenes into powerful art.
Continue Reading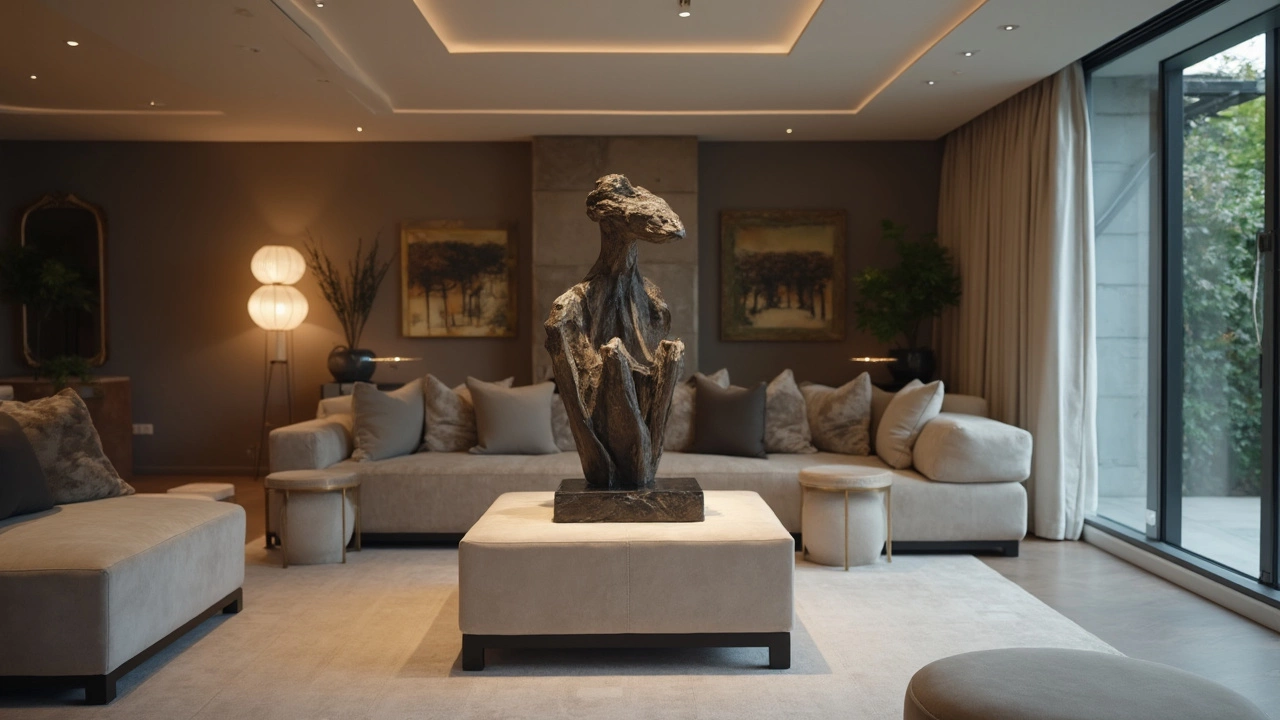
Sculpture Display: Two Things That Matter Most
Figuring out how and where to display a sculpture can make or break the whole experience for viewers. This article breaks down the two most important things you should seriously think about before setting your sculpture on a pedestal or in your living room. Get practical suggestions, learn from real examples, and avoid common mistakes that could leave your sculpture overlooked. Make your artwork stand out the way it deserves. Find out which factors really move the needle.
Continue Reading