Digitize Art: Simple Steps to Turn Your Creations into Digital Files
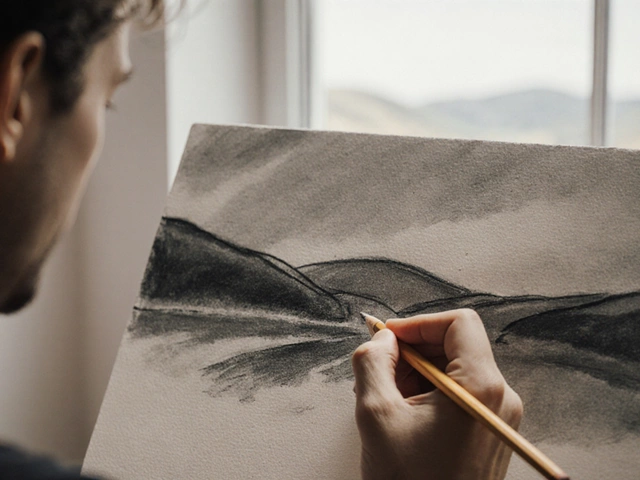
Got a pile of sketches, paintings, or sculptures you’d love to keep forever? Turning them into digital files is the fastest way to protect, share, and sell your work. You don’t need a fancy studio – just a few tools and some basic know‑how. Below you’ll find a clear roadmap that takes you from a messy desk to a tidy online gallery.
Pick the Right Capture Method
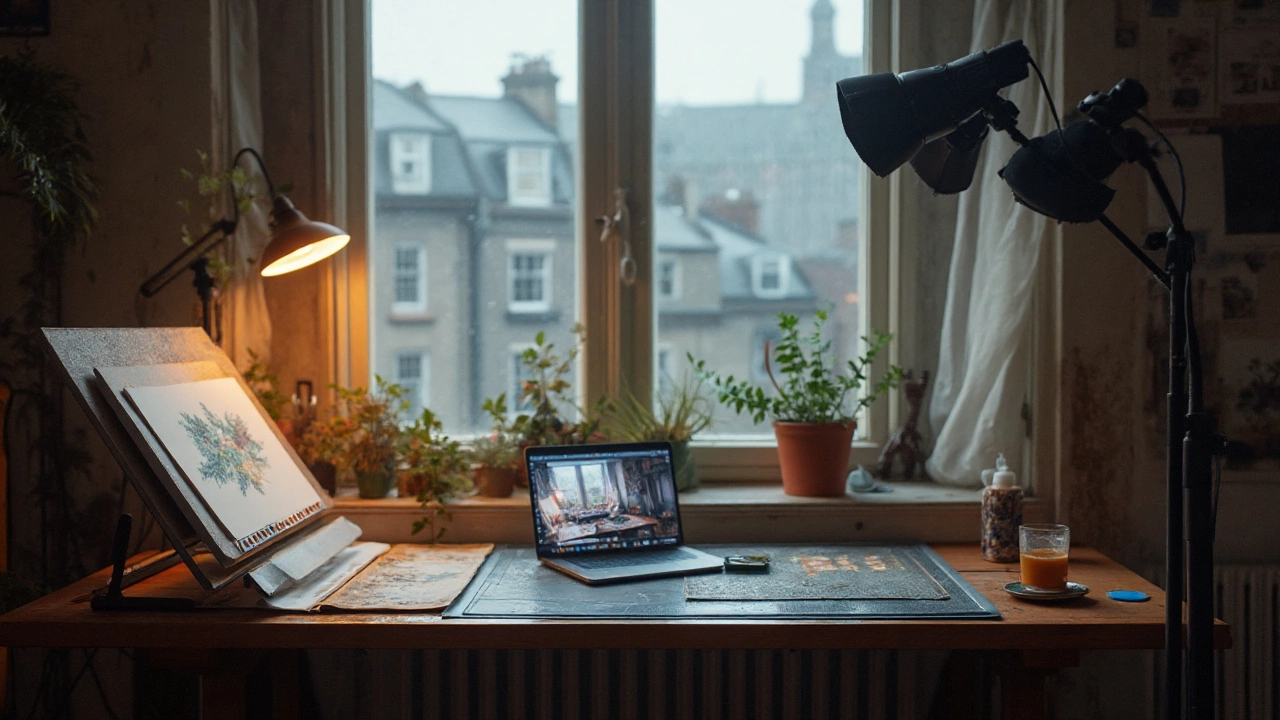
First, decide how you’ll capture the piece. For flat work like drawings, watercolors, or prints, a flat‑bed scanner gives crisp detail and true color. Set the scanner to 300‑600 dpi for a balance of quality and file size. If you’re dealing with large paintings, textured pieces, or three‑dimensional sculptures, a good camera works better. Use a DSLR or a smartphone with a high‑resolution sensor, and place the artwork on a clean background. Natural light from a window or a softbox reduces shadows – just avoid direct sunlight that can cause glare.
When you photograph, keep the camera level with the artwork. A tripod helps avoid blur, especially in low light. Shoot multiple angles for 3‑D objects so viewers can see depth. Once you have the raw files, you’re ready for the next step.
File Formats, Editing, and Storage
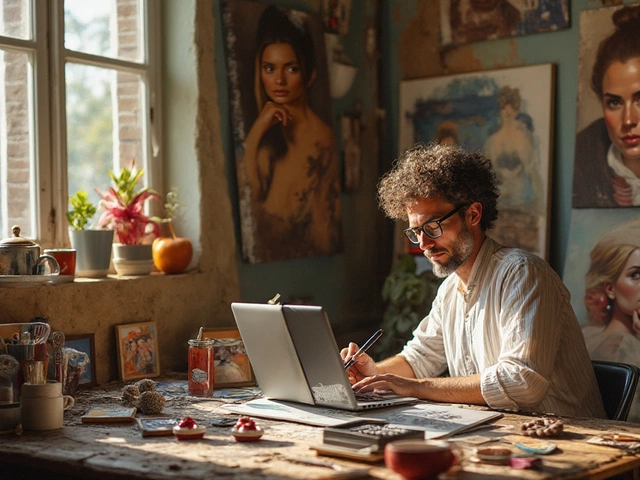
Raw captures often need a little cleanup. Use free software like GIMP or paid tools like Photoshop to adjust exposure, crop excess space, and correct colors. Save a master copy in a lossless format such as TIFF or PNG – these keep every detail intact. For everyday sharing, create smaller JPEG versions (under 2 MB) so pages load quickly. Name files clearly, for example “2024_Spring_Watercolor_01.tif,” to make future searches a breeze.
Backing up is crucial. Store the master files on an external hard drive and a cloud service like Google Drive or Dropbox. A 3‑2‑1 backup rule works well: three copies, on two different media, with one off‑site. This protects you from hard‑drive failures or accidental deletions.
Now that your art is digital, you can build an online portfolio, sell prints on platforms like Etsy, or submit high‑resolution files to galleries. Use descriptive tags and alt text so search engines can find your work. Adding a short story about each piece boosts engagement and helps buyers connect with your art.
Finally, think about copyright. Watermark low‑resolution preview images if you’re worried about theft, but keep the original files free of marks for printing and licensing. Registering key pieces with a copyright office adds an extra layer of protection.
Digitizing your art doesn't have to be a chore. With a scanner or camera, basic editing, and solid backup habits, you can preserve your creations for years and reach a global audience. Start with one piece today, follow the steps above, and watch your art come alive online.
How to Turn Your Art into Digital Art: Scanner, Camera, and Pro Editing Workflow
A practical 2025 guide for beginners on digitizing drawings and paintings. Learn scanner vs camera workflows, color fixes, file formats, and print-ready exports.
Continue Reading