Casting in Art: Simple Steps to Turn Ideas into Solid Pieces
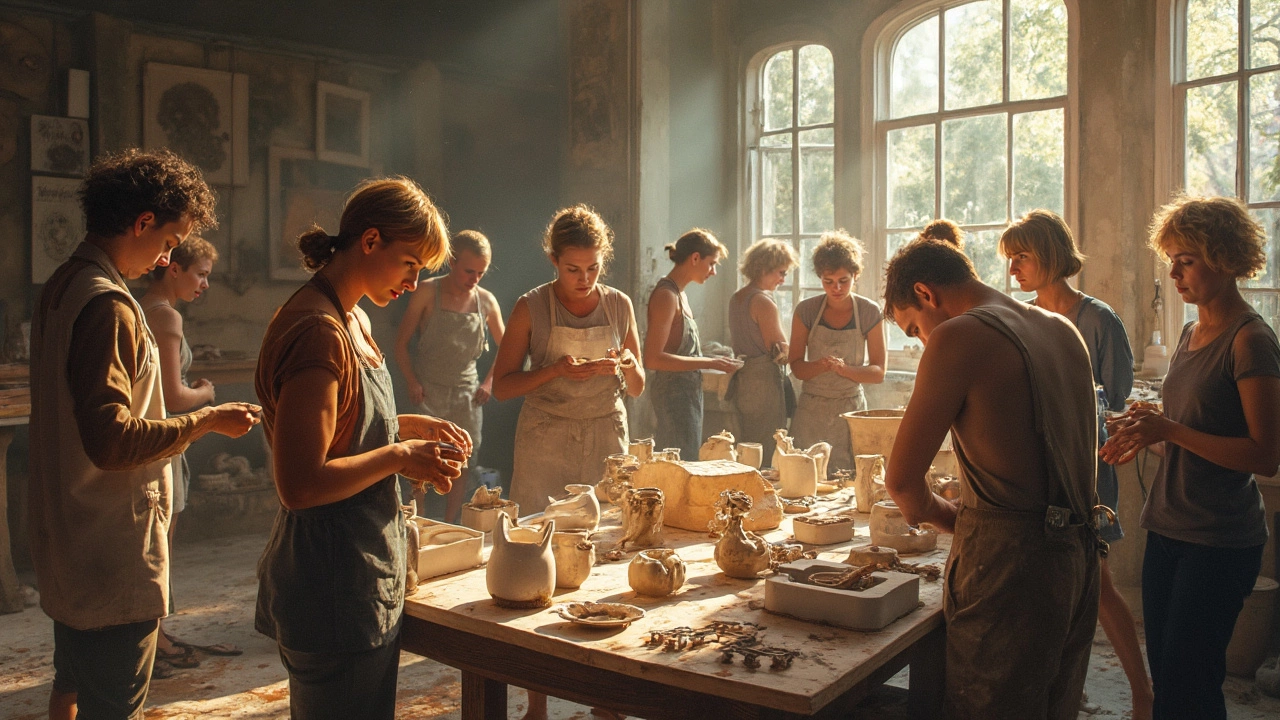
Ever wondered how a painter's sketch can become a three‑dimensional statue? That’s casting. It’s the process of pouring a liquid material into a mold so it hardens into the shape you want. Whether you’re a hobbyist or a seasoned sculptor, mastering a few basics lets you create objects that look professional without a huge studio.
Pick the Right Material for Your Project
First decision: what will you cast? Plaster is cheap and great for beginners; it sets fast and is easy to sand. For durable pieces, try resin or concrete—both hold fine details but need proper ventilation. Metal casting (like bronze) is exciting but requires higher heat and safety gear. Choose based on budget, size, and the finish you’re after.
Build a Solid Mold That Holds Shape
The mold is the heart of casting. Silicone rubber is popular because it captures tiny details and releases easily. If you’re on a budget, you can make a two‑part mold from latex or even use plastic containers for simple shapes. Remember to apply a release agent—spray or petroleum jelly—to avoid the material sticking and tearing your mold.
When mixing your casting material, follow the manufacturer’s ratio exactly. Too much water or catalyst leads to weak spots, while too little makes the mix hard to pour. Stir slowly to keep air bubbles out, then tap the mold gently to let any trapped bubbles rise to the surface.
Once poured, let the piece cure undisturbed. Plaster may need just an hour, while resin can take several hours or overnight. Patience here saves you from cracks or unfinished surfaces later.
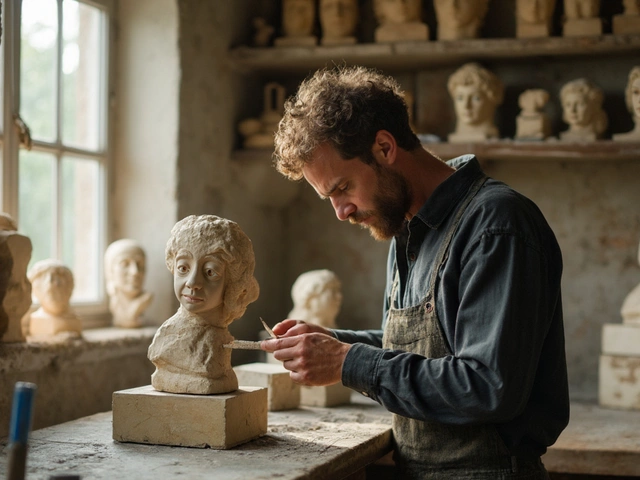
After curing, remove the piece from the mold carefully. If you used silicone, the release should be smooth; for harder molds, a gentle twist and a plastic tool can help. Inspect the cast for bumps or seams—those are easy to sand away with fine‑grit sandpaper.
Finishing gives your cast that polished look. Start with a coarse grit if you need to level rough spots, then move to finer grits for smoothness. For resin or metal, a light coat of clear epoxy adds shine and protects against moisture. Plaster can be primed and painted just like a canvas.
Safety matters. Always wear gloves, a mask, and work in a well‑ventilated area, especially when using resin or metal. Keep a fire extinguisher nearby if you’re melting metals. A clean workspace prevents accidental spills that can ruin both your mold and your health.
Got a mistake? No problem. If bubbles appear, try a vacuum chamber or simply tap the mold harder before pouring. If the cast cracks, it might be drying too fast—add a retarder or lower the room temperature. Small tweaks often fix big issues.
Now you have a clear roadmap: choose material, make a good mold, mix and pour correctly, let it cure, then finish and stay safe. With practice, you’ll move from simple hand‑crafted objects to more complex sculptures that impress clients or friends. Happy casting!
Sculpture Techniques: The 4 Basics Every Artist Should Know
Sculpture isn’t just about chipping away at marble or molding bits of clay. Four main techniques—carving, modeling, casting, and assembling—shape almost everything you see in the world of three-dimensional art. This article strips away the jargon and breaks these down in plain English. Whether you want to get hands-on with materials or just understand how artists work their magic, you’re about to get a new appreciation for sculptures everywhere. Let's dig into what makes these techniques so different and so cool.
Continue ReadingCategories
Most popular
-

-

-

-
 What Type of Artist Makes Sculptures? Apr 4 2025
 -