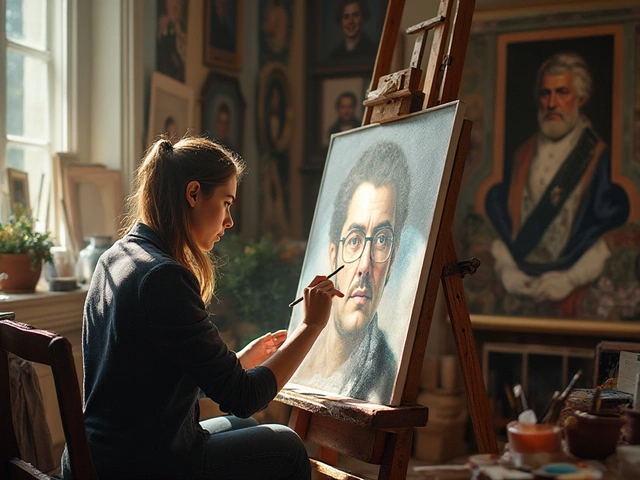
Blending Techniques in Art – Simple Tips for Better Paintings
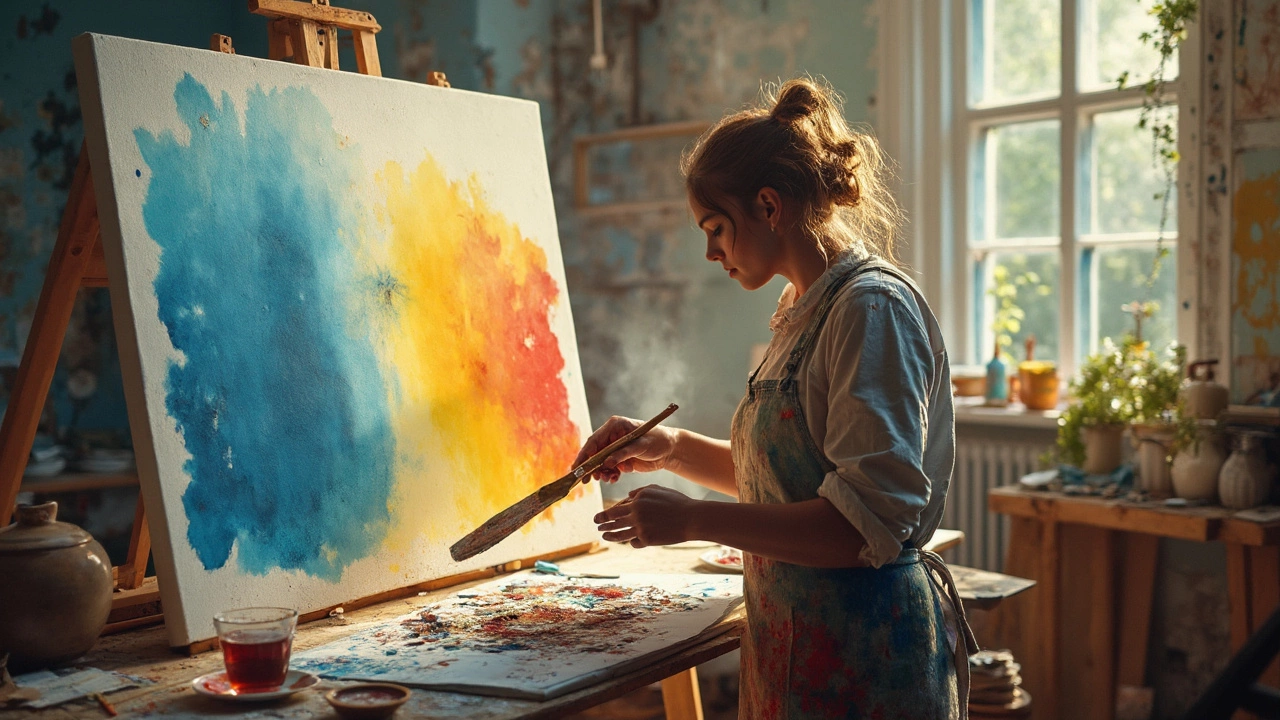
Blending is just mixing colors or tones so they flow together without harsh lines. Whether you’re working with watercolors, oils, pencils or a tablet, good blending makes your work look smooth, realistic and professional. The good news? You don’t need fancy gear – a few habits and the right approach can lift your art instantly.
Why blending matters in every medium
In oil painting, smooth transitions give depth and keep your layers from cracking. The classic “slow over fast” rule tells you to paint slower‑drying oils on top of quicker‑drying ones, which helps the blend stay stable. In watercolor, proper blending keeps the paper from buckling and lets you create soft skies or delicate washes. Even pencil sketches look more three‑dimensional when you feather the shadows instead of leaving straight edges.
Easy ways to boost your blending skills
Choose the right brush or tool. A soft sable brush works wonders for oil and acrylic blending, while a flat water‑color brush helps spread pigment without streaks. For pencils, a blending stump or even a clean tissue can soften graphite without smudging the whole page.
Keep your medium moist. With oils, add a few drops of medium or solvent to keep the paint workable. Acrylic dries fast, so use a retarder or a spritz bottle to extend the blending window. Watercolors love a damp surface – wet‑on‑wet technique gives a seamless gradient.
Practice the scrubbing technique. Scrubbing – a quick, back‑and‑forth brush motion – creates texture and can blend colors in a controlled, gritty way. It’s especially useful for adding realism to rocks or foliage. Try it on a small area first to see how the pressure affects the blend.
Use color theory wisely. When mixing portrait skins, start with a base that matches the medium’s undertone, then add small amounts of complementary colors to get natural variation. This avoids the flat “muddy” look that beginners often get.
Layer gradually. Whether you’re doing acrylic or digital art, build color in thin layers. Each layer should be just a hint of the final hue, allowing you to adjust the blend as you go. This method also mirrors the “slow over fast” principle in oil painting, keeping the piece stable.
Try digital blending tools. In Photoshop or Procreate, use the soft brush with low opacity and build up color slowly. The same principle applies – work in layers, keep the brush pressure light, and watch the colors melt together.
Finally, set aside a few minutes each day for a quick blending drill. Pick a simple shape, like a sphere, and practice moving from light to dark and back again. Over time you’ll notice your hand steadier, your brush strokes more deliberate, and your artwork smoother.
Blending isn’t a mystery reserved for master painters. With the right tools, a bit of patience, and these straightforward habits, you’ll see noticeable improvement in every piece you create. Grab your brush, give it a try, and watch the colors come alive.
Smearing Technique in Oil Painting: What It Is and How to Use It
This article unpacks the smearing technique in oil painting—what it is, how artists use it, why it matters, and how you can start practicing it. Learn when smearing makes sense, what tools help get that smooth finish, and get clever tips to avoid turning your canvas into a muddy mess. Perfect for both beginners and anyone looking to expand their painting toolkit. Discover secrets from pros and how smearing can make your paintings pop.
Continue Reading