Beginner Watercolor Guide: Essential Tips to Start Painting Today
If you’ve never held a wet brush before, the idea of watercolor can feel a bit scary. The good news? You only need a few basic tools and a couple of simple habits to get good results fast. In the next few minutes you’ll learn what to buy, how to mix colors, and three practice exercises that build confidence.
Choosing the Right Materials
Start with a pad of 140‑300gsm cold‑press paper. It’s thick enough to handle water without warping, and its textured surface helps paint stick where you want it. A 9‑inch block is cheap and portable, perfect for quick sketches.
Pick a set of three to five student‑grade tubes or pans. You don’t need the most expensive pigments; the key is to have a primary (yellow), a secondary (blue), and a earth tone (burnt sienna). You can mix a wide range of hues from these basics.
Round brushes in sizes 2, 6, and 10 cover most beginner tasks. A round tip gives you control for fine lines, while the larger brush lets you lay down washes quickly. Keep a jar of clean water nearby and a scrap towel for blotting.
Basic Techniques Every New Watercolorist Should Try
Wet‑on‑wet. Wet the paper with clean water, then drop in pigment. The color spreads naturally, creating soft edges. Try a single wash of blue across the page, then add a touch of yellow to watch a green bloom appear.
Wet‑on‑dry. Paint directly onto dry paper for sharper lines. Use this for adding details after a wash dries, like the veins of a leaf or the outline of a simple mountain.
Dry brush. Load your brush with pigment, then brush off most of the water on a towel. Lightly drag the brush across dry paper for texture that looks like grass or rough bark.
Practice exercise #1: Paint a gradient from light to dark using just one color. Start with a lot of water on the left side and gradually add less water as you move right. This teaches you how to control dilution.
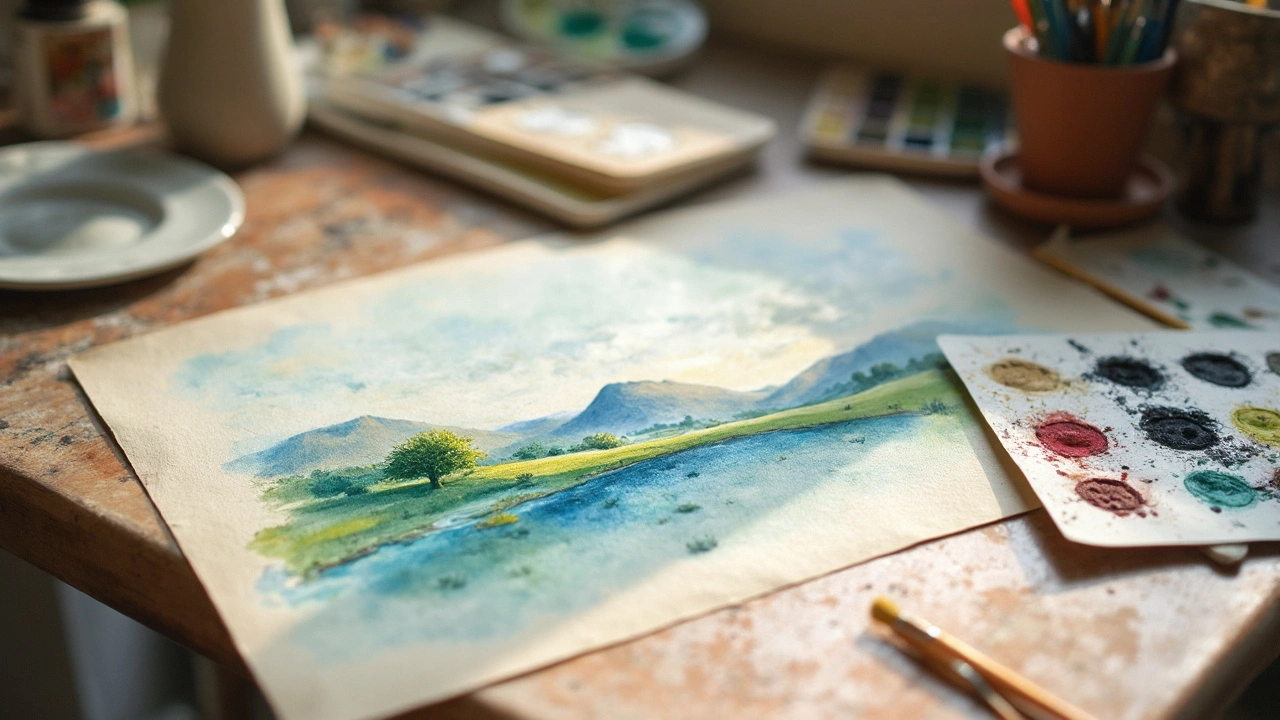
Practice exercise #2: Create a simple sky‑and‑hill landscape. Lay a wet‑on‑wet blue wash for the sky, let it dry, then add a wet‑on‑dry green hill in front. Finish with dry‑brush tree trunks.
Practice exercise #3: Make a color‑mixing chart. Paint five swatches of pure yellow, then add increasing drops of blue to each swatch. You’ll see the full range from yellow to green, helping you understand how pigments interact.
When a wash looks too light, wait for it to dry and then add another layer. This “building‑up” technique avoids muddy colors and lets you fix mistakes without scrubbing the paper.
Finally, always clean your brush between colors. A quick rinse removes pigment residue, so the next color stays true. If you’re in a hurry, a quick dip in a bowl of water works just as well as a full wash.
With these tools, materials, and three core techniques, you’re ready to start experimenting. Remember, watercolor is about playing with water; the more you practice, the more the paint will respond to your hand. Grab your pad and get painting—your first confident watercolor is only a few strokes away.
Why is Watercoloring So Hard? Honest Truths and Handy Fixes
Watercolor painting looks simple, but most people struggle with it right from the start. The paint runs wild, the paper wrinkles, and colors don't always blend the way you expect. This article unpacks why watercoloring can be so tough and what makes it trickier than other media. You'll find concrete tips to help you relax and actually enjoy the process, plus a few facts about how pros handle common mistakes. Time to put those fears about watercolor to rest.
Continue ReadingCategories
Most popular
-
-

-
 Discovering the Most Watched Musical in History Jan 17 2025
 -
-