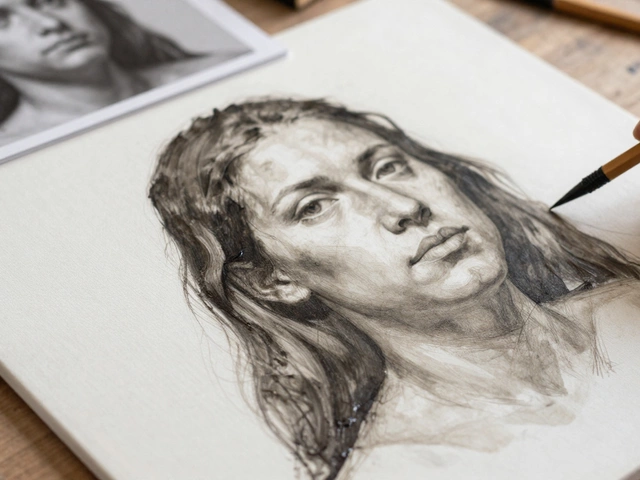
Portrait Master: Interactive Checklist
Evaluate your current portrait project or study a reference image using the three pillars of great portraiture. Adjust the settings below to see how specific choices impact the final result.
Portrait Assessment
Pending...Select your options and click "Analyze Portrait" to receive feedback on your artistic choices.
You’ve probably stood in front of a portrait that stopped you cold. Maybe it was at a gallery, maybe on your phone screen. You couldn’t quite put your finger on why, but the person in the painting felt alive. They weren’t just paint on canvas; they were looking back at you. That magic isn’t accidental. It’s not just about having a steady hand or expensive brushes. It comes down to mastering three specific elements that turn a mere likeness into a compelling piece of art.
If you’re struggling with portraits that look flat, lifeless, or like a passport photo gone wrong, you’re likely missing one of these pillars. We aren’t talking about vague artistic concepts here. We’re talking about concrete tools you can use immediately: how you handle Light, how you build Form, and how you establish Connection.
| Element | Primary Function | Common Pitfall | Pro Tip |
|---|---|---|---|
| Light | Defines volume and mood | Flat, even lighting | Use side-lighting to reveal texture |
| Form | Creates structural believability | Drawing outlines instead of shapes | Think in planes, not lines |
| Connection | Engages the viewer emotionally | The "dead stare" | Focus on the eye highlights |
Mastering Light to Reveal Character
Light is the most powerful tool in your kit because it does two things simultaneously: it shows us what the face looks like, and it tells us how the subject feels. Beginners often make the mistake of trying to capture every detail evenly. They light the face from the front so there are no shadows. The result? A mask. Without shadow, there is no depth. Without depth, there is no drama.
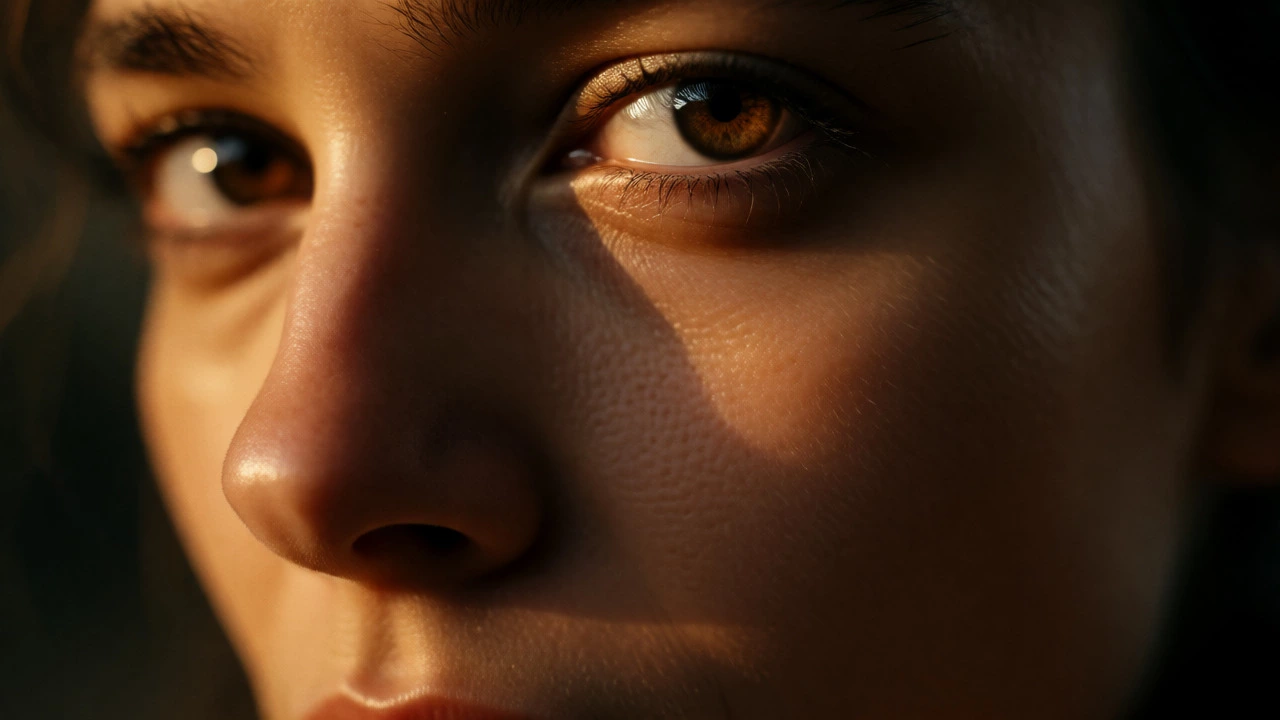
Think about Rembrandt. His portraits work because he wasn’t afraid of darkness. He used a technique now known as Rembrandt Lighting, where a small triangle of light appears under the eye opposite the light source. This isn’t just a stylistic choice; it’s a way to sculpt the cheekbone and nose without cluttering the image with too many details. When you control the light, you control where the viewer looks. If you want to emphasize sadness, let the shadows swallow half the face. If you want confidence, hit them with direct, hard light that leaves nowhere to hide.
In Wellington, where the weather shifts from bright sun to moody grey in minutes, natural light is unpredictable but valuable. Use it. Stand by a north-facing window (if you’re in the Southern Hemisphere) to get soft, consistent illumination. Notice how the light wraps around the curve of the forehead. Capture that transition. Don’t just paint "skin color." Paint the gradient from warm highlight to cool shadow. That contrast is what makes the skin feel translucent rather than plastic.
Building Believable Form Through Structure
Once you have your light, you need something for that light to hit. That’s form. Many artists fail at portraits because they draw eyes, noses, and mouths as separate stickers on a blank oval. But faces aren’t flat surfaces with features glued on. They are complex structures made of bone and muscle. To get a great portrait, you have to understand the underlying architecture.
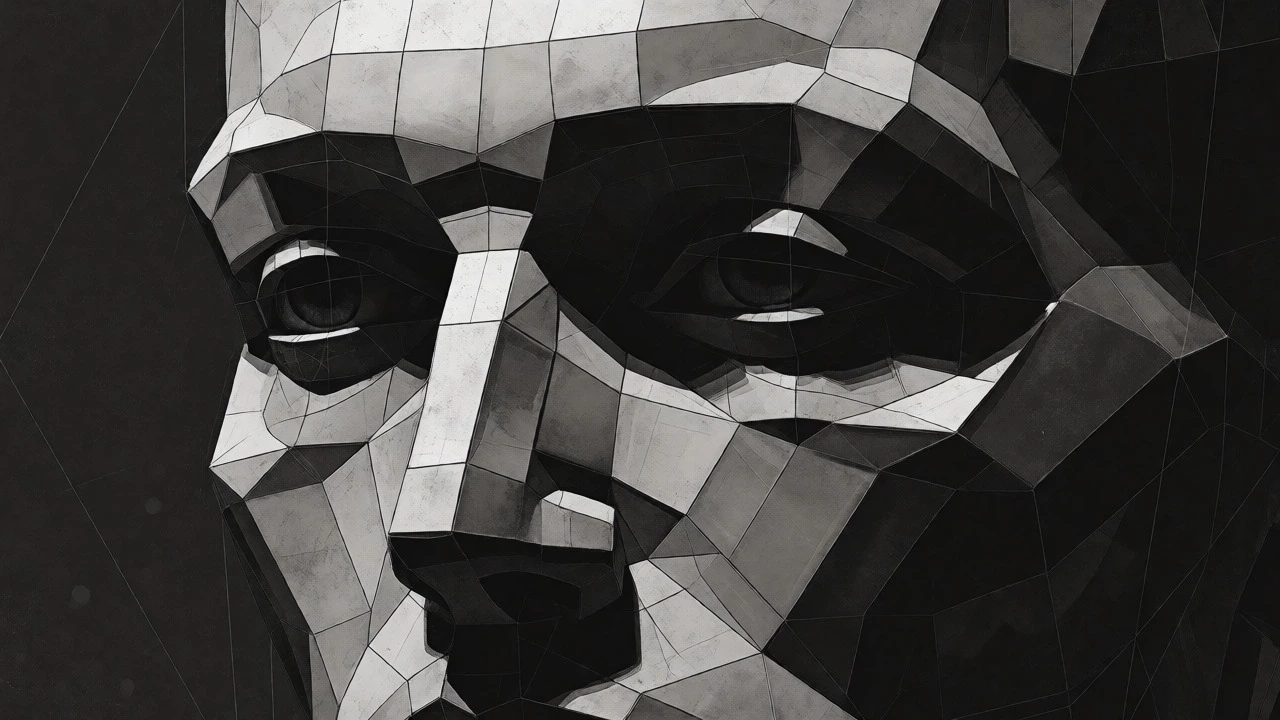
This is where the concept of Planar Analysis saves you. Imagine the face is made up of distinct flat planes-the top of the forehead, the bridge of the nose, the cheeks, the jawline. Each plane catches light differently. When you paint, ask yourself: "Which plane am I on right now?" Are you on the side of the nose facing away from the light? Then it should be darker. Are you on the tip of the nose facing the light? Then it’s brighter. By thinking in planes, you stop worrying about drawing perfect eyelashes and start building a head that occupies real space.
A practical exercise: squint at your reference photo until the details blur out. What do you see? Big shapes of light and dark. Those are your forms. If you can’t read the structure when you squint, your portrait will fall apart when you zoom in. Start broad. Block in the major masses of the head before you ever touch an eye. Get the tilt of the skull right. Get the angle of the jaw correct. Once the structure holds up, the features become easy to place. Remember, anatomy isn’t about memorizing medical textbooks; it’s about understanding how muscles pull and bones protrude under the skin.
Establishing Emotional Connection
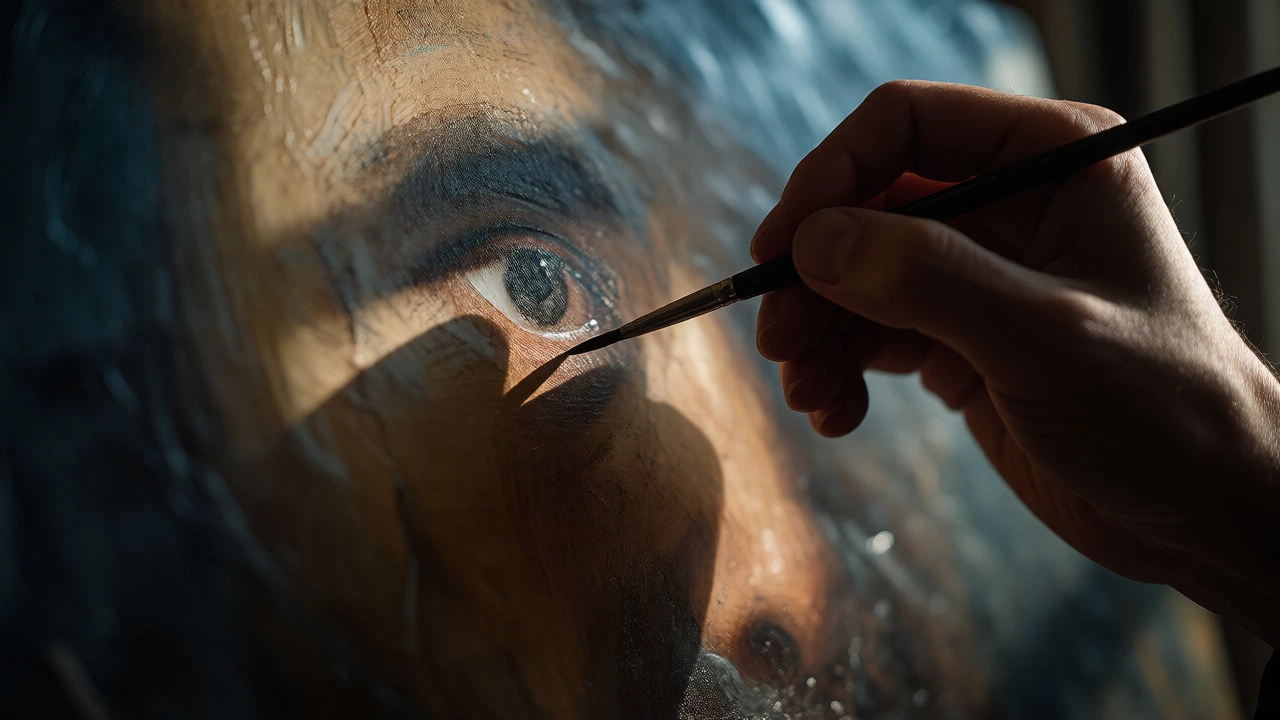
You can have perfect lighting and flawless anatomy, but if the subject looks bored, the portrait fails. The third element-connection-is what turns a technical exercise into art. This lives almost entirely in the eyes. There’s a saying among painters: "The eyes are the windows to the soul," and while it’s cliché, it’s technically accurate. The micro-expressions around the eyes determine whether a subject looks angry, kind, tired, or engaged.
So, how do you create connection? First, focus on the Specular Highlight. This is the tiny reflection of the light source in the eye. Without it, the eye looks dry and dead. Placing that white dot correctly gives the eye moisture and life. Second, consider the gaze. Is the subject looking directly at you? That creates intimacy and confrontation. Are they looking off-canvas? That suggests contemplation or distraction. Choose your direction deliberately. A direct gaze demands attention; an indirect gaze invites curiosity.
Don’t neglect the rest of the face, either. The tension in the mouth, the furrow of the brow, the set of the shoulders-all contribute to the narrative. If you’re painting a friend who is laughing, don’t just paint a smile. Paint the crinkles at the corners of their eyes and the lift of their cheeks. Authenticity comes from observing the whole body language, not just the facial features. If the subject seems stiff, loosen your brushwork. Let the paint breathe. Sometimes, leaving a little roughness adds more energy than polishing everything to a shine.
Putting It All Together: A Workflow
How do you juggle these three elements without getting overwhelmed? Try this workflow:
- Step 1: Assess the Light. Before you pick up a brush, study your reference. Identify the primary light source. Mark the core shadow line. Decide on the mood.
- Step 2: Map the Form. Sketch the basic planar structure. Ignore details. Focus on the big shapes of light and shadow. Ensure the head feels three-dimensional.
- Step 3: Refine Features. Now add the eyes, nose, and mouth. Keep them aligned with the planes you established. Check proportions constantly.
- Step 4: Inject Life. Add the specular highlights in the eyes. Adjust the expression. Look at the painting from a distance. Does it feel alive? If not, tweak the contrast or the gaze direction.
This sequence prevents you from getting lost in details too early. You build the house (form), open the windows (light), and then invite someone in (connection).
Common Mistakes to Avoid
Even experienced painters slip up. Here are the most frequent issues related to our three elements:
- Muddy Shadows: If your shadows look gray and dirty, you might be mixing complementary colors incorrectly. Keep your shadow edges crisp initially to maintain form clarity.
- Symmetrical Faces: Real faces are rarely perfectly symmetrical. One eye might be slightly lower, or the nose might tilt. Embrace asymmetry-it adds character and realism.
- Ignores Backgrounds: Your background affects how the light reads on the face. A dark background makes a lit face pop; a light background can wash it out. Treat the background as part of the lighting scheme.
Remember, a great portrait isn’t about copying a photograph pixel-for-pixel. It’s about interpreting a human being through your unique perspective. By mastering light, respecting form, and prioritizing connection, you give viewers a reason to stay and look longer. And that’s when you know you’ve succeeded.
Why do my portraits look flat?
Portraits often look flat due to poor handling of light and shadow. If you are using even, frontal lighting, you eliminate the shadows that define facial structure. To fix this, introduce side-lighting or rim-lighting to create contrast. Additionally, ensure you are painting the planes of the face rather than just outlining features, which helps build three-dimensional form.
What is the most important feature in a portrait?
While all features matter, the eyes are generally considered the most critical for establishing connection. Specifically, the placement of the specular highlight (the reflection of light) in the eye determines whether the subject looks alive or dead. However, the nose and mouth also play significant roles in defining identity and expression.
Do I need to know anatomy to paint good portraits?
You don't need to be a medical expert, but understanding basic skeletal and muscular structure is crucial for believable form. Knowing where bones protrude (like the cheekbones and brow ridge) helps you predict how light will interact with the surface. Planar analysis is a simpler alternative to deep anatomical study that still yields excellent results.
How can I improve the emotional impact of my portraits?
Focus on the subtleties of expression. Small changes in the curvature of the lips, the tension in the eyebrows, or the direction of the gaze can drastically alter the mood. Study photographs of people experiencing different emotions to see how their entire face reacts, not just the mouth. Also, consider the context: lighting and color temperature can reinforce the emotional tone you wish to convey.
Is it better to paint from photos or live models?
Both have advantages. Live models provide true three-dimensional information and allow you to observe subtle movements and expressions in real-time, which aids in capturing connection. Photos offer stability and allow you to study specific lighting conditions repeatedly. Many professional artists use a combination, sketching from life to understand form and using photos for detailed rendering.