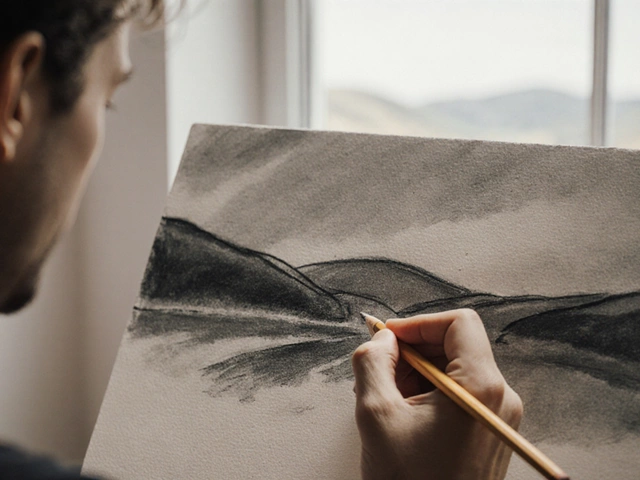
Watercolor Techniques: Simple Tips to Boost Your Painting
If you’ve ever opened a fresh sheet of watercolor paper and wondered how the pros get those smooth washes, you’re in the right place. Below you’ll find the most useful techniques you can start using today, plus a few tricks that keep your work looking fresh even after months in a drawer.
Basic Techniques Every Watercolorist Should Know
Flat Wash – This is the foundation of most watercolor paintings. Wet the paper evenly with clean water, then load your brush with pigment and glide it across. The key is to keep the water moving so the color stays transparent and even.
Graded Wash – Want a smooth transition from dark to light? Start with a saturated wash at the top, then add clean water as you move down. The pigment will naturally fade, giving you a gradient without harsh lines.
Wet‑on‑Wet – For soft, dreamy effects, apply wet paint onto a still‑wet surface. Colors will bloom and blend on their own. Try dropping a warm hue into a cool wash and watch the edge melt.
Dry Brush – This technique adds texture. Keep your brush almost dry, load a little pigment, and drag it over dry paper. It works great for bark, stone, or any rough surface. Think of it as using a sketchy line that still holds some color.
Lifting – Made a mistake? Use a clean, damp brush or a piece of tissue to lift pigment while the wash is still wet. For older layers, a soft eraser can help lift a bit of color without damaging the paper.
Advanced Tricks and Care
Glazing – Once a layer is dry, you can add transparent glazes on top to deepen shadows or shift hues. Work in thin layers; too much pigment will turn the glaze opaque.
Scrubbing – This is a hidden gem for texture. Lightly scrub a dry brush loaded with pigment over a dry area. It creates a grainy effect that mimics sand or fabric. The result is subtle but adds visual interest.
Paper Choice – Not all watercolor paper behaves the same. Hot‑pressed paper is smooth and perfect for detail work, while cold‑pressed gives a bit of texture for washes. If you’re experimenting with heavy wet‑on‑wet, a heavyweight 300 gsm sheet prevents buckling.
Rolling and Storing – Some artists roll their finished sheets to save space. It works if the painting is completely dry and you use a sturdy tube. Avoid rolling too tightly; it can cause cracks. For long‑term storage, keep the roll in a climate‑controlled area.
Tools Matter – A good brush can change everything. Synthetic brushes are affordable and hold pigment well, while sable brushes give you more control for fine lines. Keep two sizes handy: a larger round for washes and a smaller one for details.
Try mixing these techniques in a single piece. Start with a wet‑on‑wet sky, add a flat wash for the horizon, then dry brush tree trunks, and finish with a glaze on the foreground. The layers will build depth without looking messy.
Remember, watercolor is as much about the process as the result. Experiment, make a mistake, lift it, and try again. The more you play with these simple tricks, the quicker you’ll see real improvement in your paintings.

What Happens When You Skip Stretching Watercolor Paper?
Ever wondered what happens if you dive straight into painting without stretching your watercolor paper? This article answers that question and offers insights into why painters might want to take the extra step. Learn about the potential consequences of skipping this prep step and discover tips to improve your watercolor craft. Whether you're a seasoned artist or a beginner, understanding the why behind stretching can elevate your art.
Continue ReadingCategories
Most popular
-

-
-

-
 Exploring the Dynamic Styles in Sculpture Art Jan 26 2025
 -