Ship Watercolor Art – How to Paint a Boat That Looks Real
Ever tried to capture a sailing ship with watercolor and ended up with a blotchy mess? You’re not alone. The trick is to break the process into simple parts and use the right amount of water. Below you’ll find the basics, a couple of handy tricks, and ideas to keep you motivated.
Gather the right tools before you start
Start with a medium‑weight cold‑press paper – 140 lb works well because it holds water without warping. Pick a limited palette: a warm brown for hulls, a cool blue for water, a touch of burnt sienna for shadows, and a few greens for sails or flags. A round brush (size 4‑6) and a flat brush (size 8‑10) let you control lines and washes.
Put a damp cloth nearby. A quick dab can stop a wash from spreading too far, which is especially useful when you’re painting the sky and don’t want it to bleed into the water.
Step‑by‑step: From horizon to hull
1. Sketch the outline. Lightly draw the ship’s shape with a pencil. Keep it loose – you’ll erase any stray marks later.
2. Lay down the sky. Wet the top half of the paper, then add a light blue wash. While the paint is still wet, drop a little pink or orange if you want sunrise vibes. Let it blend naturally.
3. Paint the water. While the sky dries, wet the area below the horizon. Use a wet‑on‑wet technique: drop blue and a hint of green, then tilt the paper to let the colors flow. Drag a dry brush across the wet surface to create gentle ripples.
4. Build the hull. Switch to a dry brush for the boat’s body. Start with a thin brown line for the keel, then fill in the hull with a light brown wash. Add a darker edge on one side to suggest shading from the sun.
5. Add details. Use the flat brush for sails. Wet the sail area, then lift the brush to leave a white shape. Drop a bit of burnt sienna for shading, and use a fine tip for rope lines.
6. Finish with highlights. While the painting is still damp, lift some paint with a clean damp brush to create highlights on the water and hull. A tiny dab of white gouache can brighten the sunlit spots if you need extra pop.
Let everything dry completely before erasing pencil lines. A clean finish makes the ship stand out.
These steps work for any type of vessel – from tiny fishing boats to grand tall ships. Adjust the size of your brushes and the amount of water to match the scale of your subject.
Want to keep improving? Try painting the same ship from different angles or under different lighting. Each attempt teaches you how water behaves and how color shifts with mood.
Remember, watercolor is all about layers. If a wash looks too dark, let it dry and paint a lighter layer on top. It’s easier to add light than to pull it out.
Now you have a clear roadmap to start your ship watercolor art. Grab your paper, mix a few colors, and set sail on the page. Happy painting!
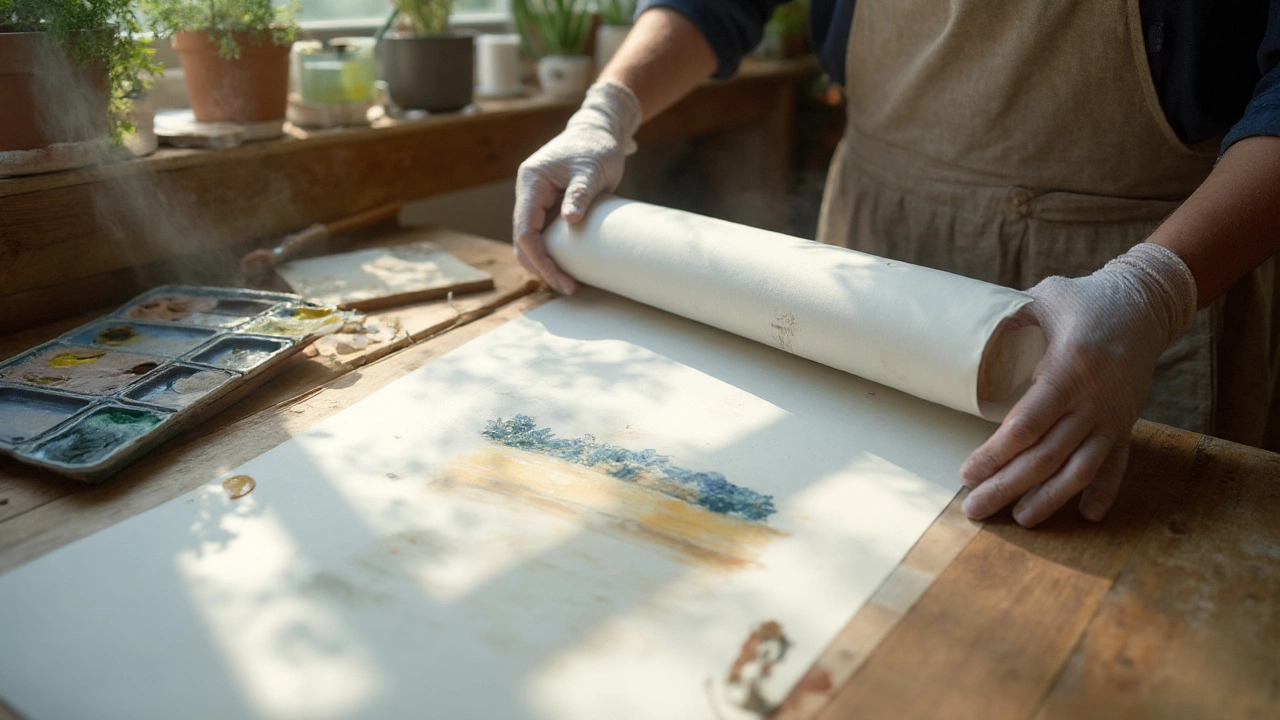
Can You Roll Watercolor Paintings? Safe Storage & Shipping Guide
Yes, you can roll some watercolor paintings-carefully, and not always. Learn when it’s safe, how to do it right, better alternatives, and how to flatten a rolled piece.
Continue ReadingCategories
Most popular
-
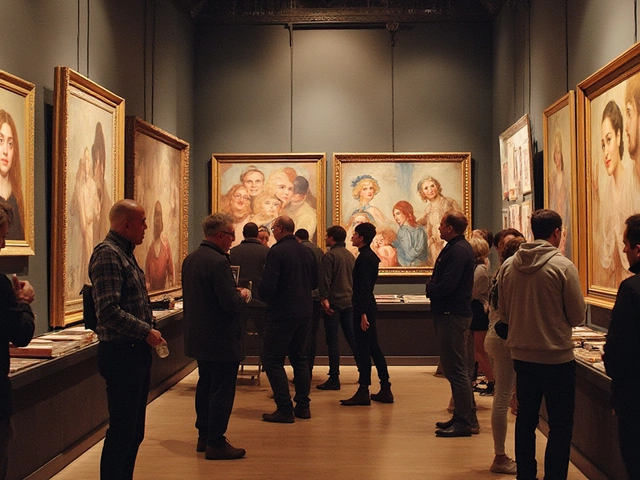
 Decoding the Message Behind Abstract Art Nov 15 2024
 -

-
-

-