Sculpture Techniques: Start Creating 3‑D Art Today
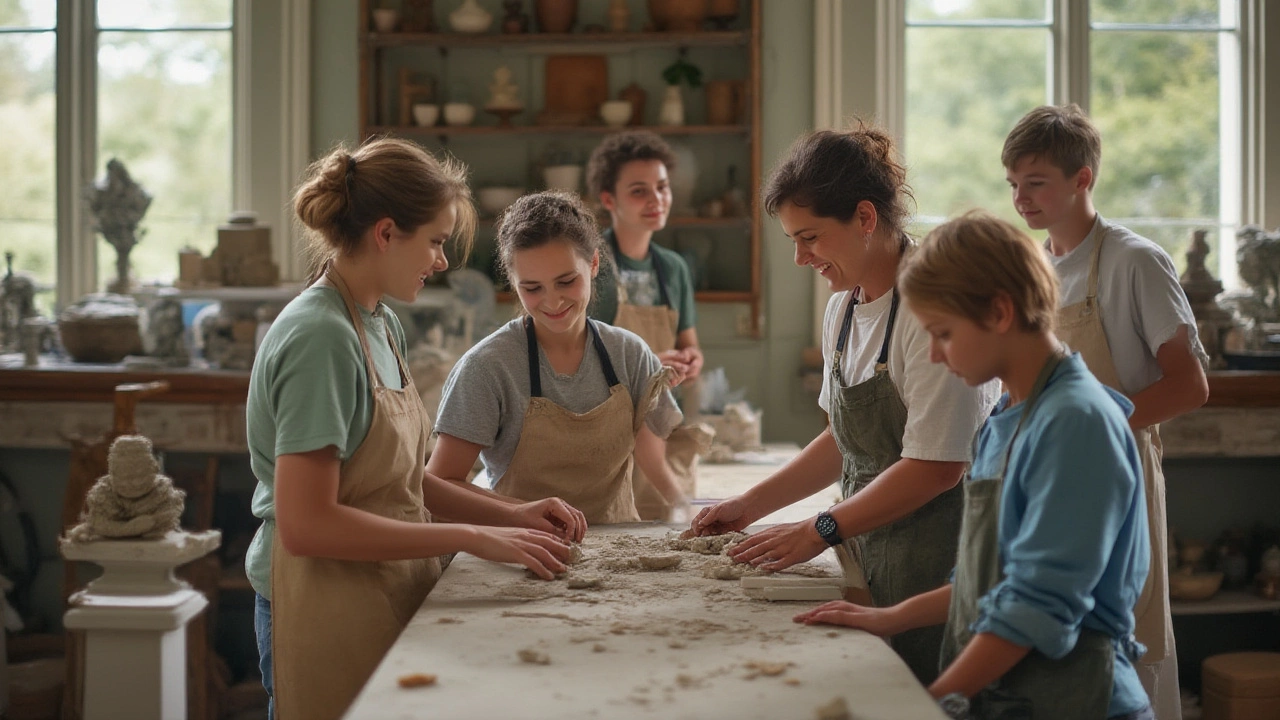
Ever wondered how a lump of clay turns into a life‑like figure? The secret is less about magic and more about a few solid techniques. Below you’ll find the basics you can try right now, whether you have a tiny desk studio or a spare garage corner.
Choosing the Right Materials
First thing’s first: pick a material that matches the project size and your skill level. For tiny models, polymer clay works great – it hardens in a home oven and doesn’t dry out while you work. If you want something sturdier for outdoor display, go for air‑dry plaster or concrete mix. Wood is a classic choice for larger pieces; start with soft basswood before moving to hardwoods.
Don’t forget safety. Some resins and certain stone dust can irritate skin or lungs. Always wear gloves and a mask when you’re sanding or mixing. A simple vented workspace and a pair of goggles are enough to keep things safe.
Simple Hands‑On Techniques
Now that you have material, try these three beginner‑friendly methods:
1. Pinching and Rolling – Grab a chunk of clay and roll it into a snake. Pinch the ends together and gently pull to stretch the middle. This creates thin limbs or vines without any fancy tools.
2. Armature Building – An armature is a cheap skeleton that supports the weight of your sculpture. Use thick wire, a wooden dowel, or even old coat hangers. Twist and bend the armature into the rough pose you want, then add material around it. The armature holds everything steady while the clay dries.
3. Carving with Simple Tools – You don’t need a professional set; a butter knife, a toothbrush, and a sanding block can do the job. Scratch lines to define folds, use the toothbrush bristles for texture, and sand gently for smooth surfaces.
Try combining these techniques. For example, start with a wire armature, add polymer clay using pinching, then carve details once the piece hardens. The process feels like building with Lego, but the result is a real‑world object you can touch.
When you’re happy with the shape, let the piece dry completely – overnight for polymer clay, a couple of days for plaster. If you’re using wood, sand the edges, then apply a coat of wood sealant or paint to protect it from moisture.
Finally, step back and look at your work from all angles. Small tweaks, like smoothing a ridge or adding a tiny extra pinch, can make a huge difference. Sculpture is all about iteration: build, adjust, and repeat.
Got a specific material you’re curious about? Drop a comment or ask a fellow artist – the community loves sharing tips. With these basics, you’re ready to move from ideas to real, three‑dimensional art. Happy sculpting!
How to Learn Sculpture Art: Step-By-Step Guide for Beginners
Want to learn sculpture art? Get hands-on tips, key facts, and practical advice to kick-start your journey and sculpt like a pro. No experience needed.
Continue Reading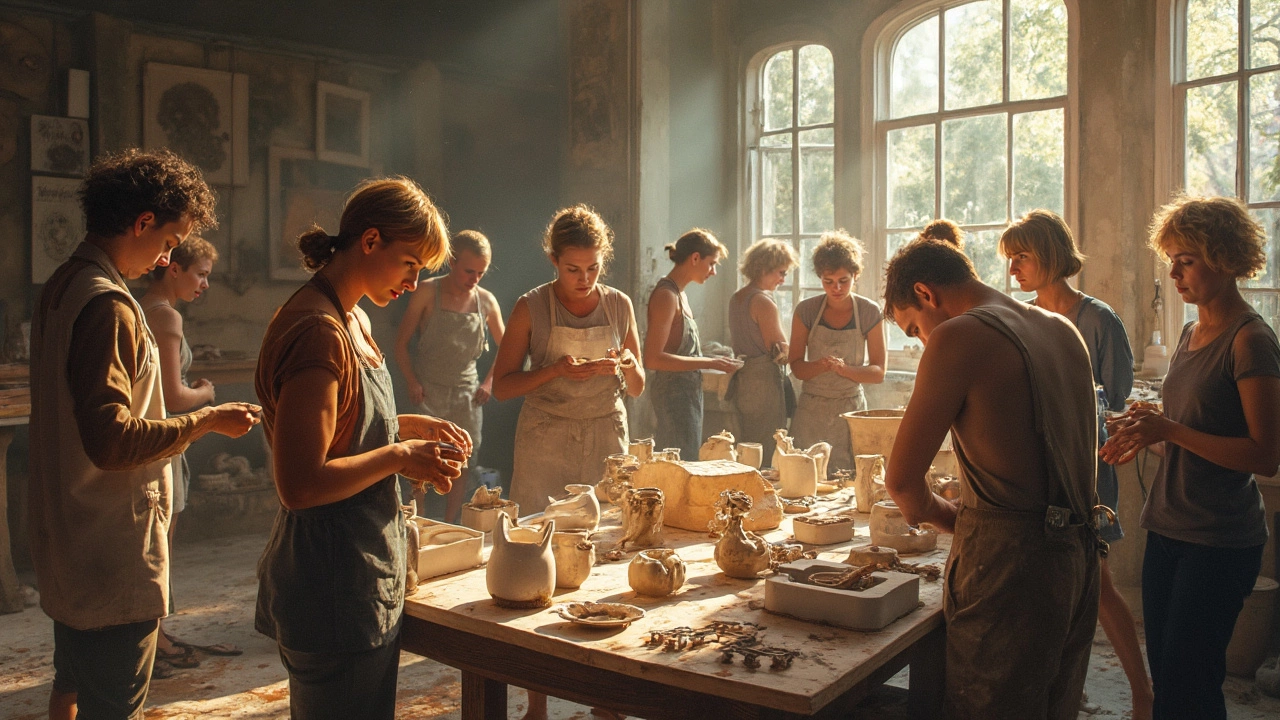
Sculpture Techniques: The 4 Basics Every Artist Should Know
Sculpture isn’t just about chipping away at marble or molding bits of clay. Four main techniques—carving, modeling, casting, and assembling—shape almost everything you see in the world of three-dimensional art. This article strips away the jargon and breaks these down in plain English. Whether you want to get hands-on with materials or just understand how artists work their magic, you’re about to get a new appreciation for sculptures everywhere. Let's dig into what makes these techniques so different and so cool.
Continue Reading