Sculpting Basics: What You Need to Know
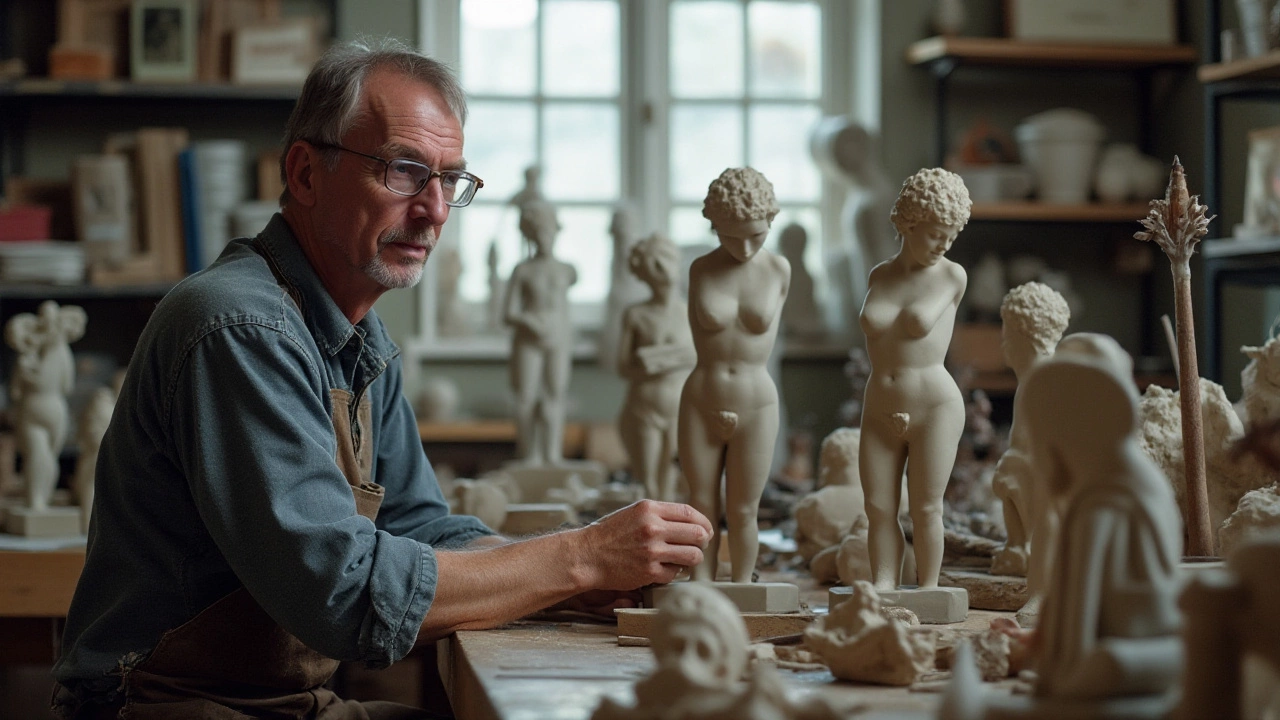
Ever wondered why a lump of clay can become a lifelike figure? That transformation is what sculpting is all about – turning raw material into three‑dimensional art. If you’re curious about the process, the tools, or even what counts as a sculpture, you’re in the right place.
Choosing the Right Materials
First things first: pick a material that fits your skill level and project size. Beginners often start with air‑dry clay because it hardens without a kiln and reshapes easily. If you like a bit more durability, plaster or plaster of Paris works well for small busts. For outdoor pieces, consider concrete or stone, but expect a steeper learning curve.
Don’t forget the basics – a sturdy armature (a wire skeleton) gives your piece support and keeps it from sagging. A simple drill, some pliers, and a few lengths of aluminum or steel wire are enough to build a basic frame. Once the armature is set, you can start adding your chosen material in layers.
Simple Steps to Start Sculpting
1. Sketch your idea. Even a quick doodle helps you see proportions before you start shaping.
2. Build the armature. Use wire to map out the main shape – think of it as the bones of your sculpture.
3. Add bulk. Apply clay or plaster over the armature, working from large forms to finer details. Keep your fingers or tools moist so the material stays pliable.
4. Refine details. Once the basic shape looks right, carve in features, textures, and any small elements you want.
5. Finish. Let the piece dry (or cure, if using a resin) and then sand, paint, or seal it as desired.
If you need a step‑by‑step guide, check out our article “How to Learn Sculpture Art: Step‑By‑Step Guide for Beginners.” It walks you through each stage with photos and practical tips.
Wondering what actually makes something a sculpture? Our post “Sculpture Art: What Actually Makes Something a Sculpture?” breaks down the key criteria – it’s about occupying space, using specific materials, and being recognized as three‑dimensional art. Knowing these rules helps you both appreciate existing works and judge your own projects.
Common mistakes to avoid: over‑working the clay (it can become weak), skipping the armature for larger pieces (they’ll sag), and ignoring proper drying times (cracks appear if you rush). Keep your workspace ventilated, especially if you use resins or chemical solvents.
Want more inspiration? Look at classic examples like Rodin’s “The Thinker” or modern pieces made from recycled metal. Seeing how pros tackle scale, texture, and balance can spark new ideas for your own work.
Ready to start shaping? Gather a few basic tools – a wire cutter, some modeling tools or even kitchen utensils, and a batch of air‑dry clay. Set up a small table, put on a smock, and begin with a simple form like a hand or a small animal. You’ll be surprised how quickly the material responds to your touch.
Sculpting is a hands‑on skill that improves with each piece you finish. Keep practicing, experiment with different media, and don’t be afraid to make mistakes – they’re part of the learning curve. When you look back at your first creation, you’ll see progress you never imagined.
Sculpting vs Carving: Exploring the Art of Shaping Materials
Sculpting and carving, while often used interchangeably, employ distinct techniques and philosophies within the realm of art. Sculpting generally refers to the creation of three-dimensional forms by assembling or modeling, typically using materials like clay or bronze. Carving involves removing material from a solid block, often wood or stone, to reveal a form. Each method carries its own history, challenges, and artistic expression, making them unique yet complementary forms of creative art. Understanding these differences enriches the appreciation for each process and its place in the artistic landscape.
Continue Reading


