How to Scan Artwork: Simple Steps for Clear Digital Copies
Scanning your artwork might sound technical, but you don’t need a studio lab to get great results. A good scan lets you share, sell, or archive your pieces without losing detail. Below are the practical steps you can start using today, whether you work with watercolor, acrylic, or charcoal.
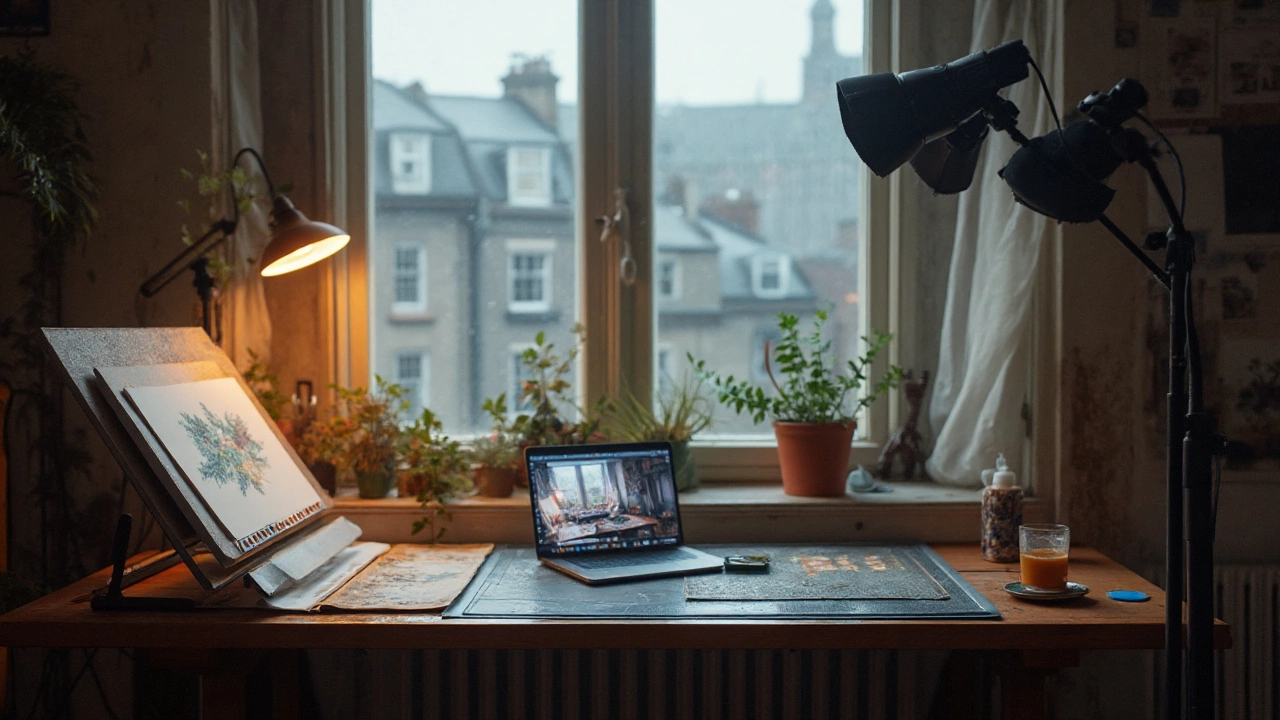
Prepare Your Art and Equipment
First, make sure the surface is clean and flat. Dust or fingerprints show up as blurry spots, so give the piece a gentle brush or a soft, lint‑free cloth. If the artwork is on paper, place a clean sheet of white cardboard underneath to keep it from warping. For thicker media like canvas, use a flat board or a sturdy easel to hold it steady while you scan.
Next, check your scanner. A flat‑bed scanner with at least 600 dpi optical resolution works well for most 2‑D art. If you only have a smartphone, a scanning app that offers manual focus and exposure control can do the job. Make sure the scanner glass is spotless—wipe it with a microfiber cloth before each use.
Scan Settings and Post‑Processing Tips
Set the resolution to 600 dpi for archival quality; you can downsize later if you need smaller files for web use. Choose a color mode of “RGB” for digital display and “CMYK” only if you plan to print. Save the first scan as a lossless TIFF to keep every detail, then export a JPEG version for quick sharing.
After scanning, open the file in a basic editor like GIMP or Photoshop. Crop out any empty borders, adjust the contrast just enough to bring out the true colors, and use the auto‑level tool to balance shadows and highlights. Avoid heavy filters—your goal is a faithful digital replica, not an artistic remix.
One common mistake is scanning at a low DPI and trying to upscale later. Upscaling adds pixels but not detail, so it’s better to scan high from the start. Also, watch out for glare if you’re using a glossy surface; a slight tilt of the artwork or a piece of matte paper behind it can cut reflections.
When you’re happy with the final image, back it up in two places: an external hard drive and a cloud service. Tag the file with the artwork’s title, date, and medium so you can find it later without hunting through folders.
With these steps, you’ll turn any painting, sketch, or print into a crisp digital file in minutes. Keep experimenting with lighting and settings until you nail the look you want, and you’ll build a reliable digital archive of your creative journey.
How to Turn Your Art into Digital Art: Scanner, Camera, and Pro Editing Workflow
A practical 2025 guide for beginners on digitizing drawings and paintings. Learn scanner vs camera workflows, color fixes, file formats, and print-ready exports.
Continue ReadingCategories
Most popular
-
-
-
 What Is Considered the Best Musical of All Time? Feb 16 2026
 -
-
 What Type of Artist Makes Sculptures? Apr 4 2025