Realistic Portrait Painting: How to Get Life‑Like Results
Ever stared at a portrait and thought, “That looks just like a real person”? You can pull that off too. Realistic portrait painting isn’t magic, it’s a mix of good tools, solid habits, and a clear eye for color. In this guide we break down the basics so you can start painting faces that feel alive.
Choosing the Right Materials
The first step is picking supplies that work for you. A smooth, medium‑weight canvas (around 300 gsm) gives a reliable surface for both oil and acrylic. If you prefer a cheaper option, heavyweight watercolor paper works for dry media. For pencils, go with a range of grades from 2H to 6B – the harder side for light sketch lines, the softer side for deep shadows. When it comes to paint, oil gives you a long working time and rich color, while acrylic dries fast and is easier to clean up. A few good brushes – a flat ½‑inch for washes, a round 2‑mm for detail – are all you need to start.
Techniques That Make Your Portrait Pop
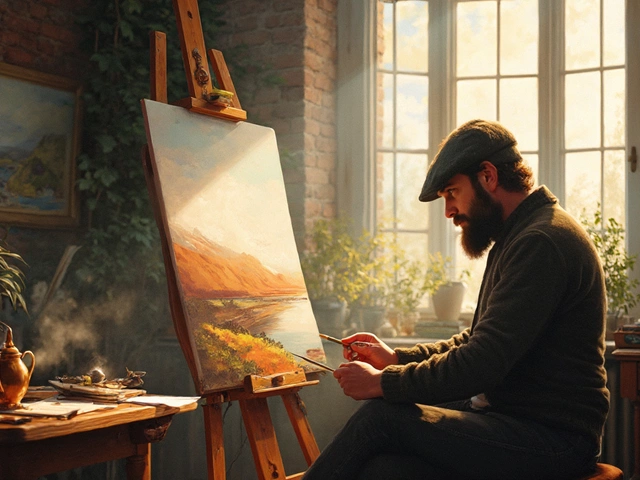
Start with a loose sketch. Map out the eyes, nose, mouth, and the overall shape of the head before you add any paint. Next, lay down a thin underpainting in a neutral tone (often burnt sienna or a gray‑blue). This layer helps you see where light and dark belong as you build up color. For skin tones, mix a base of warm yellow, a touch of red, and a splash of blue. Adjust the mix with more yellow for highlights and more blue for shadows. Remember: real skin isn’t just one color – it’s a series of subtle shifts.
When you work with oil, follow the “slow over fast” rule: let the first layers dry before adding slower‑drying glazes on top. This prevents the paint from cracking later. With acrylic, you can mimic the effect by using a retarder medium that slows drying, letting you blend soft edges before the paint sets. A simple scrubbing technique – dragging a dry brush over wet paint – can add texture to areas like hair or fabric without a lot of effort.
Don’t forget the eyes. They are the most important part of a realistic portrait. Paint the whites first, then add a thin blue‑gray layer for depth. Use a tiny round brush to place the iris, and leave a tiny white spot for the catch‑light. This tiny highlight makes the eye look alive.
Lastly, step back regularly. Seeing the painting from a distance helps you spot proportion errors and decide where to add more contrast.
Pricing your work is the final piece of the puzzle. A common method is to calculate your hourly rate (many artists start with £20‑£30 per hour) and then multiply by the estimated hours for the piece. Add material costs and a small profit margin. Larger canvases or oil paintings usually command higher prices because of longer drying times. Check recent sales of similar portraits on our site to get a realistic idea of market rates.
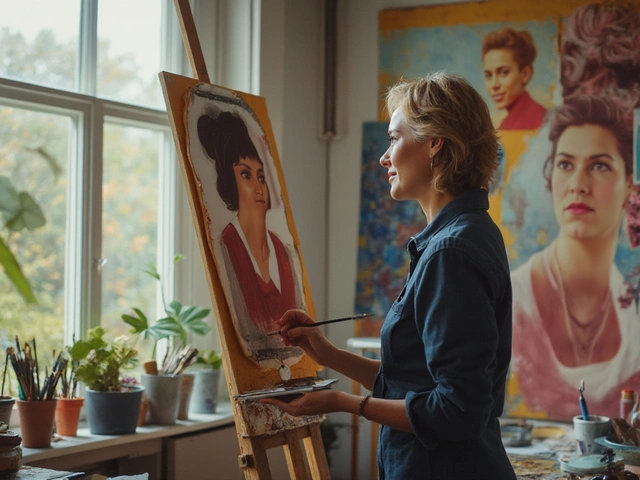
Practice is the only shortcut. Set a schedule, work on a new portrait each week, and compare your results. Over time you’ll notice how your hand steadies and your color choices become more instinctive. Keep exploring tutorials, join online workshops, and share your work for feedback. With the right tools, a clear process, and steady practice, realistic portrait painting will become a rewarding part of your art journey.
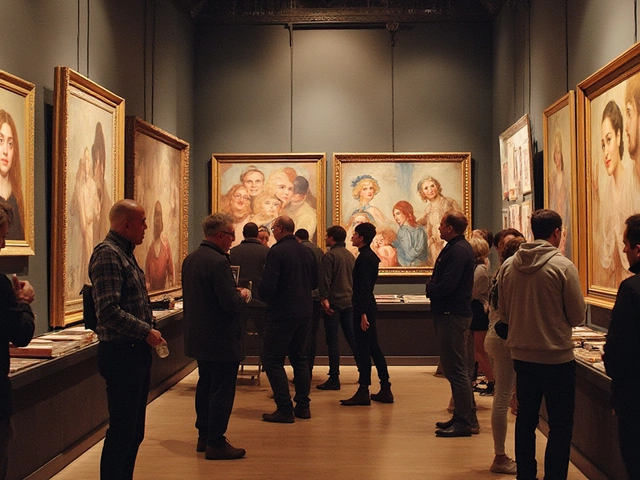
The Realism of Portrait Painting: Finding the Most True-to-Life Style
Portrait painting that captures realistic likeness has intrigued us for centuries. This article explores the characteristics that make portrait painting realistic, highlighting the techniques and styles that lend themselves to lifelike depictions. Whether you’re an artist or an admirer, discover tips and interesting facts that reveal how realism in portraiture captures the essence of the subject. Dive into the most effective tools and methods used by artists today. Learn about the artists who have mastered this art form and why their work speaks to the human experience.
Continue Reading