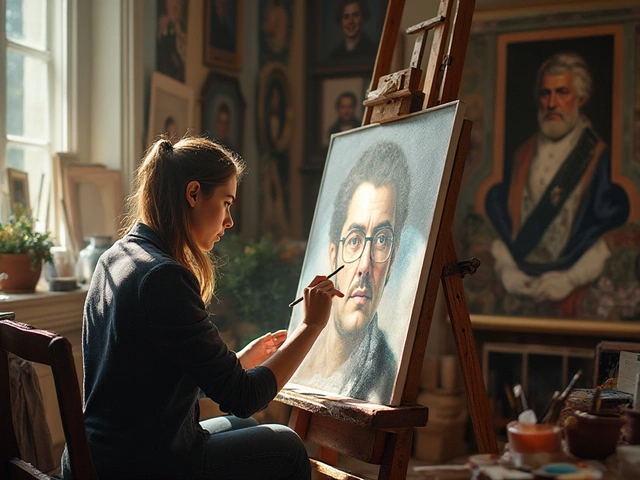
Painting Tools: What Every Artist Needs
If you’re just starting out or looking to upgrade your kit, the right painting tools can make a huge difference. You don’t need a mountain of gear – a few solid choices will let you paint confidently and keep your work looking fresh.
First off, think about the surface you’ll work on. For watercolor, choose a heavyweight, 300‑gsm paper that can hold water without buckling. If you’re into oil or acrylic, a smooth primed canvas or a sturdy wooden panel works best. Matching the surface to the medium prevents unwanted texture and makes cleanup easier.
Brushes and Mediums
When it comes to brushes, quality beats quantity. A medium‑sized round brush in sable or synthetic sable works for most fine lines and washes. For broader strokes, a flat brush in a durable synthetic fiber gives good control without shedding. Remember to rinse brushes with clean water after each session and store them upright to keep the bristles from bending.
Mediums are the secret weapons that help you shape the paint’s behavior. For oil painting, a small amount of linseed oil or a fast‑drying solvent can boost flow and make blending smoother. Our post on “How to Activate Oil Paint” explains which solvents work best and how to avoid over‑dilution that can weaken the paint film.
If you prefer acrylics, a gel medium adds body and lets you build texture without making the paint dry too quickly. A little water can stretch acrylics for washes, but too much will break the binder and cause cracking later.
Practical Techniques
One technique that surprises many beginners is the “scrubbing” method for texture. Lightly dragging a dry brush over wet paint creates a grainy surface that’s perfect for rocks, bark, or gritty skies. Check out the post “Scrubbing Technique in Painting” for a step‑by‑step guide – it’s a quick way to add depth without buying special tools.
The “slow over fast” rule for oil painting is another game‑changer. Lay down thin, fast‑drying layers first, then add thicker, slower‑drying ones on top. This prevents cracking and keeps the painting stable for years. Our article “Slow Over Fast Rule in Oil Painting” breaks down why it matters and how to apply it without overthinking.
Don’t forget storage and transportation. Rolling watercolor paintings can work if the paper is thick and the paint is fully dry, but you risk creasing. Our guide “Can You Roll Watercolor Paintings?” tells you when rolling is safe and how to flatten a rolled piece correctly.
Finally, keep your workspace tidy. A clean palette, a damp cloth for wiping brushes, and a well‑ventilated area for solvents keep you safe and your tools in good shape. Regularly checking brush tips for wear and sharpening them when needed extends their life and saves money.
By focusing on a few core tools – quality brushes, the right medium, and a few proven techniques – you can create better art faster. Experiment with the tips above, notice what feels natural, and let your painting tools work for you, not against you.
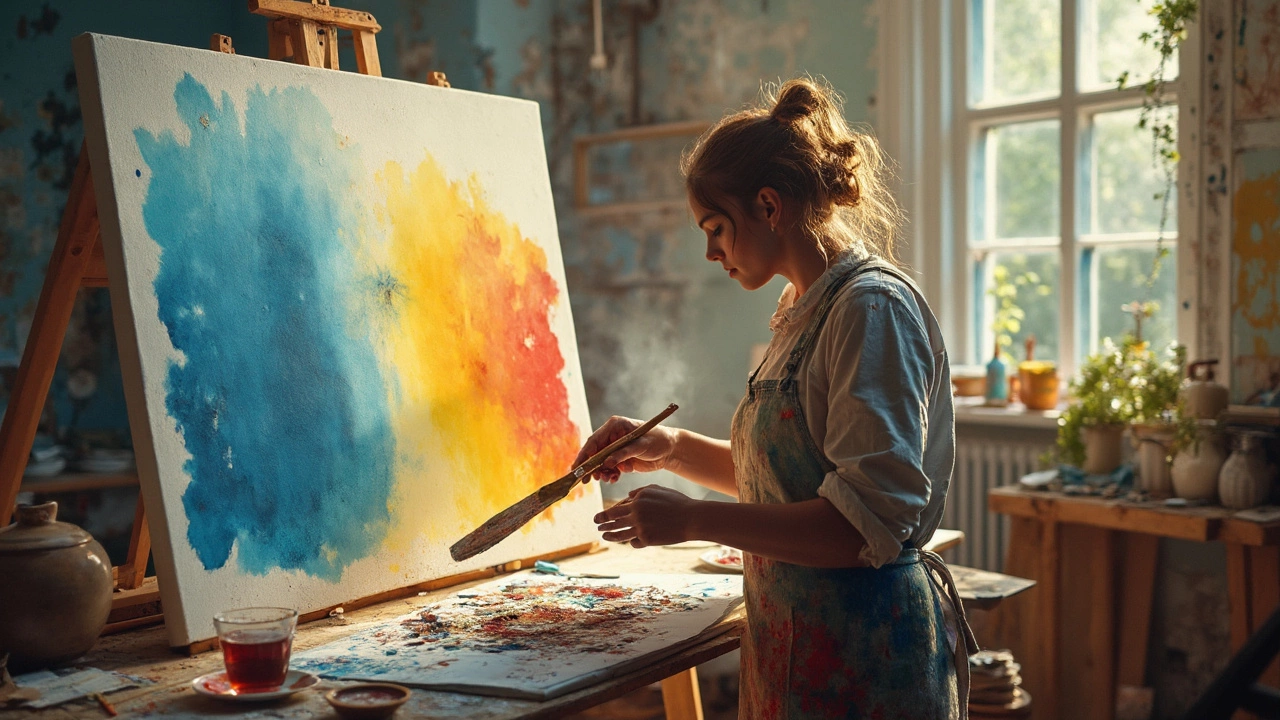
Smearing Technique in Oil Painting: What It Is and How to Use It
This article unpacks the smearing technique in oil painting—what it is, how artists use it, why it matters, and how you can start practicing it. Learn when smearing makes sense, what tools help get that smooth finish, and get clever tips to avoid turning your canvas into a muddy mess. Perfect for both beginners and anyone looking to expand their painting toolkit. Discover secrets from pros and how smearing can make your paintings pop.
Continue Reading