DIY Sculpture Projects: Simple Steps to Make Your Own 3D Art
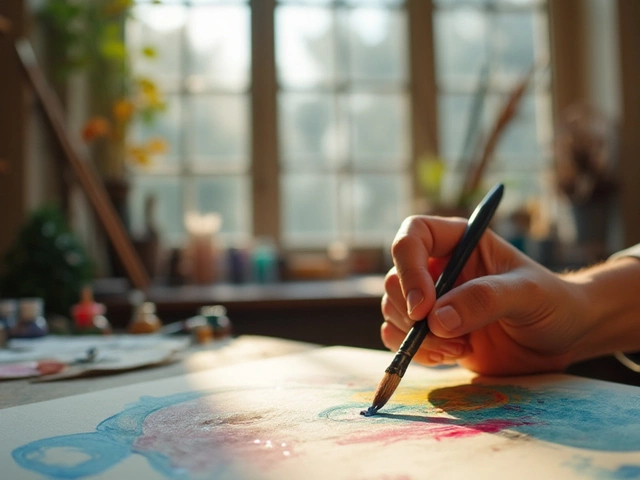
Ever looked at a cool sculpture and thought, "I could make that"? You can. With a few basic tools and some patience, you’ll be shaping your own pieces in no time. This guide breaks down everything you need to start, from choosing the right material to finishing touches that make your work stand out.
Materials & Tools You Need
The first decision is what you’ll sculpt out of. Clay is the go‑to for beginners because it stays soft and lets you fix mistakes. Air‑dry clay is cheap and hardens without a kiln, while polymer clay can be baked in a home oven for a tougher finish. If you want something sturdier, try plaster or papier‑mâché for larger projects.
You’ll also need a few basic tools: a wire cutter for trimming, a rubber or wooden modeling knife, a set of sandpaper, and something to smooth surfaces—like a damp sponge for clay or a steel wool block for plaster. A sturdy work surface, such as a cheap board or a rolling pin, helps keep your piece stable while you work.
Step‑by‑Step Guide to Your First DIY Sculpture
1. Sketch Your Idea – Grab a paper and draw a quick outline. Keep it simple—think of basic shapes like cubes, cylinders, or spheres. This sketch gives you a roadmap and saves time later.
2. Build an Armature – For anything bigger than a tiny bust, create a skeleton using wire, aluminum foil, or even sturdy cardboard. The armature supports the weight and keeps your piece from collapsing.
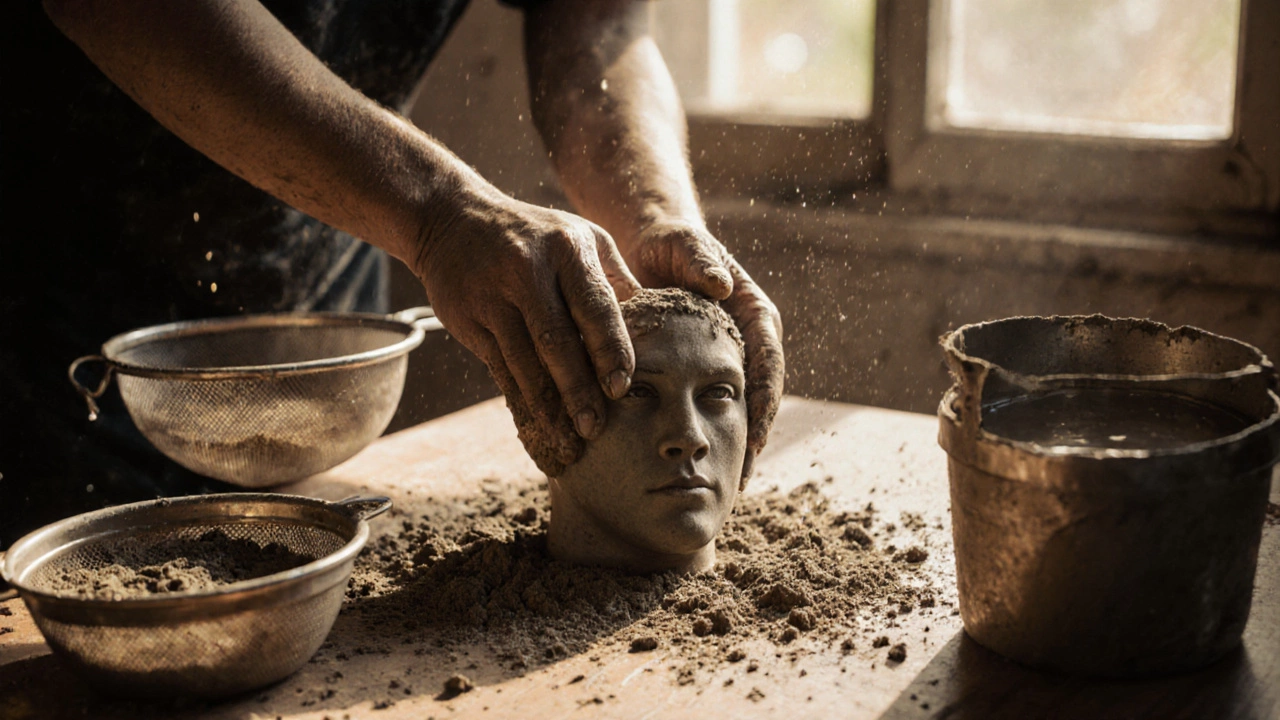
3. Add Bulk – Start layering clay or papier‑mâché around the armature. Work from the largest forms down to the details. Press firmly and smooth as you go; this reduces the need for heavy sanding later.
4. Refine the Details – Use your modeling knife and small sculpting tools to carve features, textures, or patterns. If you’re working with clay, you can blend edges with a wet finger or a soft brush.
5. Let It Dry or Cure – Air‑dry clay needs 24‑48 hours depending on thickness. Polymer clay goes into a home oven at the temperature stated on the package (usually 265°F/130°C) for about 15 minutes per ¼ inch of thickness.
6. Sand & Finish – Once hardened, sand rough spots with fine‑grit sandpaper. For a polished look, apply a sealant or acrylic varnish. If you want color, paint with acrylics before sealing.
That’s it! Your first DIY sculpture is ready to display, gift, or use as a practice piece for the next project.
Need more ideas? Check out our "How to Learn Sculpture Art" guide for deeper techniques, or read "What Actually Makes Something a Sculpture?" for a quick history lesson that can spark creative twists. With each piece you finish, you’ll get faster, more confident, and ready to experiment with mixed media, metal, or even recycled objects.
Remember, the biggest barrier is starting. Grab some clay, follow these steps, and you’ll have a unique 3D artwork you made yourself. Happy sculpting!
What Is the Cheapest Material to Make a Sculpture?
The cheapest materials to make a sculpture are often free: concrete, clay from dirt, recycled plastic, scrap wood, wire, and cardboard. Learn how to turn trash into art with no budget and no special tools.
Continue Reading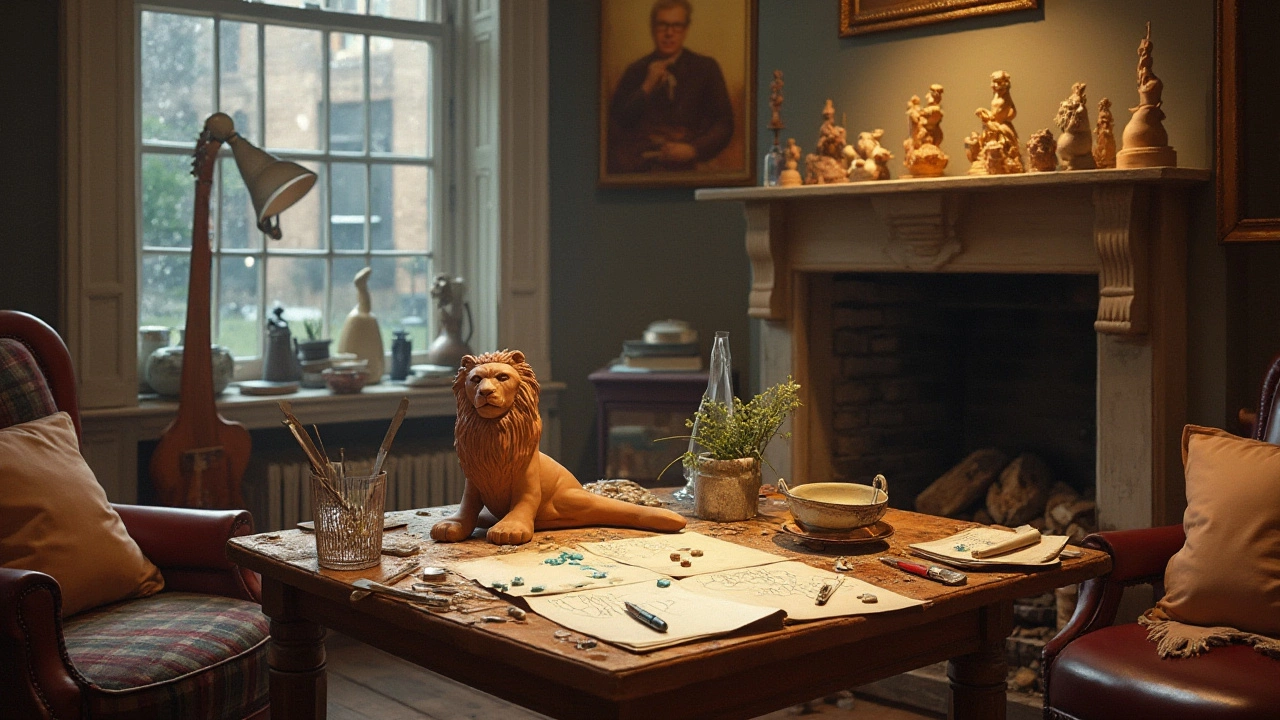
Easy Techniques for Making Sculptures at Home
Creating sculptures at home can be a fulfilling hobby that allows for personal expression and creativity. With the right materials and techniques, anyone can transform a simple idea into a stunning work of art. This guide outlines the basic steps and tools needed to start crafting sculptures from the comfort of your own home. From selecting the right materials to refining your techniques, learn how to embark on your artistic journey today.
Continue Reading