Master Assembling for Art Projects: Simple Steps and Pro Tricks
If you’ve ever tried to glue a collage together or piece a sculpture, you know assembling can feel hit‑or‑miss. The good news? It’s mostly about a few solid habits and the right tools. Below you’ll find clear, down‑to‑earth advice that works for paper, wood, clay, or any mix you throw together.
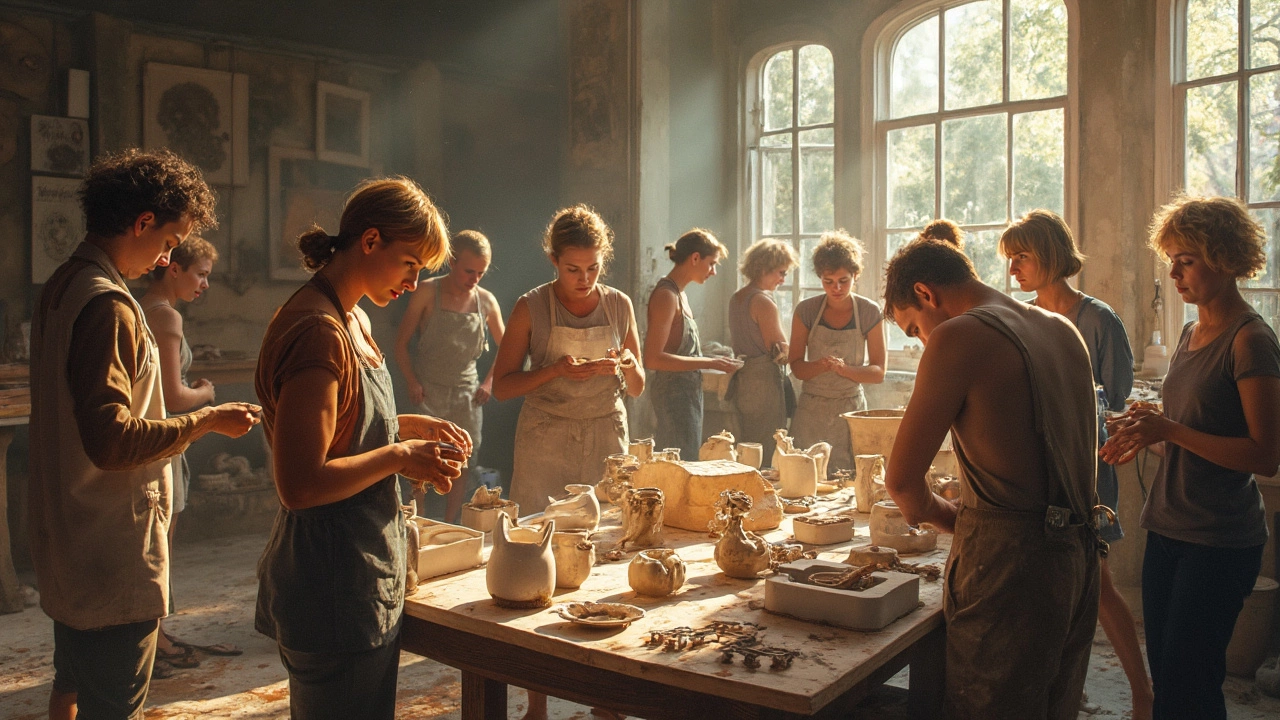
Getting Started with Assembling
First, gather what you need before you start. A basic kit should include a reliable glue (PVA for paper, epoxy for metal or wood), a set of tweezers, a small brush for applying adhesive, and a clean surface. Lay out all your pieces so you can see how they fit. This visual check saves you from wasted glue and a messy workspace.
Next, test the fit. Press the components together lightly without glue—if something feels loose, trim it or reposition it now. A snug, dry fit makes the glued version stronger because the adhesive only has to hold what already lines up.
When you’re ready to glue, apply a thin, even layer. Too much glue can ooze out, creating unsightly bumps and weakening the bond. Use a brush or a toothpick for small areas. Press the pieces together and hold for about 30 seconds, then let the whole assembly rest for the recommended drying time—usually 15‑20 minutes for PVA, longer for epoxy.
Advanced Assembling Tricks
For larger or heavier projects, reinforce the joint. Add a tiny strip of backing board or a piece of mesh tape between the layers before the final coat of glue. This gives extra surface area for the adhesive to grip, preventing cracks later.
If you’re mixing materials like fabric and wood, use a two‑phase approach: a spray adhesive to hold fabric in place, followed by a stronger liquid glue where the wood meets the frame. The spray lets you adjust the fabric without pulling it out of shape.
When working with delicate items—like dried flowers or thin paper—consider a reversible adhesive such as wheat paste. It holds the piece firmly but can be removed later without damage if you need to re‑arrange.
Finally, finish your assembled piece with a protective seal. A clear acrylic spray adds durability and gives a uniform look, especially for projects that will be handled often or displayed outdoors.
Putting it all together doesn’t have to be a trial‑and‑error mess. Follow these straightforward steps, keep your tools clean, and respect the drying times. Soon you’ll find assembling as satisfying as the finished artwork itself.
Sculpture Techniques: The 4 Basics Every Artist Should Know
Sculpture isn’t just about chipping away at marble or molding bits of clay. Four main techniques—carving, modeling, casting, and assembling—shape almost everything you see in the world of three-dimensional art. This article strips away the jargon and breaks these down in plain English. Whether you want to get hands-on with materials or just understand how artists work their magic, you’re about to get a new appreciation for sculptures everywhere. Let's dig into what makes these techniques so different and so cool.
Continue ReadingCategories
Most popular
-

-
 The Art of a Two-Artist Exhibition Apr 10 2025
 -
 How to Create a Stunning Landscape Painting Feb 24 2025
 -

-