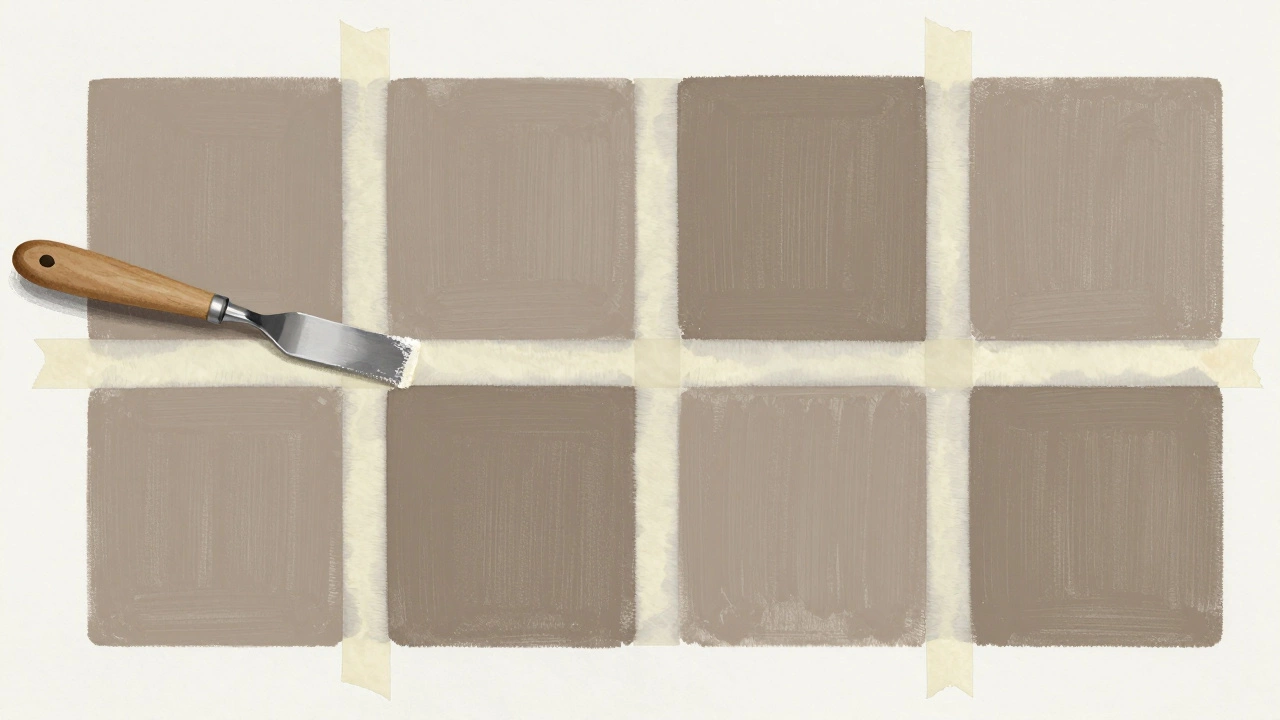
Tape Removal Timing Calculator
Optimal Tape Removal Calculator
Estimate when to remove tape for razor-sharp edges based on your painting conditions
Recommended Time
Pro Tips from the Article
- Press tape firmly with a credit card before painting to prevent bleeding
- Peel tape at 45-degree angle for best results
- Wait until paint feels slightly tacky but not wet
Painting straight lines in oil paint doesn’t have to look messy or wobbly. You don’t need to be a professional to get sharp, clean edges-just the right tools, timing, and a few simple tricks. Many beginners think it’s about steady hands, but the real secret is in preparation and technique. I’ve seen students spend hours trying to freehand a perfect line, only to end up with a jagged blur. It’s not about talent. It’s about knowing how oil paint behaves and working with it, not against it.
Why Oil Paint Makes Straight Lines Tricky
Oil paint doesn’t dry fast. That’s great for blending, but terrible for crisp edges. If you paint a line and walk away for five minutes, the edges start to soften. The pigment spreads slightly into the wet paint beside it. Even a light brushstroke can smear what you just laid down. And if you’re using a brush that’s too soft or too full of paint, you’re asking for trouble.
Unlike acrylics or watercolors, oil stays workable for days. That means you have time to fix mistakes-but also time to ruin them. The key is to control the paint before it has a chance to move. That starts with your tools.
Tools You Actually Need
You don’t need a fancy set of brushes. In fact, most artists overcomplicate this. Here’s what works:
- A stiff, flat brush-preferably a filbert or bright in size 6 or 8. Natural hog bristle is ideal. It holds its shape and pushes paint without bending.
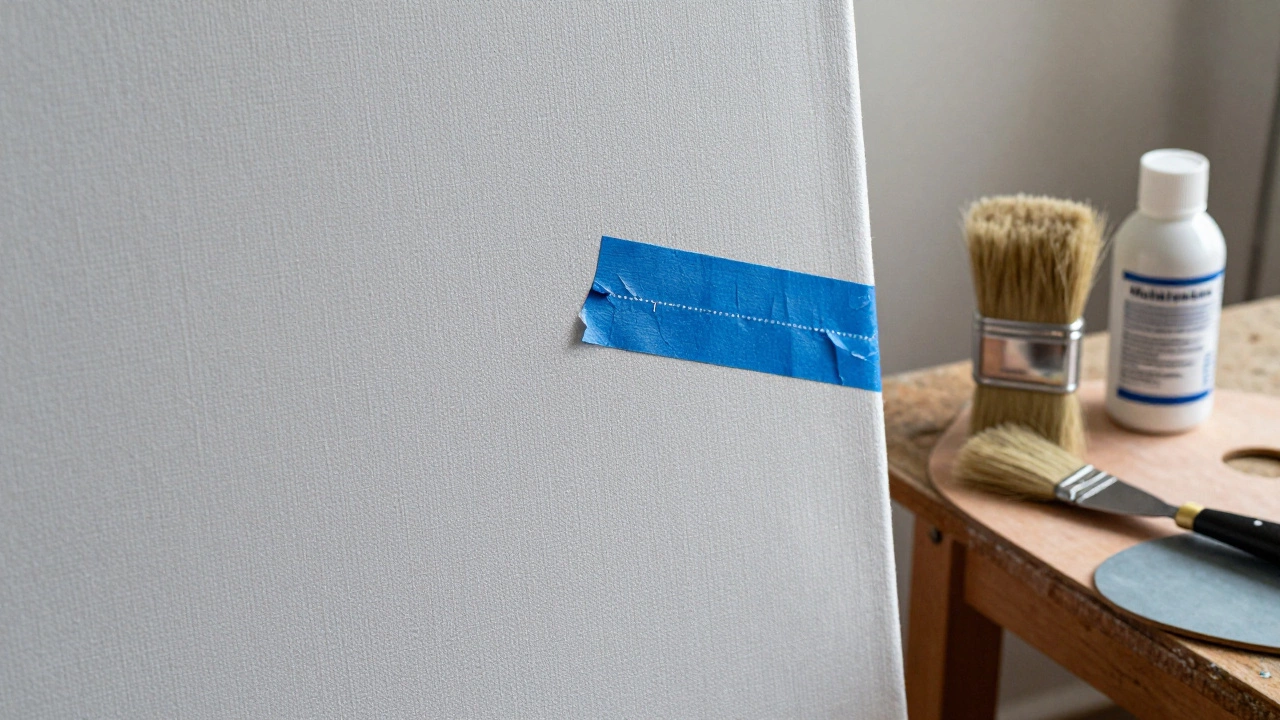
- Painter’s tape-not the cheap kind. Use blue masking tape designed for delicate surfaces. It sticks well but peels cleanly without lifting dried paint.
- A palette knife-for scraping excess paint off the brush and cleaning edges.
- Odorless mineral spirits-for thinning paint slightly and cleaning brushes without damaging them.
Forget the fine sable brushes. They’re for glazing, not lines. And skip the foam rollers. They leave texture you can’t control.
Step-by-Step: Painting Straight Lines with Tape
This is the most reliable method for beginners and pros alike. Here’s how to do it right:
- Let your base layer dry-at least 24 hours. If you tape over wet paint, you’ll pull it up when you remove the tape. Even if it feels dry, oil can still be soft underneath.
- Press the tape down firmly-run your fingernail or a plastic card along the edge. This seals the tape to the canvas and stops paint from seeping under.
- Paint over the tape-use a dry brush with very little paint. Dab the brush on a rag first. You want to barely touch the surface. This prevents paint from building up under the tape edge.
- Wait 10-15 minutes-just enough for the top layer to skin over. Don’t wait too long or the paint will stick to the tape.
- Peel the tape off at a 45-degree angle-slow and steady. Pull it back on itself, not straight up. If you feel resistance, stop and wait another 10 minutes.
Done right, you’ll get a razor-sharp edge. No bleeding. No ragged lines. Just clean geometry.

Freehand Technique: For When Tape Won’t Work
Sometimes you can’t use tape. Maybe you’re painting a curve, or the edge is too long. Or maybe you’re working on a textured surface where tape won’t stick. Here’s how to do it by hand:
- Use a ruler or straightedge-wooden or metal. Place it firmly on the canvas. Don’t let it wobble.
- Load your brush lightly-dip the tip in paint, then wipe it on the edge of your palette until it’s almost dry.
- Rest your pinky on the canvas-this steadies your hand. It’s not cheating. It’s control.
- Draw the line in one smooth motion-don’t go back and forth. Start at one end, and let the brush glide along the ruler. Think of it like writing with a pen, not painting a wall.
- Use a palette knife to clean the edge-right after you paint, gently drag the knife along the ruler’s edge to remove any excess paint that bled.
This method takes practice. Don’t expect perfection on the first try. But after three or four attempts, you’ll feel the rhythm.
Common Mistakes and How to Fix Them
Even experienced painters mess this up. Here are the top errors-and how to avoid them:
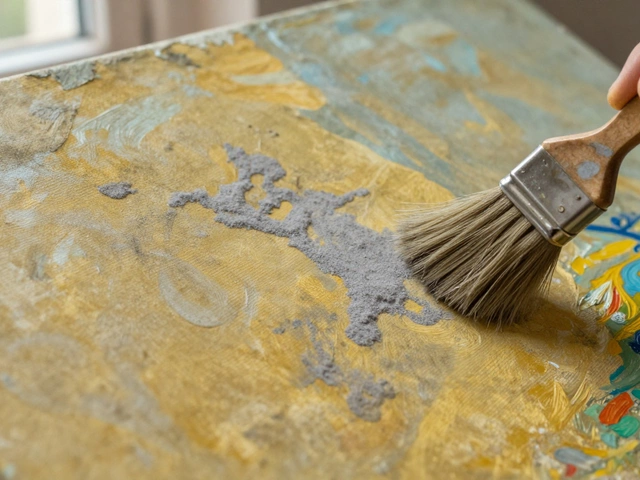
- Paint too thick-thick oil paint oozes under tape or smears when brushed. Always use a thin layer. If you need more opacity, paint a second layer after the first dries.
- Using wet tape-if the canvas is damp from solvents, tape won’t stick. Let the surface dry completely before taping.
- Peeling tape too soon-if you pull it off before the paint skins over, you’ll get a fuzzy edge. Wait until the paint feels slightly tacky, not wet.
- Using the wrong tape-regular duct tape or packing tape will rip your canvas or leave sticky residue. Only use artist-grade blue masking tape.
- Brush too fast-rushing causes wobbles. Slow down. Let the brush do the work.
If you’ve already messed up a line? Don’t panic. Wait until the paint is dry-this could take 2-3 days. Then use a sharp utility knife to carefully scrape off the error. Sand lightly with 400-grit sandpaper. Repaint. It’s not pretty, but it works.
When to Use Glazing Instead
Some artists avoid lines altogether and use glazing to create the illusion of sharp edges. This is common in realism and portraiture. You paint a soft edge, then glaze a thin, transparent layer of color over it to darken or define the boundary. It’s subtle, but effective.
For example, if you’re painting a window frame, you might lay down a warm gray, then glaze a cool dark blue along the edge. The color doesn’t sit on top-it merges with the layer beneath. The result looks natural, not like a cut-out.
This technique requires patience. Each glaze needs 2-3 days to dry. But the payoff is unmatched depth.
Practice Exercises to Build Confidence
You don’t need a big canvas to get good at this. Try these quick drills on scrap canvas or paper:
- Paint five 12-inch straight lines using tape. Time yourself. Aim for clean edges every time.
- Paint ten lines freehand with a ruler. Focus on one smooth stroke. Don’t correct mistakes-just move on.
- Paint a 4x4 grid of squares. Use tape for two rows, freehand for the other two. Compare the results.
- Paint a vertical line next to a horizontal line. See how they meet at the corner. Adjust your technique until the junction is sharp.
Do one of these exercises once a week for a month. You’ll notice a difference. Not because you got better at holding a brush. But because you learned how oil paint behaves.
Final Tip: Work in Good Light
It’s easy to miss a tiny bleed when you’re painting under a dim lamp. Use natural daylight if you can. If not, get a bright LED lamp with a color temperature around 5000K. It shows true colors and reveals even the smallest imperfections.
And always step back. Squint. Look at your line from across the room. If it looks straight from five feet away, it’s good enough. Perfection isn’t the goal. Clean, intentional edges are.
Can I use masking tape with oil paint?
Yes, but only use artist-grade blue masking tape. Regular tape can leave residue or pull up dried paint. Always press the tape down firmly with a credit card or your fingernail to seal the edge and prevent paint bleed.
How long should I wait before peeling the tape?
Wait until the paint feels slightly tacky but not wet-usually 10 to 15 minutes after painting. If you peel too soon, the paint will smear. If you wait too long, the tape may stick to the paint and lift it off the canvas. Test a small corner first.
Why does my oil paint bleed under the tape?
Bleeding happens when the brush is too wet or the tape isn’t sealed properly. Use a dry brush and wipe off excess paint before applying. Also, make sure the tape is pressed down firmly along the entire edge. Any gap lets paint seep through.
Can I paint straight lines without tape?
Yes, but it’s harder. Use a rigid ruler, a dry brush, and steady your hand by resting your pinky on the canvas. Paint slowly in one continuous stroke. Clean the edge immediately with a palette knife. Practice on scrap canvas first.
What brush is best for straight lines in oil paint?
A stiff, flat hog bristle brush-size 6 or 8-is ideal. It holds its shape, doesn’t bend under pressure, and gives you control over the paint flow. Avoid soft sable brushes; they’re for blending, not sharp edges.
Next Steps: What to Try After Mastering Straight Lines
Once you’ve got clean lines down, try combining them with other techniques. Paint a still life with sharp geometric shapes-like a box, a window, or a shelf. Use tape for the edges, then blend the shadows softly with a dry brush. Or try painting architectural details: door frames, railings, or roof lines. Each one teaches you how light interacts with hard edges.
Don’t rush. Oil painting rewards patience. The more you work with the medium’s slow drying time, the more control you’ll gain-not just with lines, but with every brushstroke.