Oil Painting Smoothness Calculator
Estimate the total time required to achieve a flawless, smooth finish based on your chosen techniques and layering strategy.
Estimated Timeline for Smooth Finish
- Preparation Time:
- Drying Time Between Layers:
- Total Estimated Duration:
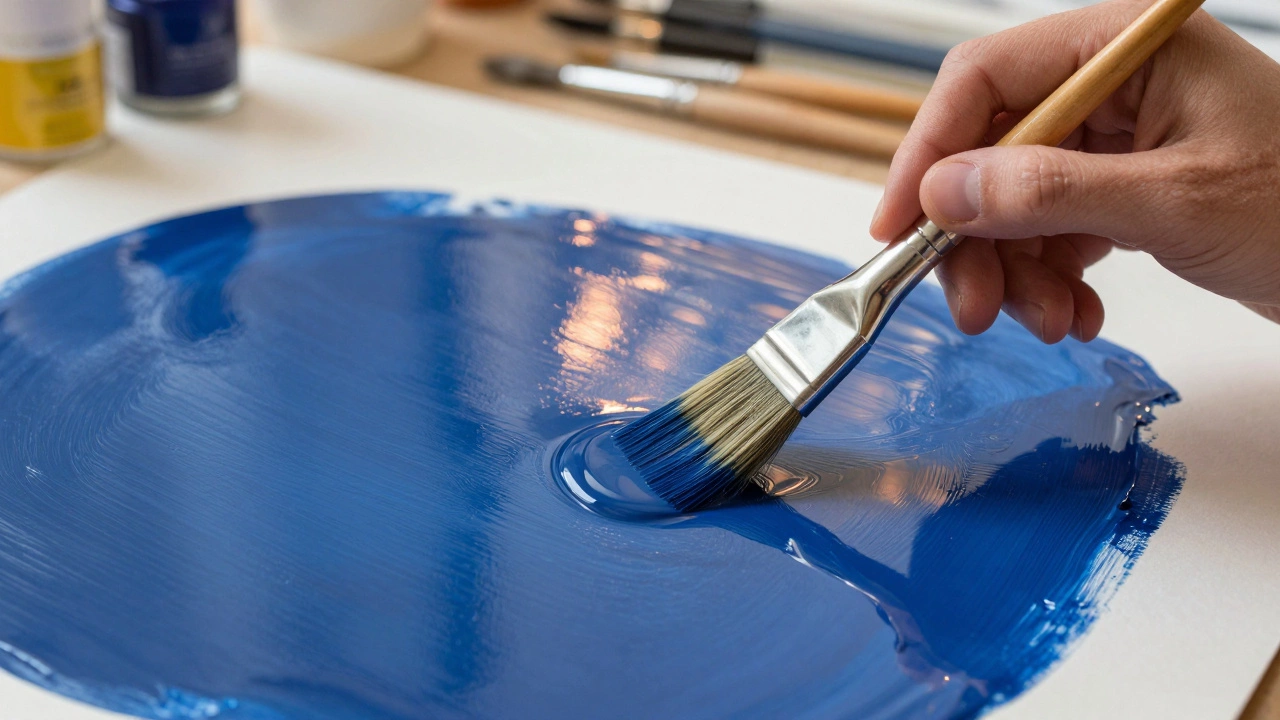
There is nothing quite as frustrating as staring at a canvas where the brushstrokes scream louder than the subject matter. You wanted a serene landscape or a soft portrait, but instead, you have a topographic map of your hand movements. Achieving a smooth oil painting finish is less about magic and more about controlling viscosity, timing, and pressure. It requires shifting from the instinctive "lay it on thick" approach to a methodical layering process.
The goal isn't necessarily to hide every trace of humanity, but to create a surface that feels unified and professional. Whether you are aiming for the glass-like sheen of Old Master portraits or the subtle matte smoothness of contemporary realism, the principles remain the same. Let’s break down exactly how to eliminate those unwanted ridges and achieve that coveted velvety surface.
The Foundation: Surface Preparation and Gesso
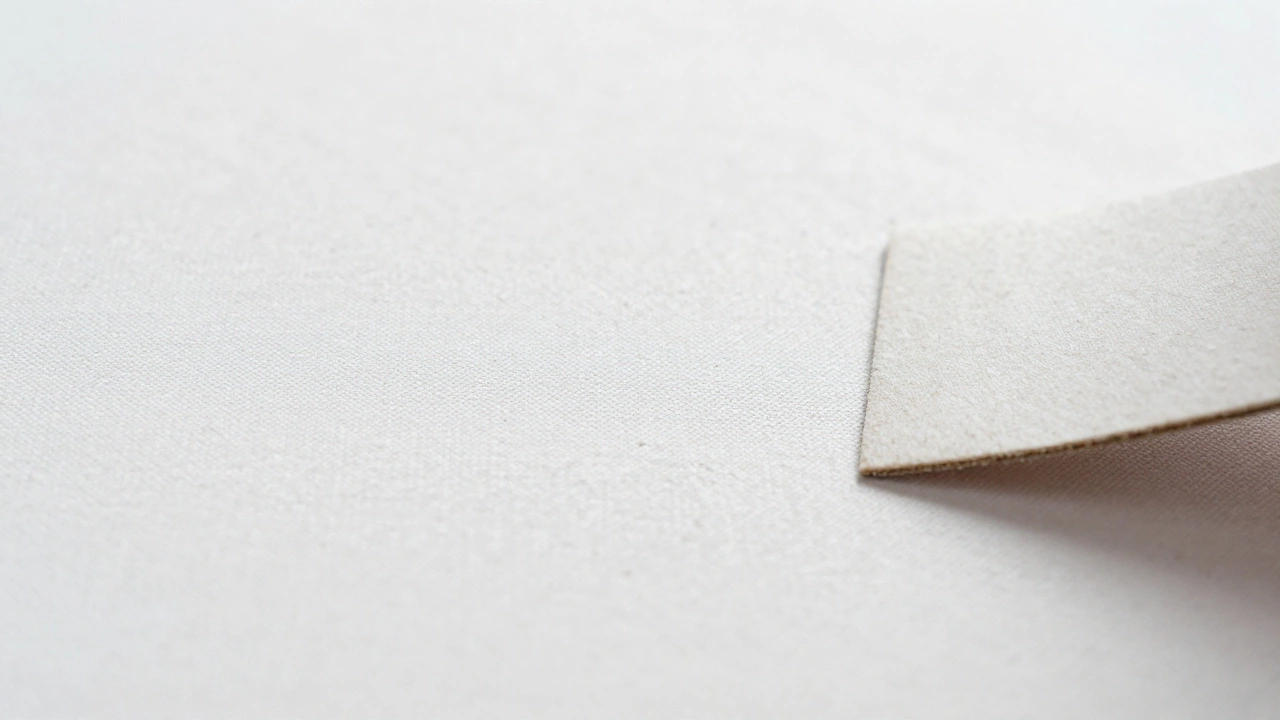
You cannot build a smooth house on a rocky foundation. If your canvas texture is too coarse, no amount of paint manipulation will fully hide it. Standard linen or cotton canvases often have a visible weave. For a truly smooth result, start with a pre-primed canvas that has been sanded, or better yet, apply your own layers of gesso.
To maximize smoothness, apply two thin coats of gesso rather than one thick one. After each coat dries completely, sand the surface lightly with fine-grit sandpaper (400 grit or higher). This fills in the weave holes and creates a flat plane. If you are painting on wood panels, this step is even more critical. A perfectly prepared surface reduces the amount of paint needed to cover the substrate, allowing you to focus on blending rather than filling gaps.
Thinning Your Paint: The Role of Mediums
One of the biggest mistakes beginners make is using straight out-of-the-tube paint for everything. Tube paint is thick and pasty; it holds its shape. To get a smooth finish, you need fluidity. This is where mediums come into play. However, not all mediums are created equal for smoothing.
- Liquin or similar alkyd mediums: These dry faster than pure linseed oil and level well, meaning they flow out to reduce brush marks.
- Solvents like Odorless Mineral Spirits (OMS): Used sparingly, these can thin paint significantly. However, over-thinning weakens the film and can lead to cracking later.
- Linseed Oil: Traditional and effective, but it takes a long time to dry and can yellow slightly over decades.
A good rule of thumb is the "fat over lean" principle. Your first layers should be thinner (leaner) with more solvent or medium, and subsequent layers should be richer in oil. For the initial underpainting, mix your colors with a bit of OMS and a drop of Linseed Oil. This allows the paint to spread easily without leaving heavy peaks. As you move to final glazes, you might use a pure oil medium to increase transparency and flow.
Brush Selection Matters More Than You Think
If you are using stiff bristle brushes designed for heavy impasto, you will struggle to get a smooth finish. Bristle brushes hold a lot of paint and leave distinct marks. Switch to synthetic brushes or soft natural hair brushes like sable or squirrel. These brushes have flexible tips that glide over the surface rather than digging into it.
Flat brushes are excellent for blocking in large areas smoothly because they allow you to lay down wide, even strokes. Filbert brushes are great for softer edges. Keep your brushes clean and conditioned. A brush clogged with dried paint or old medium will drag across the canvas, creating scratches and uneven textures. Wash your brushes frequently during the session to maintain their flexibility.
Technique 1: Wet-on-Wet Blending
Wet-on-wet, or alla prima, involves painting while the previous layer is still wet. This is the most direct way to blend colors seamlessly. The key here is speed and light touch. Do not scrub the canvas. Instead, think of it as stirring soup. Use circular motions or gentle back-and-forth sweeps to merge adjacent colors.
Start with a limited palette to reduce the number of transitions you need to manage. Lay down your base colors next to each other, then use a clean, dry brush to softly blend the boundaries. Work from dark to light, or vice versa, depending on your preference, but always keep the paint workable. If the paint starts to skin over or become tacky, stop blending. Pushing semi-dry paint just moves it around rather than merging it, resulting in a muddy, textured mess.
Technique 2: Glazing for Depth and Smoothness
Glazing is arguably the secret weapon for achieving a hyper-smooth, luminous finish. A glaze is a thin, transparent layer of color applied over a dry, opaque underlayer. Because the glaze is so thin, it flows evenly over the underlying texture, effectively hiding minor imperfections.
To create a glaze, mix a small amount of pigment with a significant amount of glazing medium (often a mix of damar resin and linseed oil). Apply this with a soft brush using broad, overlapping strokes. Because the layer is translucent, the light passes through it, reflects off the white or colored ground below, and bounces back, creating that deep, glowing effect seen in Renaissance paintings. Each glaze levels itself as it dries, contributing to a perfectly smooth final surface.
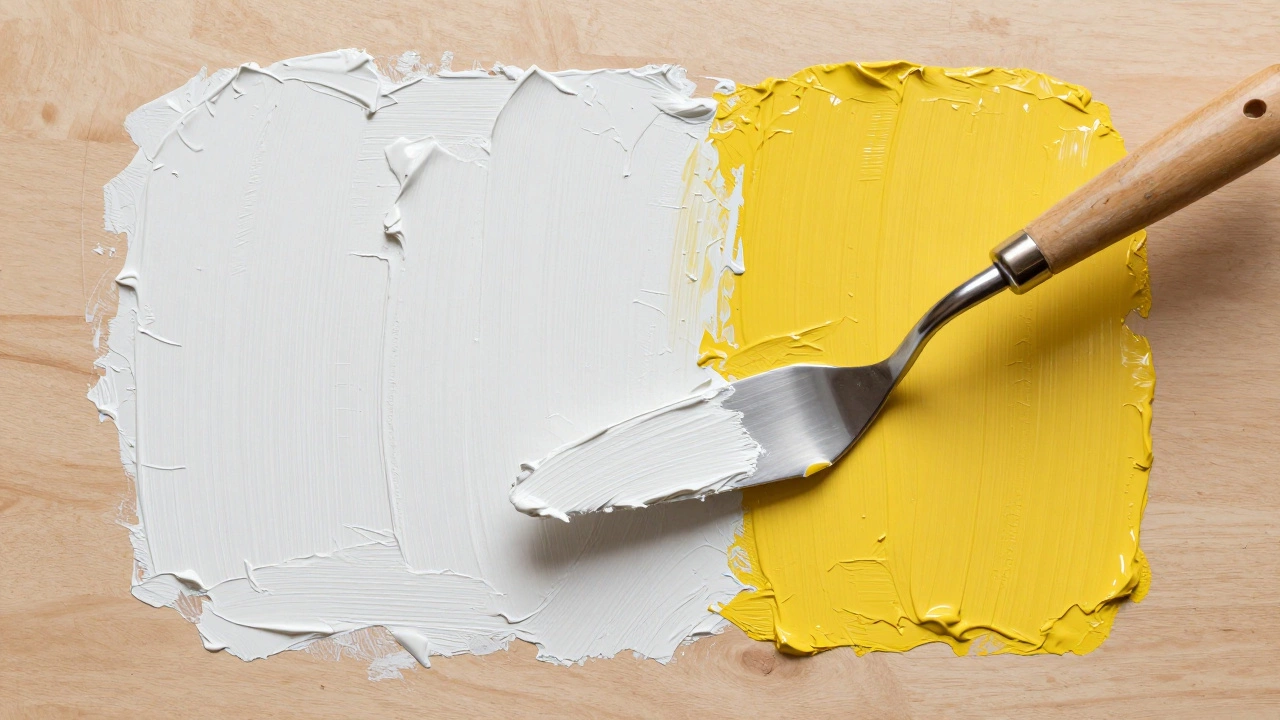
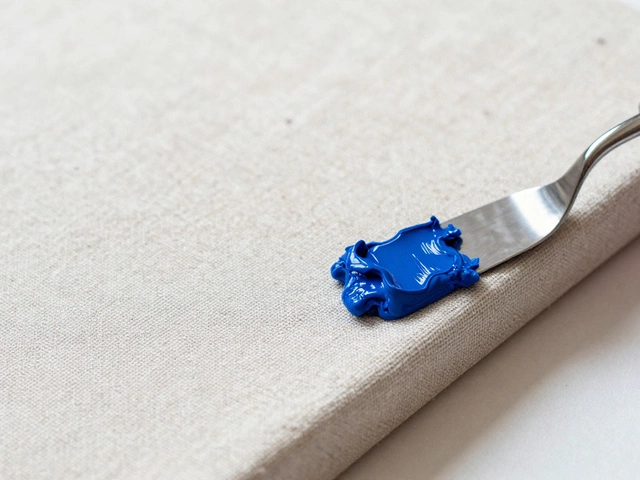
Technique 3: Palette Knife Leveling
Believe it or not, a palette knife can be smoother than a brush. When used correctly, a flexible metal knife can scrape away excess paint and level the surface. This is particularly useful if you’ve accidentally laid down too much paint or if you want to remove brush marks entirely.
Hold the knife at a low angle and gently drag it across the wet paint. This doesn’t remove the paint but redistributes it, filling in valleys and shaving off peaks. It’s a delicate operation; too much pressure will scrape the paint right off the canvas. Practice on scrap paper first. This technique works best with thicker paints that have some body, such as cadmiums or titanium whites.
Timing and Drying Conditions
Patience is non-negotiable. Rushing between layers is the enemy of smoothness. If you apply a new layer before the previous one is fully dry, you risk lifting the underlying paint, creating wrinkles and bumps. Oil paintings can take days or even weeks to dry to the touch, depending on thickness and pigments. Blue pigments, for example, tend to dry slower than earth tones.
Ensure your painting environment is dust-free. Dust settling on wet paint creates tiny craters that are nearly impossible to fix without repainting. Cover your work when not actively painting. Additionally, avoid high humidity or extreme cold, which can affect drying times and cause issues like blooming (where moisture gets trapped under the paint film).
Common Pitfalls to Avoid
Even with the right techniques, certain habits can ruin a smooth finish. Overworking the paint is a major culprit. The more you go over an area, the muddier and more textured it becomes. Learn to trust your first few strokes. Another mistake is using too much solvent. While it thins the paint, it also washes away the binder (oil), leading to a weak, chalky surface that may crack or flake later. Stick to recommended ratios for your medium.
Finally, don’t ignore the importance of varnishing. Once your painting is completely dry (wait at least six months for safety), applying a removable varnish can unify the surface gloss and fill in microscopic pores, giving the final illusion of absolute smoothness.
| Technique | Best For | Difficulty | Drying Time Impact |
|---|---|---|---|
| Wet-on-Wet Blending | Soft transitions, portraits | Medium | Requires working within open time |
| Glazing | Depth, luminosity, flawlessness | High | Requires full dry between layers |
| Palette Knife Leveling | Removing brush marks, textural control | Low | No impact on drying |
| Sanding Dry Layers | Correcting minor bumps | Low | Only possible after full cure |
Can I sand my oil painting to make it smooth?
Yes, but only after the paint is completely dry to the core, which can take months. Use very fine sandpaper (600+ grit) and sand lightly. Be cautious not to sand through thin layers of paint. This is a corrective measure, not a primary technique.
Why does my oil painting look streaky?
Streakiness usually results from insufficient blending or using paint that is too thick. Ensure you are using enough medium to allow the paint to flow, and blend thoroughly while the paint is still wet. Also, check that your brush is clean and free of dried paint clumps.
What is the best medium for smooth oil painting?
Alkyd-based mediums like Liquin are excellent for leveling and speeding up drying times. For traditional glazes, a mixture of damar varnish and linseed oil provides superior flow and transparency. Avoid using pure solvents as a medium, as they weaken the paint film.
How do I prevent brush marks in oil painting?
Use soft-bristled brushes, thin your paint appropriately with medium, and employ gentle, sweeping motions rather than heavy scrubbing. Blending wet paint immediately after application helps merge strokes. Alternatively, use a palette knife to level the surface.
Does varnish help make an oil painting look smoother?
Yes, a final coat of varnish can unify the gloss level and fill in microscopic surface irregularities, enhancing the perception of smoothness. It also protects the paint from dirt and UV damage. Always wait at least six months before varnishing to ensure the painting is fully cured.