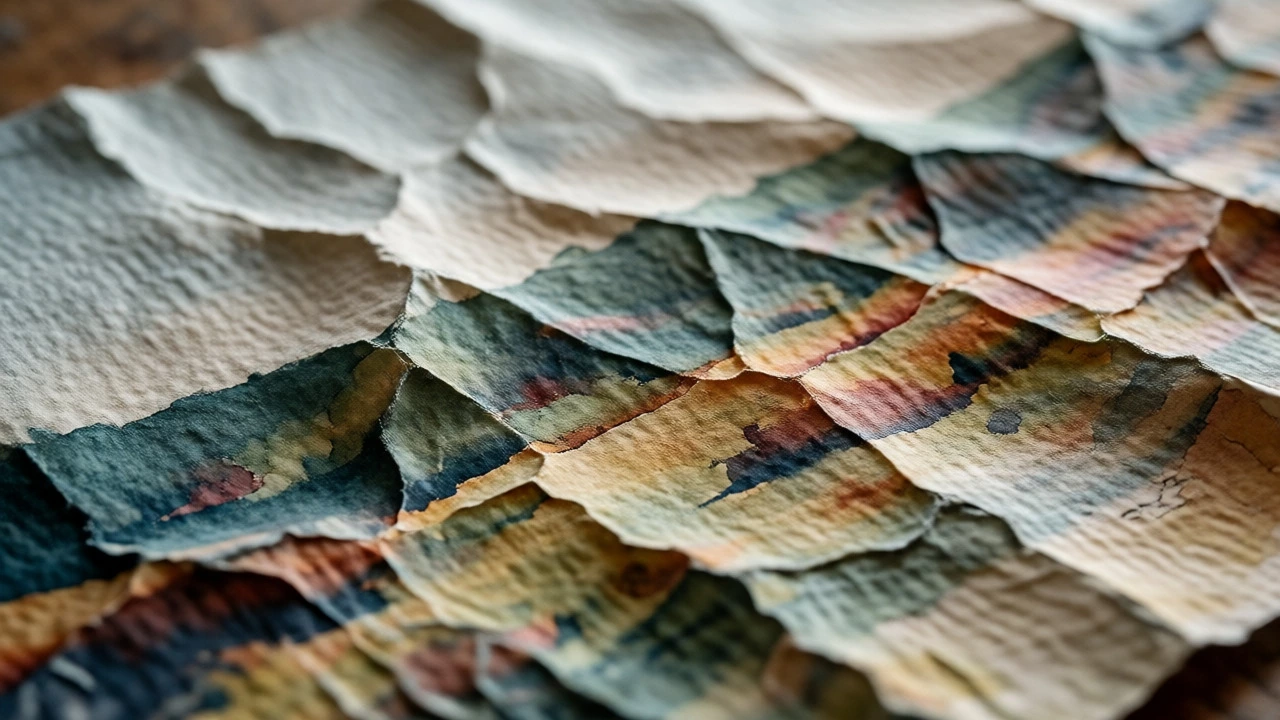
Watercolor Paper Ripple Risk Calculator
Select your materials and techniques to see how likely you are to encounter ripples in your next watercolor piece.
Your Setup
Estimated Ripple Risk
💡 Pro Tip
Stretching your paper before painting is the most effective way to prevent ripples entirely, regardless of paper weight.
You’ve just finished a beautiful wash, the colors are glowing, and then you look down. Your paper looks like it’s been through a storm. The surface is wavy, uneven, and your crisp lines have turned into jagged disasters. This is the classic watercolor ripple, and if you paint with water-based media, you’re going to fight this battle more than once.
The good news? It’s not a death sentence for your artwork. Whether you want to prevent them before they start or rescue a piece that’s already buckled, there are proven ways to handle it. You don’t need expensive equipment-just an understanding of how paper reacts to moisture and a bit of patience.
Why Does Watercolor Paper Ripple?
To fix the problem, you first need to understand the enemy. Paper is made of cellulose fibers, which are essentially tiny tubes that absorb water. When you apply a wet wash, these fibers swell. Here’s the catch: the side you painted on swells more than the back because the pigment and binder create a slight barrier, or simply because the application was heavier on one side. This uneven expansion causes the sheet to curl and buckle toward the wetter side.
Think of it like a bimetallic strip in a thermostat, but with paper. If the top layer expands faster than the bottom layer, the whole thing curves. Heavy cold-press paper (300gsm/140lb) resists this better than thin hot-press paper (190gsm/90lb), but even heavy paper will ripple if you soak it enough.
Prevention: Stretching Your Paper Properly
The most effective way to avoid ripples is to stretch your paper before you touch it with a brush. This sounds intimidating, but it’s actually quite simple. You’re essentially pre-expanding the paper so it dries flat under tension.
- Gather your tools: You need your watercolor paper, clean water, masking tape (artist’s tape, not duct tape), and a rigid board (plywood, MDF, or a hard backing board).
- Soak the paper: Submerge your sheet in a tray of clean water for 2-5 minutes. Lighter papers need less time; heavier cotton papers can take up to 10 minutes. Don’t worry about damaging it; quality cotton paper loves this.
- Drain carefully: Lift the paper out and let the excess water drip off. Place it on a clean towel. Blot the surface gently with another towel to remove standing water, but keep the fibers damp. If it’s too dry, it won’t expand enough.
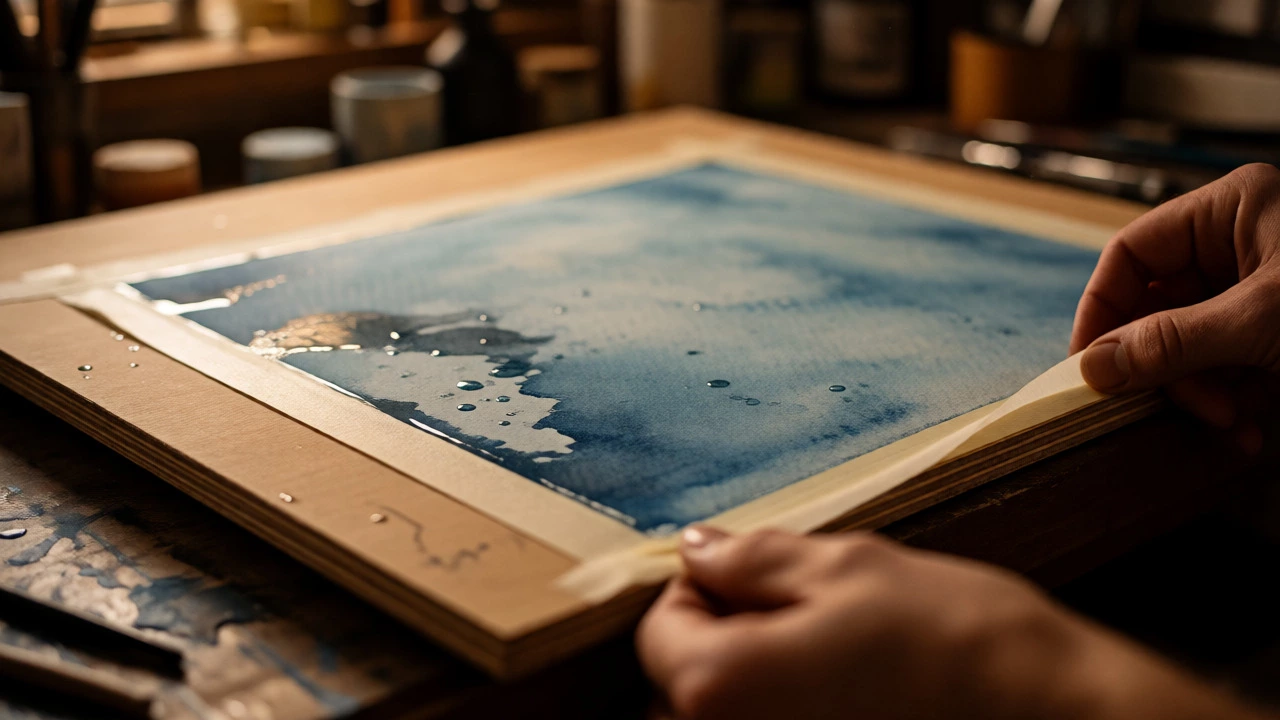
- Tape it down: Lay the damp paper onto your board. Cut four strips of masking tape long enough to cover each edge. Wet the sticky side of the tape slightly with a sponge (this helps adhesion). Tape all four edges firmly to the board. Pull the paper taut as you tape the opposite sides.
- Let it dry: Leave it alone until it is completely bone dry. This might take several hours or overnight depending on humidity. As it dries, the paper shrinks against the tape, pulling itself into a perfectly flat plane.
Once dry, you can paint directly on the stretched paper without worrying about buckling during your washes. The tape holds the edges secure while the center remains stable.
| Paper Type | Weight (GSM) | Ripple Risk | Best For |
|---|---|---|---|
| Hot Press | 190-300 | High | Detailed illustrations, minimal washes |
| Cold Press | 300 | Moderate | General watercolor, textured effects |
| Rough | 300+ | Low | Loose landscapes, heavy washes |
| Wood Pulp vs. Cotton | N/A | Wood Pulp High / Cotton Low | Cotton is worth the investment for large works |
Fixing Ripples After Drying
What if you didn’t stretch the paper, or you added too much water after it dried? Now you have a wavy mess. Do not try to iron it immediately unless you know what you’re doing. Here are two safe methods to flatten it.
The Spray and Dry Method
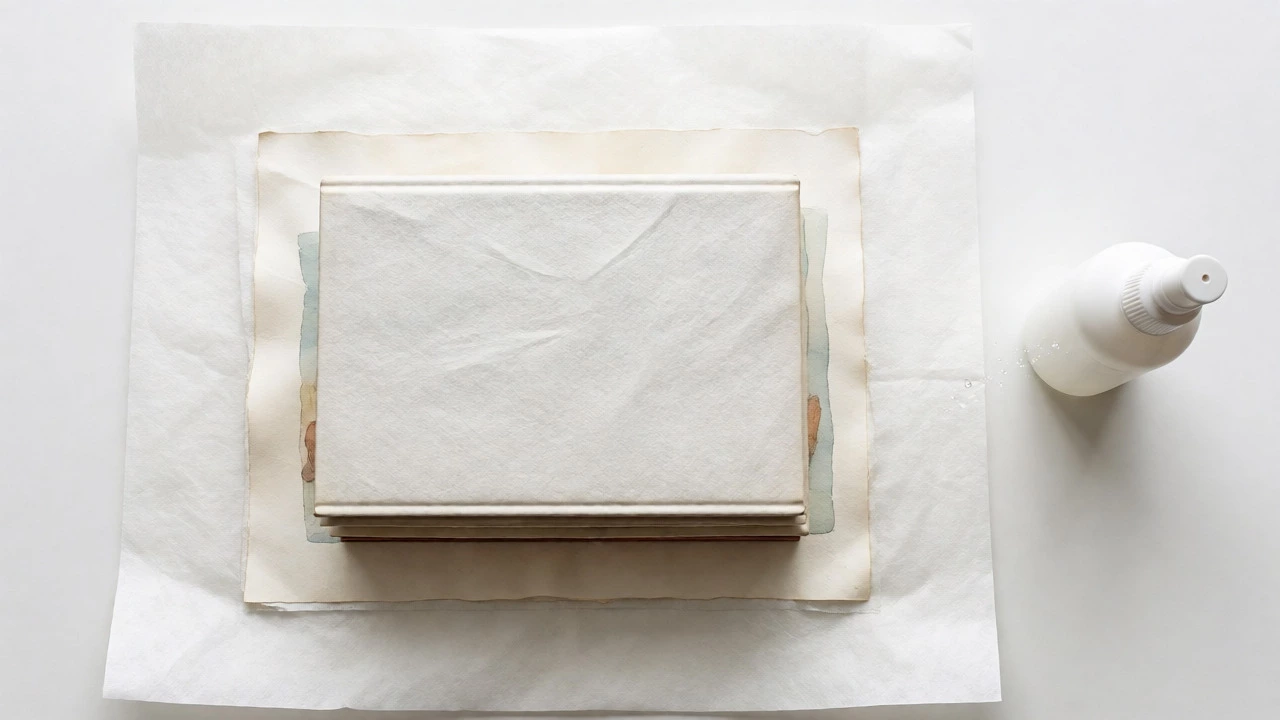
This is the gentlest approach. Lightly mist both the front and back of the painting with a fine spray bottle. You want to relax the fibers, not soak them. Once the paper is uniformly damp (not dripping), place the painting between two sheets of clean blotting paper or absorbent towels. Stack heavy books on top. Check it every hour. Once dry, the paper should be significantly flatter. This works best for mild ripples.
The Ironing Method
For stubborn waves, heat can help realign the fibers. Set your iron to a low, dry setting (no steam). Place your painting face-down on a clean, flat surface. Cover it with a thin cloth or parchment paper to protect the paint. Gently press the iron over the back of the paper, moving continuously. Do not leave the iron in one spot, or you’ll scorch the paper. The heat evaporates residual moisture unevenly, helping to pull the paper flat. Be cautious with synthetic papers or those with plastic coatings, as they can melt.
Techniques to Minimize Buckling During Painting
If you hate stretching, you can adapt your technique to reduce stress on the paper. The key is controlling where the water goes.
- Work from the center out: Avoid saturating the edges early on. Keep the perimeter relatively dry until the final stages, or use tape to mask the edges.
- Use less water: Try to achieve your desired transparency with thicker pigment loads rather than massive amounts of water. Less volume means less fiber swelling.
- Layer strategically: Let layers dry completely before adding new ones. Adding a wet wash over a partially dry area creates differential expansion, leading to more warping.
- Choose heavier paper: If you find yourself fighting ripples constantly, switch to 300gsm (140lb) or 640gsm (300lb) paper. Heavier paper has more mass to resist bending forces.
When to Give Up and Remount
Sometimes, the damage is done. If you plan to frame your work, you can hide minor imperfections by mounting the painting securely. Using archival adhesive mounts or hinging the top corners only allows the paper to move slightly with humidity changes without showing waves behind glass. However, if the ripples have caused cracking in the paint film (common with thick gouache or opaque watercolors mixed in), no amount of flattening will restore the integrity of the image. In those cases, consider scanning the work digitally and printing it on archival paper instead.
Common Mistakes That Cause Ripples
Avoid these pitfalls to save yourself headaches later:
- Using cheap wood-pulp paper: Wood pulp breaks down when wet and loses structural integrity quickly. Always opt for 100% cotton rag paper for serious work.
- Taping too loosely: If your stretching tape isn’t tight enough, the paper will shrink away from the edges as it dries, creating a loose, wavy center.
- Ignoring humidity: Painting in a very humid room slows drying time, allowing gravity to pull at the wet paper for longer periods. Use a fan on a low setting to speed up drying if needed.
Frequently Asked Questions
Can I fix ripples after framing?
Generally, no. Once framed under glass, the paper is constrained. If you unframe it, you risk damaging the mount. It’s best to ensure the paper is flat before framing. If the ripples are severe, remounting the artwork using archival hinges or spacers may help visually minimize the effect, but the physical wave remains.
Does stretching change the texture of the paper?
No, proper stretching does not alter the tooth or texture of the paper. It only affects the dimensional stability. However, if you soak the paper too long or rub it aggressively while draining, you might lift some sizing, which could make the paper feel softer or more absorbent. Handle it gently.
Is hot-press paper more prone to rippling than cold-press?
Yes, typically. Hot-press paper is smoother and often thinner, making it less structurally rigid. Cold-press and rough papers usually have more body and texture, which helps resist buckling. Additionally, artists tend to use more water on hot-press for smooth gradients, exacerbating the issue.
Can I use hairdryers to dry my paper?
You can, but be careful. High heat can cause the paper to dry too quickly on the surface while remaining wet underneath, trapping moisture and causing cockling. Use a cool or low-heat setting and keep the dryer moving. It’s safer to let air dry naturally or use a fan.
What if my paper tears when I try to stretch it?
This usually happens with low-quality wood-pulp papers that disintegrate when wet. If your paper tears easily, stop soaking it immediately. Switch to higher-quality cotton paper for future projects. For current repairs, you can glue the torn edge to the board with PVA glue before taping, but expect limited success.