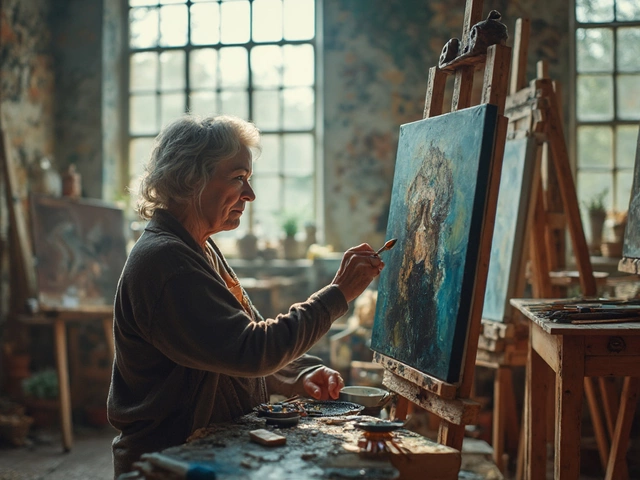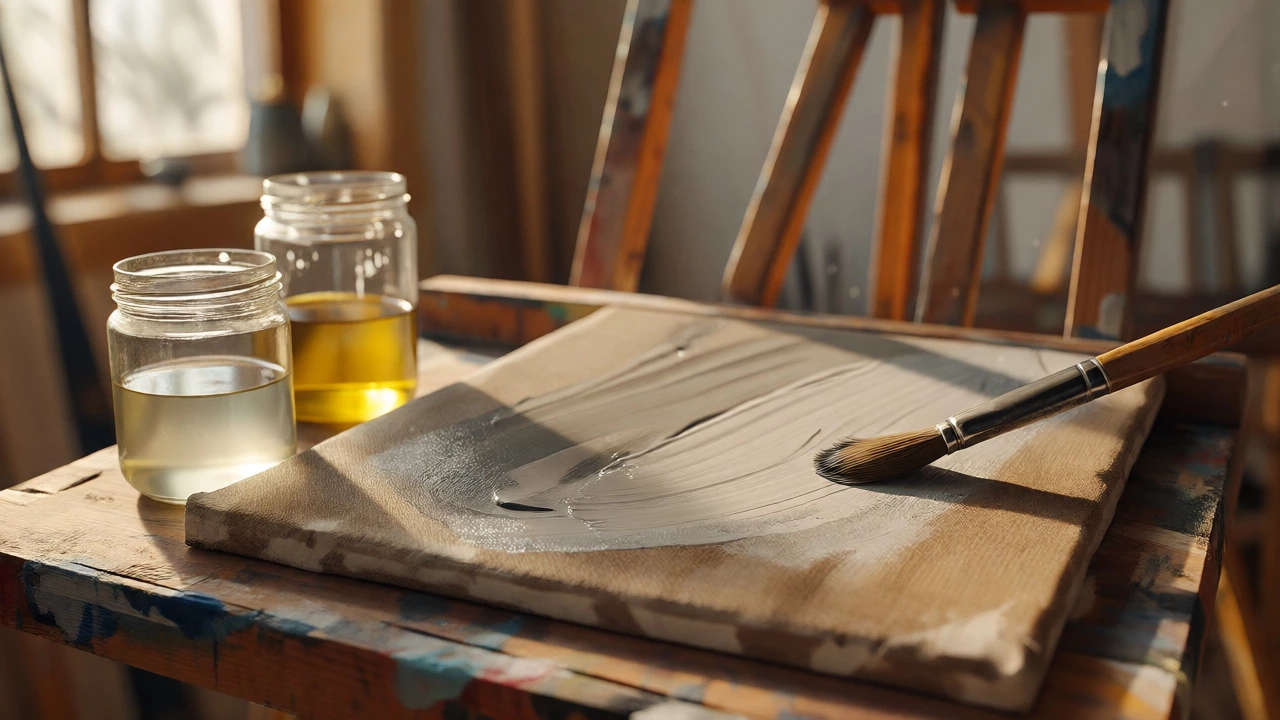
Fat Over Lean Layering Simulator
Select a medium to add to your canvas. Remember: Lower layers must be LEANER (more solvent) than upper layers.
Start with a lean underpainting!
Add your first layer using the mixer on the left.You’ve spent weeks on a canvas. The colors are vibrant, the shadows deep, and you’re ready to sign your name in the corner. Then, three months later, you notice it: a tiny spiderweb crack running through the sky. Or worse, the paint starts lifting off the canvas like dead skin. What went wrong? Did you use bad brushes? Cheap canvas? Probably not. You likely broke one of the oldest, most critical rules in oil painting: the fat over lean rule.
This isn’t just some arbitrary tradition passed down from old masters in dusty studios. It’s physics. Specifically, it’s about how different oils dry at different speeds and how they shrink as they cure. If you get the order wrong, your painting fights itself from the inside out. Get it right, and your work can last centuries without a single fracture.
The Science Behind the Shrinkage
To understand why this rule exists, you have to look at what happens when oil paint dries. Unlike watercolor or acrylics, which mostly dry by evaporation, oil paints cure through oxidation. This is a chemical reaction where the oil molecules bond with oxygen in the air. As this happens, the paint film hardens and, crucially, shrinks slightly.
Different oils shrink at different rates. Linseed oil, the most common binder, has a high degree of shrinkage. Stand oil, a thicker, slower-drying variant, shrinks even more. On the other end of the spectrum, solvents like turpentine or mineral spirits evaporate quickly and don’t shrink much because they aren’t part of the final film-they just thin the paint. If you apply a layer that shrinks significantly (a "fat" layer) over a layer that has already hardened and stopped shrinking (a "lean" layer), the top layer pulls on the bottom one. Since the bottom layer is rigid, it can’t give way. The result? Cracks.
| Medium Type | Shrinkage Rate | Drying Time | Role in Fat Over Lean |
|---|---|---|---|
| Turpentine / Mineral Spirits | Negligible (Evaporates) | Fast (Minutes to Hours) | Leanest (Base Layers) |
| Safflower Oil | Low | Slow | Leaner than Linseed |
| Linseed Oil | Moderate to High | Moderate (Days to Weeks) | Standard Binder |
| Stand Oil | Very High | Very Slow (Weeks to Months) | Fattiest (Top Glazes) |
What Exactly Is "Fat" and "Lean"?
In oil painting slang, these terms refer to the ratio of oil to solvent in your paint mixture. Think of it like cooking. "Lean" is like boiling water-simple, fast, no residue left behind except the solids. "Fat" is like frying in butter-rich, slow-cooking, leaving a substantial coating.
- Lean: A mixture dominated by solvent (turpentine, odorless mineral spirits). It flows easily, dries quickly, and creates a matte finish. It has low flexibility.
- Fat: A mixture dominated by oil (linseed, walnut, safflower). It is viscous, dries slowly, and creates a glossy, flexible finish. It has high elasticity.
The rule is simple: Each successive layer must be fatter (more oil) than the layer beneath it. Your underpainting should be lean. Your middle tones can be moderate. Your highlights and glazes should be fat. If you reverse this-if you put a lean, fast-drying layer over a fat, slow-drying layer-the top layer will dry first. While the bottom layer continues to shrink and move for weeks, the top layer becomes brittle and cracks under the stress.
Building Your Underpainting: Start Lean
Your foundation determines the stability of everything above it. Most professional painters start with a underpainting, often called a grisaille or dead coloring. This stage is all about establishing values and composition, not color richness.
For this initial pass, mix your paint with plenty of solvent. Some artists use pure turpentine to create a wash-like consistency. Others prefer a 50/50 mix of linseed oil and turpentine. The goal here is speed. You want this layer to dry within 24 hours so you can move on. Because it’s lean, it won’t shrink much. It forms a stable, rigid base that won’t shift dramatically while you work on subsequent layers.
A common mistake beginners make is adding too much oil to their underpainting because they want it to look "wet" and vibrant. Resist that urge. Keep it thin. If you’re using tubes of paint straight from the package, add a drop of solvent to each blob before applying it to your palette. This ensures your base is truly lean.
Middle Layers: The Transition Zone
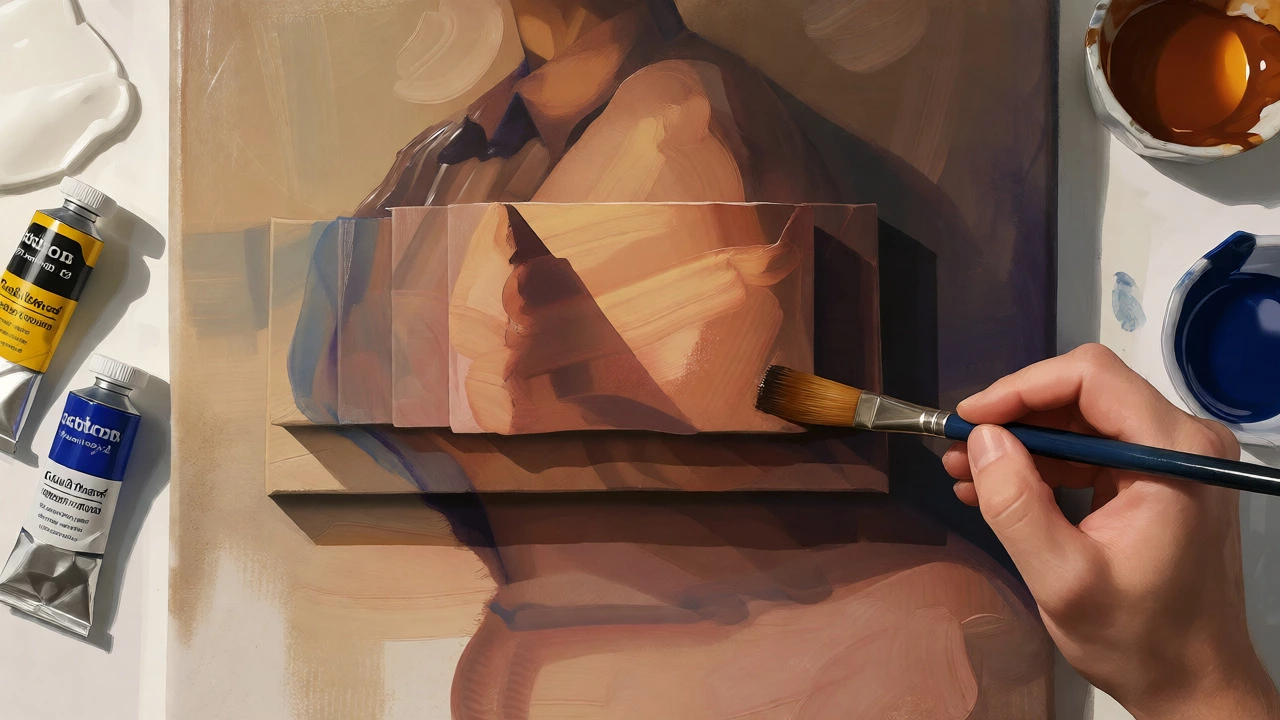
Once your underpainting is bone dry, you move into the modeling phase. Here, you build up form and local color. This is where you introduce more oil. But don’t jump straight to heavy mediums. Ease into it.
A good heuristic for the middle stages is a gradual increase in oil content. If your underpainting was 70% solvent / 30% oil, aim for 50/50 in the next layer. By the third layer, maybe 60% oil / 40% solvent. Why the gradual shift? Because sudden changes in absorption can cause issues. If you slap a very oily paint onto a very porous, lean surface, the surface might suck the oil out of the paint too quickly, leaving a dull, "sunken" area known as "pentimento" or simply lackluster color.
Consider the example of painting a portrait. Your background might be painted with a leaner mix to keep it receding and flat. Your face, however, needs volume. You’ll use slightly more oil here to allow for blending and soft edges. Just ensure that if you paint a shadow (which often uses darker pigments that dry faster) over a light area, you’re mindful of the drying times. Darker pigments like Umber contain manganese siccatives that speed up drying, effectively making them "leaner" in behavior than lighter pigments like Cadmium Yellow, which can stay tacky for days.
Glazing and Highlights: Go Fat
The final stages of an oil painting are usually reserved for glazing and impasto highlights. This is where the fat over lean rule shines brightest. Glazes are transparent layers of color applied over dried opaque paint to adjust hue or temperature. To make a glaze, you need transparency, which means you need a lot of medium.
Use a medium rich in stand oil or alkyd resins. These are "fat" mediums. They stay open longer, allowing you to manipulate the color without it dragging. More importantly, they remain flexible after curing. When you place this flexible, fatty layer on top of the stiffer, leaner layers below, any minor movement in the lower layers is absorbed by the elasticity of the top layer. No cracking.
If you’re doing impasto (thickly applied paint), you definitely want fat paint. Thick blobs of paint take a long time to oxidize throughout. If the center is lean, it might dry and crack before the edges do. Adding extra oil ensures the entire mass cures evenly and remains cohesive. Many artists add a touch of stand oil directly to their highlight whites to boost luminosity and durability.
Common Pitfalls and How to Avoid Them
Even experienced painters slip up. Here are the most frequent ways people break the rule and how to fix them.
1. Working Too Fast: Oil paint feels dry to the touch in a few days, but it’s still curing chemically for months. If you apply a fat layer over a layer that *looks* dry but is still soft underneath, you risk trapping moisture or causing uneven tension. Wait longer than you think you need to. For thin layers, wait a week. For thick layers, wait two weeks or more.
2. Ignoring Pigment Differences: Not all paints behave the same. Earth tones (ochres, umbers) dry fast and are naturally leaner. Blues and greens (phthalos, ultramarines) can be tricky; some dry slowly. Always test your specific brand’s drying times on a scrap board. Adjust your medium accordingly. If a pigment dries super fast, treat it as lean, even if you added oil.
3. Using Alkyds Incorrectly: Modern alkyd mediums (like Liquin) speed up drying significantly. They are great for getting layers done quickly, but they can be deceptive. An alkyd-modified paint dries fast but may still be flexible. If you follow a traditional fat-over-lean approach with alkyds, you can actually paint wet-on-wet much sooner. However, if you mix traditional oils with alkyds, ensure the alkyd layer is fully cured before adding a very fat traditional oil layer on top, or you might isolate the layers poorly.
Practical Cheat Sheet for Layering
Here is a quick reference guide to help you plan your sessions. Remember, this is a guideline, not law. Art requires intuition, but physics demands respect.
- Layer 1 (Underpainting): 1 part oil : 3 parts solvent. Dry time: 1-2 days.
- Layer 2 (Blocking In): 1 part oil : 1 part solvent. Dry time: 3-5 days.
- Layer 3 (Detailing): 2 parts oil : 1 part solvent. Dry time: 1-2 weeks.
- Layer 4 (Glazing/Highlights): Pure oil or stand oil medium. Dry time: 2+ weeks.
Notice the progression? The solvent decreases, and the oil increases. That’s the essence of fat over lean.
Can I break the fat over lean rule if I use a fast-drying medium?
Yes, but cautiously. Fast-drying mediums like alkyds (e.g., Liquin) change the dynamics. Because they dry rapidly and uniformly, the risk of differential shrinkage is reduced compared to pure oils. However, it’s still safer to maintain a general trend of increasing flexibility. Never put a very lean, watery wash over a thick, oily impasto, regardless of the medium.
Does the type of canvas matter?
Absolutely. A rigid panel (wood or aluminum) supports the paint film better than a flexible stretched canvas. On a flexible canvas, the support moves with temperature and humidity changes. If your paint layers are stiff (too lean), they will crack when the canvas flexes. This makes the fat over lean rule even more critical on canvas, as the top layers need elasticity to accommodate the movement of the support.
What if my paint looks sunken or dull after drying?
This is called "sinking in." It happens when the ground layer absorbs too much oil from the paint, leaving the pigment matte and dark. To fix it, apply a thin coat of pure linseed oil or a varnish medium once the painting is fully dry. This re-saturates the colors. Prevention is key: ensure your primer is sealed properly before starting, and avoid overly lean mixes in early layers if your ground is very absorbent.
How do I know if a layer is dry enough to paint over?
The "thumb test" is unreliable for oil paint. Pressing your thumb leaves a mark and can disturb the surface. Instead, gently rub your finger across a non-critical edge. If it feels tacky or pulls up dust, it’s not ready. For critical work, wait at least 24 hours for thin layers and several days for thicker ones. If you’re unsure, wait another day. Patience prevents disasters.
Can I use acrylics under oil paint?
Yes, this is a popular mixed-media technique. Acrylics dry by evaporation and form a plastic-like film that doesn’t shrink like oil. Therefore, you can paint lean oil layers over acrylics. However, you cannot paint acrylics over oil paint, as the oil will never fully cure and the acrylic will peel off. Always ensure the acrylic layer is completely dry and not too glossy (scuff it lightly if needed) before applying oil.
Mastering fat over lean isn’t about memorizing ratios; it’s about understanding the life cycle of your materials. Treat your painting like a living organism that grows layer by layer. Feed it the right nutrients-solvent for structure, oil for flexibility-and it will reward you with a surface that stands the test of time. So next time you squeeze out that tube of Titanium White, ask yourself: Am I going lean or fat today?