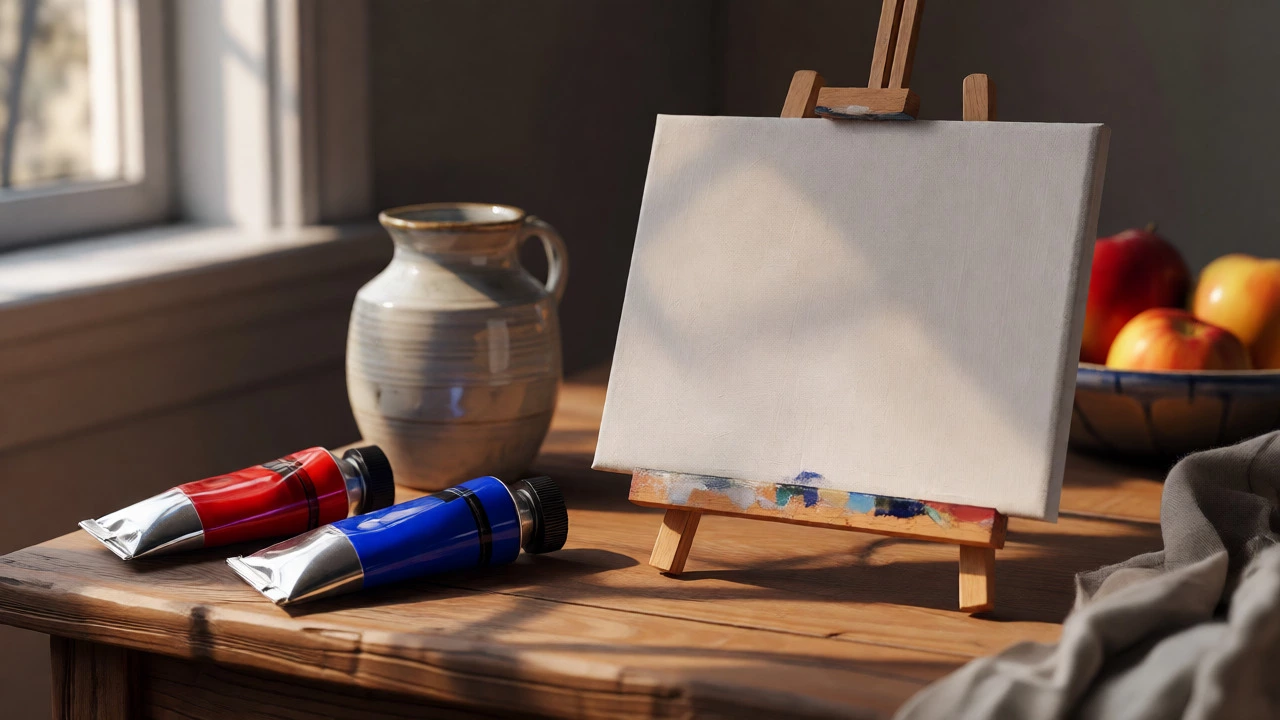
Beginner Oil Painting Subject Selector
Not sure what to paint first? Answer a few questions to get a personalized recommendation tailored to your current skill level and interests.
Select your preferences and click "Get Recommendation" to see your ideal starting subject.
You’ve bought the tubes of oil paint, squeezed out some cadmium red and ultramarine blue, and stared at a blank canvas. The panic sets in. What do you actually paint? If you try to tackle a complex portrait or a sprawling cityscape right away, you’ll likely end up frustrated, muddy colors, and a canvas that looks nothing like your vision. Here’s the truth most tutorials skip: the subject matters more than your brush skills when you’re starting out.
The goal isn’t just to make something pretty; it’s to learn how oil behaves. Oils dry slowly, blend beautifully, and allow you to rework areas. But they also demand patience and specific handling. Choosing the wrong subject can turn this forgiving medium into a nightmare. So, what is the best subject for beginner oil painting? It’s not one single thing, but rather a category of subjects that minimize variables while maximizing learning opportunities.
Why Still Life Is the Gold Standard for Beginners
If you ask ten professional artists what they painted first, seven will say still life. Why? Because still life gives you total control. You decide where the light comes from. You choose the objects. You arrange the composition. There are no moving parts, no changing weather, and no impatient sitters asking if they look tired.
Start with three to five simple objects. Think a bowl of fruit, a ceramic jug, and an apple on a table covered with a neutral cloth. This setup teaches you the core pillars of oil painting: form, light, shadow, and color mixing. When you paint an apple, you aren’t just copying its shape. You’re learning how to mix a convincing green using yellow ochre and ultramarine blue, then adding white to create highlights. You’re seeing how shadows aren’t black-they’re often deep purples or blues depending on the light source.
Still life allows you to practice wet-on-wet blending, which is unique to oils. You can drag a loaded brush across wet paint to create soft gradients, mimicking the roundness of a peach or the smooth surface of a vase. If you mess up, you can wipe it off with a rag and turpentine substitute (like odorless mineral spirits) and start again. That forgiveness is invaluable.
Landscape Painting: Capturing Light and Atmosphere
Once you’re comfortable with static objects, landscape painting becomes the next logical step. Landscapes teach you about scale, depth, and atmospheric perspective. Unlike still life, landscapes involve distance. Things further away appear lighter, cooler, and less detailed. Learning to push these effects is crucial for creating realistic space on a flat canvas.
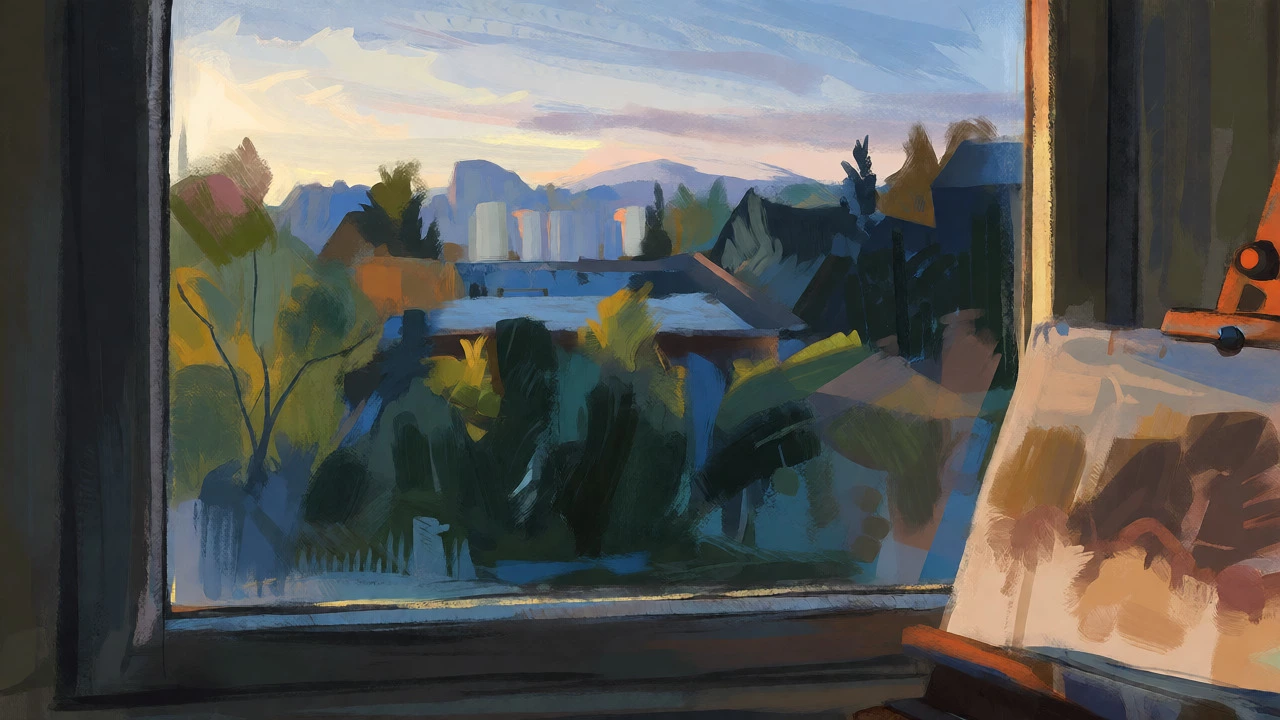
You don’t need to hike to the mountains to paint a landscape. A view from your window works perfectly. Maybe it’s a tree line against the sky, or a street scene with buildings receding into the distance. The key here is simplification. Beginners often try to paint every leaf on every tree. Stop. Paint the mass of foliage as a single shape. Use broad strokes. This forces you to think about big shapes first, details last-a fundamental principle in oil painting.
Landscapes also challenge your color temperature judgment. Sunlight is warm; shadows are cool. In a winter scene, the snow might look white, but in shadow, it’s tinged with blue or violet. Training your eye to see these subtle shifts is easier outdoors or from photos than in abstract compositions. Plus, the slow drying time of oils lets you work on a landscape over several days, refining the sky or adjusting the foreground without rushing.
Avoid These Common Beginner Traps
Not all subjects are created equal. Some are traps that set beginners up for failure. Portraits are the biggest culprit. Human faces are incredibly complex. Small errors in proportion or shading make a face look "wrong" instantly. Your brain is wired to detect facial imperfections, so even slight mistakes stand out harshly. Save portraits until you have better control over value and structure.
Another trap is overly detailed subjects, like intricate lace patterns or busy architectural facades. Oil painting rewards bold, confident strokes. Trying to render tiny details too early leads to stiff, lifeless paintings. You’ll spend hours fiddling with small bits instead of learning to block in large masses of color.
Also, avoid pure whites and pure blacks initially. Mixing true white requires skill to keep it from looking chalky. Mixing true black can make your painting look dirty. Start with mid-tones and vibrant colors. Learn to create darks by mixing complementary colors (like red and green) rather than just adding black.
Essential Materials for Your First Subjects
Your choice of materials affects your experience just as much as your subject. For beginners, simplicity is key. Don’t buy twenty different colors. Stick to a limited palette: Titanium White, Yellow Ochre, Cadmium Red Medium, Ultramarine Blue, and perhaps Viridian Green. This restricts your options enough to force you to learn color mixing, but provides enough range to paint fruits, skies, and skin tones.
| Item | Recommendation | Why It Helps Beginners |
|---|---|---|
| Canvas | Primed linen or cotton, medium weave | Holds paint well; texture helps grip brushstrokes |
| Brushes | Synthetic bristles (flat and filbert) | Durable, easy to clean, good for blocking in shapes |
| Medium | Odorless Mineral Spirits + Linseed Oil | Controls flow and drying time safely indoors |
| Easel | Tabletop easel | Keeps canvas upright, prevents glare, saves space |
Use synthetic brushes for your first few months. Hog hair is traditional but can be too stiff for delicate blending. Synthetics are softer, hold their shape better, and are easier to clean. Pair them with a medium-weave canvas. Too smooth, and the paint slides around; too rough, and it eats your paint. Medium weave offers a nice balance.
Techniques to Practice with Your Chosen Subject
Regardless of whether you choose still life or landscape, focus on these two techniques. First, blocking in. Before adding any detail, cover the entire canvas with large shapes of solid color. Ignore edges. Focus on values (light vs. dark). This ensures your composition works before you invest time in rendering.
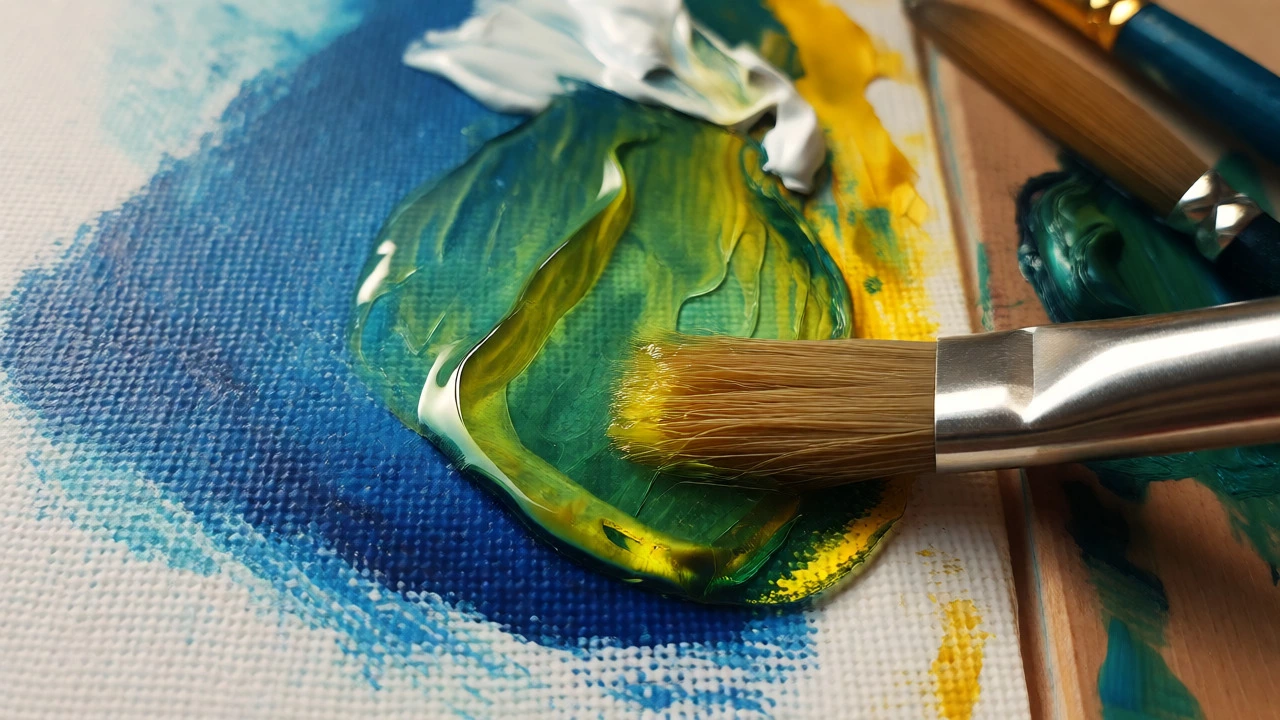
Second, glazing. Once your underpainting dries (which can take days), apply thin, transparent layers of color over it. Glazing adds depth and luminosity that opaque paint alone cannot achieve. For example, glaze a thin layer of yellow over a dried blue area to create a rich, glowing green. This technique is magic in oils and separates amateur work from professional-looking pieces.
Frequently Asked Questions
How long does oil paint take to dry?
Oil paint dries through oxidation, not evaporation, so it takes much longer than watercolors or acrylics. Thin layers may dry to the touch in 1-3 days, but thick impasto strokes can take weeks or even months to fully cure. Patience is essential. Rushing can cause cracking later.
Do I need expensive paints to start?
No. Student-grade oils are fine for learning. They have slightly less pigment load and more fillers, but they behave similarly to artist-grade paints. Invest in good brushes and canvas instead, as those affect your workflow more directly. Upgrade to artist-grade pigments once you understand color mixing basics.
Can I paint outdoors with oils?
Yes, but it requires planning. You’ll need a portable easel, a palette box, and containers for solvents. Weather conditions matter-wind can blow dust onto wet paint, and rain can ruin your work. Many beginners prefer painting landscapes from photographs taken outdoors to avoid logistical hassles while still capturing natural light.
What is the best way to clean brushes?
First, wipe excess paint off with a rag. Then swirl the brush in odorless mineral spirits to dissolve remaining paint. Finally, wash with mild soap and warm water until the lather runs clear. Never leave brushes standing tip-up in solvent, as this damages the ferrule and bristles.
Should I use a varnish after finishing?
Wait at least six months to a year before varnishing. Oils continue to oxidize and harden during this period. Applying varnish too early can trap moisture and cause yellowing or cracking. Use a removable dammar or synthetic varnish to protect the surface and unify the sheen.