Linseed Oil Mixing Assistant
Raw Linseed Oil
General purpose. Adds body and slows drying.
- Drying: Slow (Days)
- Yellowing: High
- Best For: Extending paint life
Stand Oil
Polymerized oil. Glossy, non-yellowing.
- Drying: Very Slow
- Yellowing: Low
- Best For: Glazes & Varnishes
Alkyd Medium
Synthetic resin base. Fast working.
- Drying: Fast (Hours)
- Yellowing: Low
- Best For: Alla Prima / Speed
Technique Analyzer
Recommended Medium
--
--
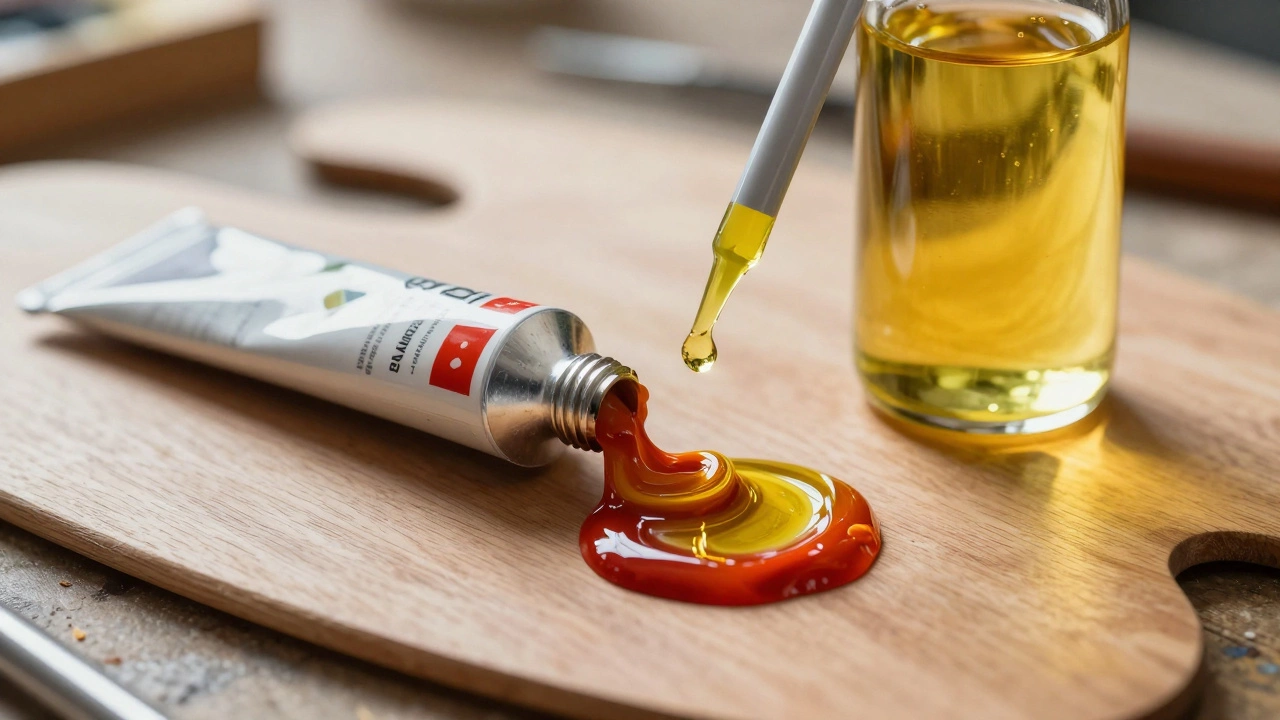
Have you ever stared at a tube of oil paint, wondering why it feels so thick and stubborn on your palette? You are not alone. Most artists eventually reach for that familiar bottle with the yellow cap: linseed oil. It is the most common medium in oil painting, but simply dumping it into your paint can lead to disaster if you do not understand what it actually does. Does it make colors brighter? Does it help them dry faster? Or does it ruin your canvas?
Adding linseed oil changes the physical chemistry of your paint. It thins the consistency, increases the transparency, and alters how the film cures over time. However, it also introduces risks like yellowing and slow drying if used incorrectly. Understanding these effects separates a professional finish from a sticky, cracking mess years down the line.
How Linseed Oil Changes Paint Consistency
The most immediate effect of adding linseed oil is thinning. Oil paints come from the factory mixed with a specific amount of binder (usually refined linseed oil) and pigment. This mixture is designed to hold its shape on the brush, allowing for impasto techniques where you build up texture. When you add more oil, you break down this structure.
This creates a fluid, buttery consistency that flows easily across the canvas. It is ideal for glazing-applying thin, transparent layers of color over dried underpaintings. If you are trying to create smooth gradients or soft transitions, pure tube paint is often too stiff. Adding a few drops of oil allows the pigment to spread evenly without leaving heavy brush marks. Think of it like adding water to acrylics, but with a crucial difference: the oil remains flexible as it dries, whereas water evaporates completely.
- Impasto: Use little to no added oil to maintain texture and body.
- Alla Prima: Use small amounts to keep paint workable during wet-on-wet painting.
- Glazing: Use significant amounts to create transparent, luminous layers.
The Impact on Drying Time
Here is where many beginners get confused. Intuitively, you might think that making paint thinner makes it dry faster because there is less material to harden. In reality, adding linseed oil generally slows down the drying process. Oil paints dry through oxidation, not evaporation. The oil reacts with oxygen in the air to form a solid polymer network. Pure pigment particles have more surface area exposed to air when they are packed tightly. When you dilute them with extra oil, you create a thicker layer of oil between the pigment particles, which takes longer to oxidize fully.
If you need your painting to dry quickly for an exhibition or to apply another layer, adding linseed oil is the wrong move. Instead, use a fast-drying medium containing alkyds or driers. Conversely, if you are working on a large landscape and need the paint to stay open and blendable for hours, linseed oil is your friend. It keeps the paint "wet" longer, giving you more time to manipulate the forms.
Color Saturation and Transparency
One of the subtle benefits of using linseed oil is the enhancement of color depth. Pigments suspended in oil appear richer and more saturated than those in water-based media. When you add more oil, you increase the refractive index of the paint film. Light penetrates deeper into the layer, reflects off the pigment particles, and travels back out, creating a luminous glow. This is particularly effective with transparent colors like alizarin crimson, phthalo blue, or burnt sienna.
However, this comes with a trade-off. Opaque colors like titanium white or cadmium yellow may lose some of their covering power when diluted with oil. They become more translucent, which can be useful for glazing but problematic if you need to cover a dark underlayer. Always test your mix on a scrap piece of canvas before committing to a large area. The goal is to balance the desired transparency with the necessary opacity for your composition.
Risks: Yellowing and Cracking
You cannot talk about linseed oil without addressing its biggest flaw: yellowing. Raw linseed oil has a natural yellow tint. Over time, especially in thick applications or in areas with low light exposure, this yellowing becomes more pronounced. White and pale pastel colors are particularly susceptible. If you paint a bright white cloud with a lot of raw linseed oil, it may turn cream-colored after a year. To mitigate this, use cold-pressed or refined linseed oil, which has a lighter initial color, or reserve heavy oil usage for darker, more saturated passages.
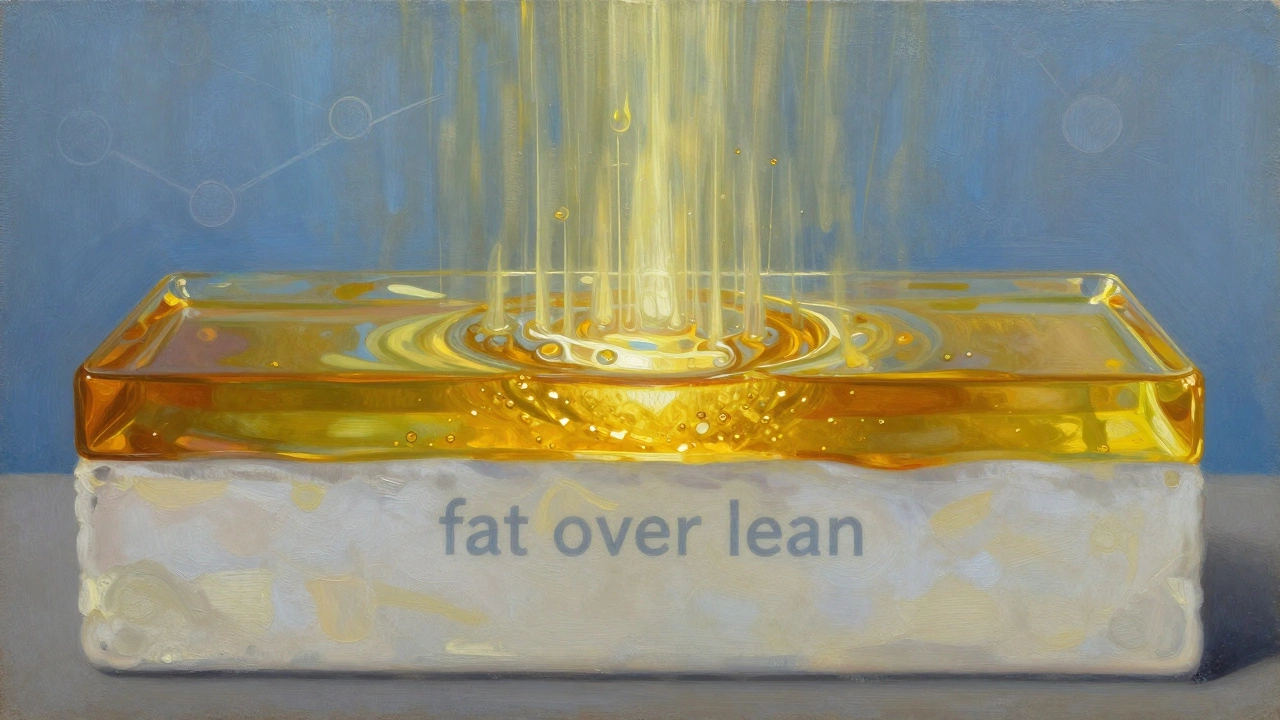
Another risk is cracking. Oil paintings follow the "fat over lean" rule. This means each successive layer should contain more oil (or solvent) than the one beneath it. If you apply a lean, stiff layer of paint over a rich, oily layer, the top layer will dry faster and shrink while the bottom layer remains flexible. This tension causes the top layer to crack. Always ensure your underlayers are leaner (less oil, more solvent or just tube paint) and your top layers are fatter (more oil). Violating this rule is the number one cause of structural failure in oil paintings.
| Type | Drying Speed | Yellowing Potential | Best Use Case |
|---|---|---|---|
| Raw Linseed Oil | Slow | High | General mixing, extending paint life |
| Cold-Pressed Linseed Oil | Medium | Medium | Professional quality, general purpose |
| Stand Oil (Boiled) | Very Slow | Low | Glazes, varnishes, non-yellowing needs |
| Alkyd Medium | Fast | Low | Quick drying, alla prima techniques |
Alternatives to Linseed Oil
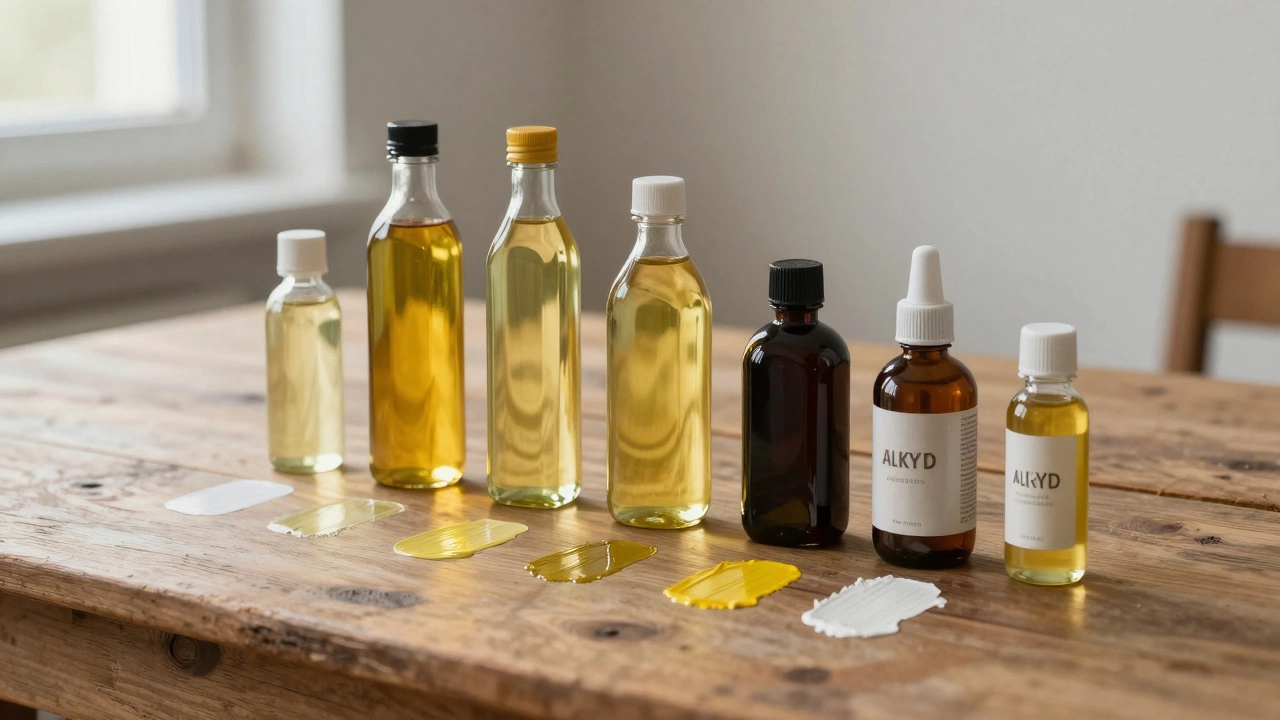
While linseed oil is the standard, it is not the only option. Many artists prefer alternatives based on their specific needs. Walnut oil and safflower oil are popular choices for mixing with whites and light pastels because they yellow significantly less than linseed oil. However, they also dry much slower, which can be frustrating if you are working in layers.
Stand oil, which is linseed oil that has been heated and polymerized, offers a different set of properties. It is thicker, glossier, and yellows less than raw linseed oil. It is excellent for creating durable glazes that do not sink into the underlying layers. For artists who need speed, alkyd mediums provide a synthetic resin base that dries within 24 hours, allowing for rapid workflow without sacrificing the flexibility of oil paint.
Practical Tips for Using Linseed Oil
To get the best results, treat linseed oil as a tool, not a crutch. Here are some practical guidelines to keep your paintings healthy and vibrant:
- Start Small: Add oil drop by drop. It is easy to add more, but impossible to remove excess.
- Use Quality Oil: Invest in cold-pressed or refined linseed oil from a reputable art supply brand. Cheap oils may contain impurities that affect drying and longevity.
- Clean Your Brushes: Oil residue in brushes can degrade the bristles and contaminate future mixes. Clean thoroughly with odorless mineral spirits followed by soap and water.
- Varnish Later: Do not rely on the oil sheen for final gloss. Apply a removable varnish like damar or acrylic resin once the painting is fully cured (usually 6-12 months) to protect the surface and unify the finish.
- Test First: Mix a small sample of your paint and oil on a scrap canvas. Let it dry for a few days to observe any changes in color or texture before applying it to your main work.
Conclusion
Adding linseed oil to oil paint is a fundamental technique that transforms the behavior of your materials. It thins the paint, enhances color depth, and extends working time, but it requires careful management to avoid yellowing and cracking. By understanding the chemistry behind the medium and following established best practices like "fat over lean," you can harness the full potential of oil painting. Whether you are creating delicate glazes or bold impastos, linseed oil remains an indispensable ally in the artist's studio.
Can I use linseed oil instead of turpentine?
No, they serve different purposes. Turpentine (or odorless mineral spirits) is a solvent that thins paint and cleans brushes by dissolving the oil binder. Linseed oil is a medium that adds more binder to the paint. Using turpentine makes paint leaner and faster-drying; using linseed oil makes it fatter and slower-drying. You typically use both in combination, but never substitute one for the other entirely.
Does linseed oil make paint waterproof?
Oil paintings are naturally water-resistant once fully cured because the oil polymerizes into a plastic-like film. However, they are not completely waterproof. Prolonged exposure to water can damage the canvas support or cause mold growth on the surface. Varnishing provides an additional protective barrier against moisture and dirt.
How long does it take for linseed oil to dry?
Drying time varies based on thickness, temperature, and humidity. A thin layer of paint mixed with linseed oil may feel dry to the touch in 2-7 days. However, full curing, where the entire film hardens internally, can take several months to a year. Thicker applications will take significantly longer to cure completely.
Why does my oil paint look dull after drying?
This phenomenon is called "sinkage." It occurs when the oil binder sinks into the porous canvas or underlying layers, leaving the pigment particles exposed and matte. This is common with glazes. Applying a final varnish restores the gloss and unifies the surface appearance by filling in these microscopic pores.
Is it safe to eat linseed oil?
No, linseed oil sold for artistic purposes is not food-grade. It may contain chemical additives, driers, or impurities that are toxic if ingested. Only use linseed oil explicitly labeled as food-grade for culinary uses. Keep all art supplies away from children and pets.