Three-Dimensional Art: Simple Steps to Start Sculpting Today
If you’ve ever admired a statue or a clay model and wondered how to make one yourself, you’re in the right place. Three-dimensional art isn’t reserved for experts; anyone can shape, carve, or build a solid piece with the right guidance. Below you’ll find practical tips, easy projects, and a quick look at the tools you’ll need to turn a flat idea into a real‑world object.
Getting Started with 3D Art
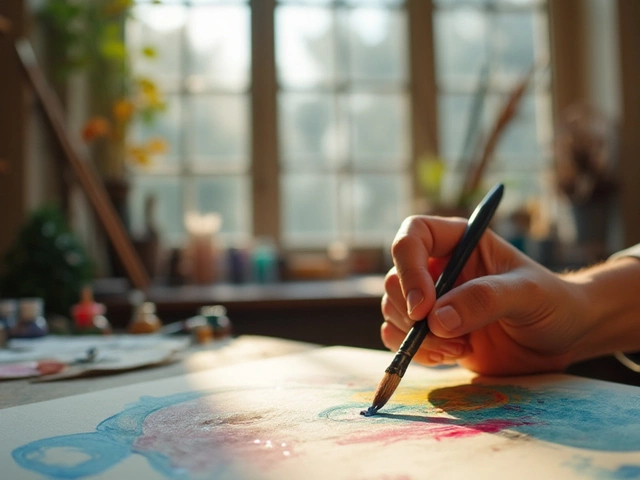
First, decide what kind of 3D work excites you most. Do you like the feel of wet clay, the precision of wood carving, or the flexibility of mixed‑media assemblage? Pick one medium to begin with – this keeps your learning curve clear and prevents you from buying too much gear at once.
Next, set up a small workspace. A sturdy table, a plastic sheet or old newspaper for protection, and good lighting are enough. You don’t need a fancy studio; a corner of a bedroom works fine as long as you have space to move around the piece.
Start with a simple project: a small bowl, a basic animal shape, or a geometric form. Sketch the design on paper first, then translate those lines into a three‑dimensional shape. This habit of planning helps you stay focused and avoid costly mistakes.
Tools, Materials & Simple Projects
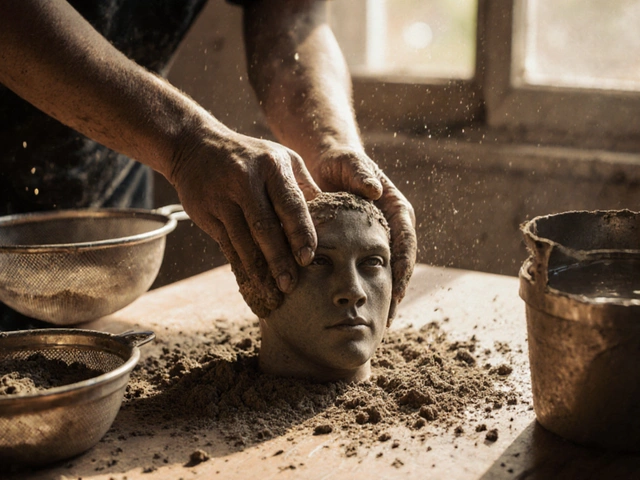
For beginners, the most affordable materials are air‑dry clay and polymer clay. Air‑dry clay hardens at room temperature, so you won’t need a kiln. Polymer clay can be baked in a regular oven, giving you a tougher finish.
Essential tools include:
- A basic set of modeling knives – they let you cut, smooth, and detail the clay.
- A rolling pin or a smooth bottle – perfect for flattening sheets of clay.
- A sponge and water – great for smoothing surfaces without scratching.
- Sandpaper (fine grit) – useful once the piece is dry to refine edges.
A quick starter project: roll a ball of air‑dry clay, flatten it into a disc, and fold the edges to form a simple bowl. Trim the rim, smooth the interior with a damp sponge, and let it dry for 24 hours. Once hard, you can paint it with acrylics for a finished look.
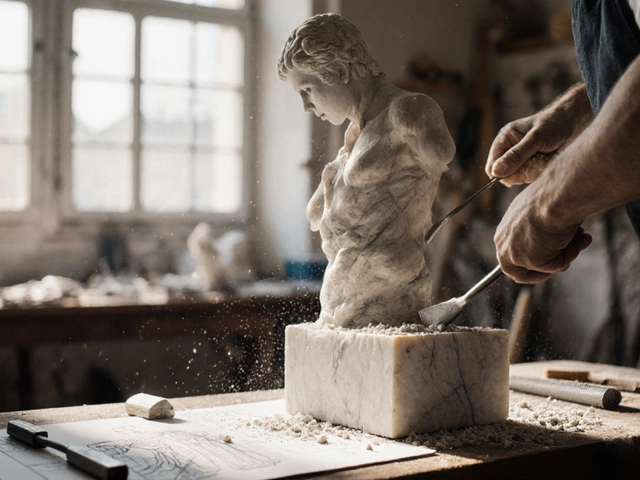
If you prefer wood, start with a soft pine block and a simple carving knife. Sketch a flat outline, then carve away the excess wood, checking your depth often. Safety matters – always cut away from your body and keep your fingers tucked.
Mixed‑media projects let you combine found objects, recycled paper, and small sculpture pieces. Glue a wire armature together, wrap it with newspaper strips, and cover the whole thing in papier‑mâché. This method builds a strong structure without expensive supplies.
Whatever medium you choose, practice the “add‑and‑subtract” method: add material to build shape, then subtract to refine details. The more you repeat this loop, the more confident you’ll become.
Finally, don’t be shy about sharing your work. Posting photos on a community board or a forum like Artistry Education Hub gives you feedback and keeps you motivated. Seeing other beginners’ projects helps you pick up new tricks and stay inspired.
Three‑dimensional art opens a whole new way to express ideas. With a few basic tools, a little space, and a willingness to experiment, you can start turning sketches into solid objects right away. Grab some clay, set up a workspace, and let your hands do the talking.
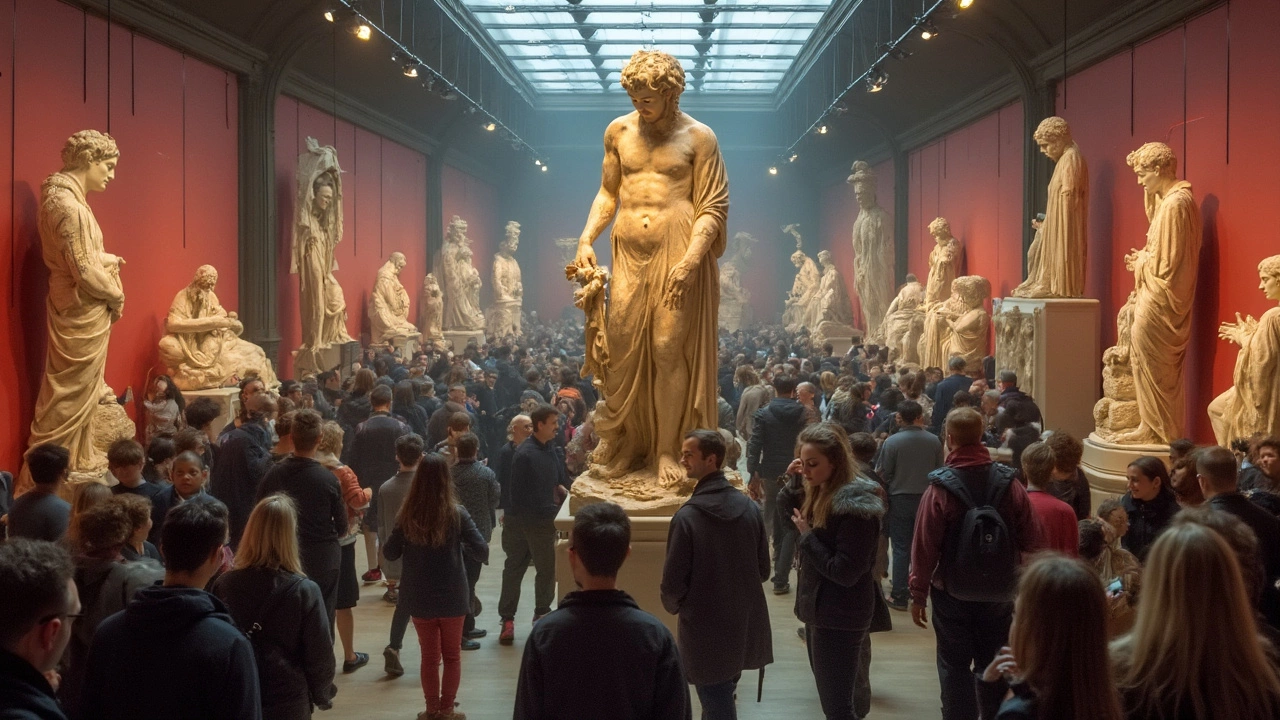
Sculpture Art: What Actually Makes Something a Sculpture?
What exactly sets sculpture apart from other kinds of art? This article breaks down what makes something a sculpture, from the need to take up real space to the materials artists use. We'll tackle common myths, explore both classic and weird modern examples, and share tips if you want to spot or create sculptures yourself. Whether you're a collector or just curious, you'll get a clearer picture of how the art world decides what counts as sculpture. Prepare for some eye-openers you probably didn't expect.
Continue ReadingCategories
Most popular
-

-
-
-
-
 What Are the Key Facts About Modern Art? Feb 12 2026