Smearing Technique: Easy Ways to Add Texture and Depth
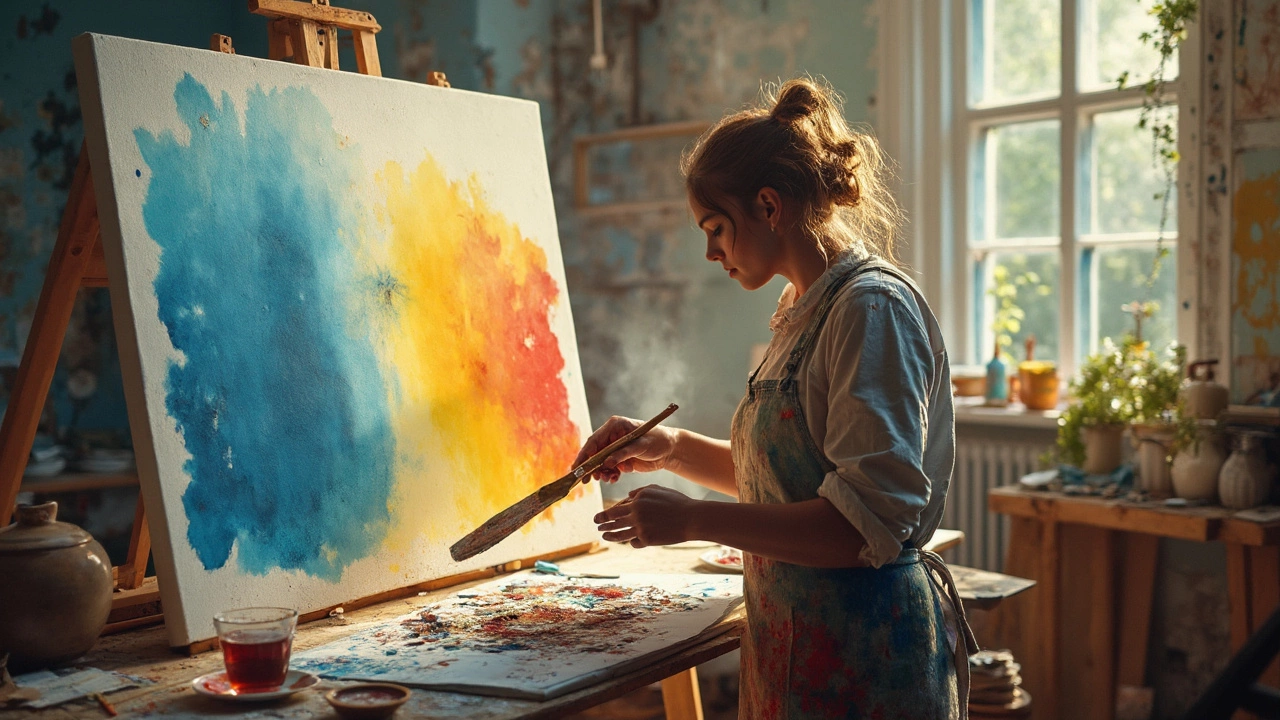
Ever wonder why some paintings look so soft and lived‑in? That feeling often comes from smearing – a simple move that blurs edges, creates atmosphere, and gives skin or clouds a natural look. You don’t need fancy equipment; just a brush, a rag, or even your fingers can do the job. Let’s break down what smearing is and how you can start using it today.
What Is Smearing?
Smearing is basically dragging wet paint over another wet area to blend colors together. It works best when the paint is still tacky, so the colors mingle without drying too fast. In watercolor, you’ll see smooth washes that look like mist. In oil, the same move can soften hard lines and create a dreamy background. Acrylic dries quickly, but adding a little medium keeps it workable long enough for a quick smear.
Tips for Mastering Smearing
1. Choose the right brush. A soft, flat brush spreads paint easily, while a round brush gives more control for small areas. For big sky washes, a large filbert works great.
2. Keep it wet. If the paint starts to dry, add a drop of water (for watercolor) or a few drops of medium (for oil/acrylic). This keeps the pigment fluid and prevents harsh lines.
3. Use gentle strokes. Light, feather‑light movements avoid ripping the paper or canvas. Imagine you’re smoothing out a blanket – that relaxed motion is what you want.
4. Experiment with tools. A clean cloth, a sponge, or even your fingertips can create unique textures. A cloth gives a broader, softer blur, while fingers let you direct the paint exactly where you need it.
5. Work from dark to light. Start with your darkest tones, then pull lighter colors into them. This way the lighter paint lifts the dark, creating depth without muddying the colors.
Try a quick practice: paint a simple sky with a light blue wash, add a darker blue at the top, then use a soft brush to pull the darker into the lighter. Watch how the transition becomes seamless. The same idea works for skin tones – lay down a base, add shadows, then smear them together for a natural look.
Don’t be afraid to make mistakes. Smearing is forgiving; you can always lift excess paint with a damp rag or add more layers on top. The key is staying playful and observing how the colors react. Over time you’ll develop a feel for how much pressure to use and which tools give the effect you want.
When you finish a piece, step back and look for any hard edges that still stand out. A quick swipe can melt those edges into the surrounding area, giving the whole work a cohesive vibe. Smearing works especially well in atmospheric scenes – fog, water, or soft fabric – where harsh lines would break the illusion.
Now you’ve got the basics. Grab your brush, a bit of paint, and start smearing. The more you practice, the more natural it will feel, and soon your paintings will have that subtle, lived‑in texture that makes viewers linger a little longer.
Smearing Technique in Oil Painting: What It Is and How to Use It
This article unpacks the smearing technique in oil painting—what it is, how artists use it, why it matters, and how you can start practicing it. Learn when smearing makes sense, what tools help get that smooth finish, and get clever tips to avoid turning your canvas into a muddy mess. Perfect for both beginners and anyone looking to expand their painting toolkit. Discover secrets from pros and how smearing can make your paintings pop.
Continue ReadingCategories
Most popular
-
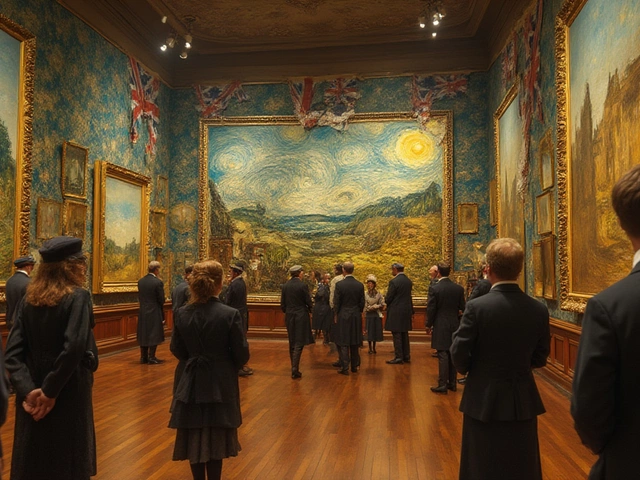
 Understanding Key Ideas in Contemporary Art Feb 13 2025
 -

-

-
-
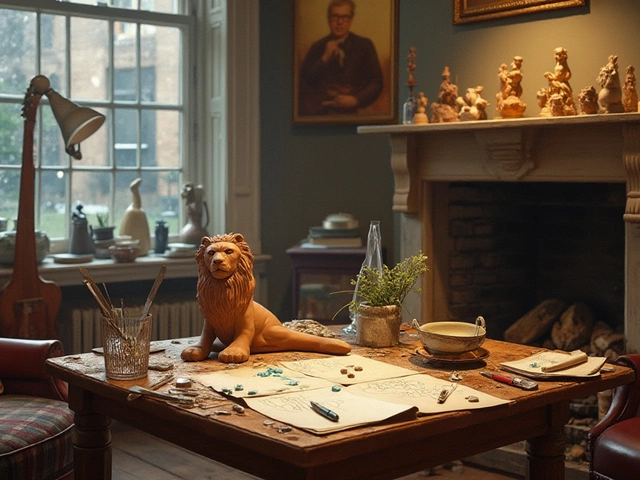 Easy Techniques for Making Sculptures at Home Jan 31 2025