Sculpture Tips: How to Get Started and Keep Improving
If you’ve ever stared at a block of clay or a raw piece of wood and wondered how to turn it into something three‑dimensional, you’re not alone. The good news is that you don’t need a fancy studio or years of training to make progress. Below are the most useful tips you can apply right now, whether you’re picking up a tool for the first time or looking to tighten up your workflow.
Choosing Your First Tools
The right tools make a huge difference. Start with a basic kit: a few hand‑carving knives, a wire loop cutter, and a set of sandpaper ranging from coarse (80‑grit) to fine (400‑grit). For clay, add a wooden modeling tool, a rubber scraper, and a small rolling pin to flatten slabs. You don’t have to buy the most expensive brand; mid‑range tools work fine and are easier on the budget.
When you pick up a tool, hold it as if you were writing. A comfortable grip prevents hand fatigue and gives you better control. Test each knife on a scrap piece before you start on your main project. If the blade feels loose or wobbly, set it aside – a steady blade is key for clean cuts.
Basic Techniques to Try Today
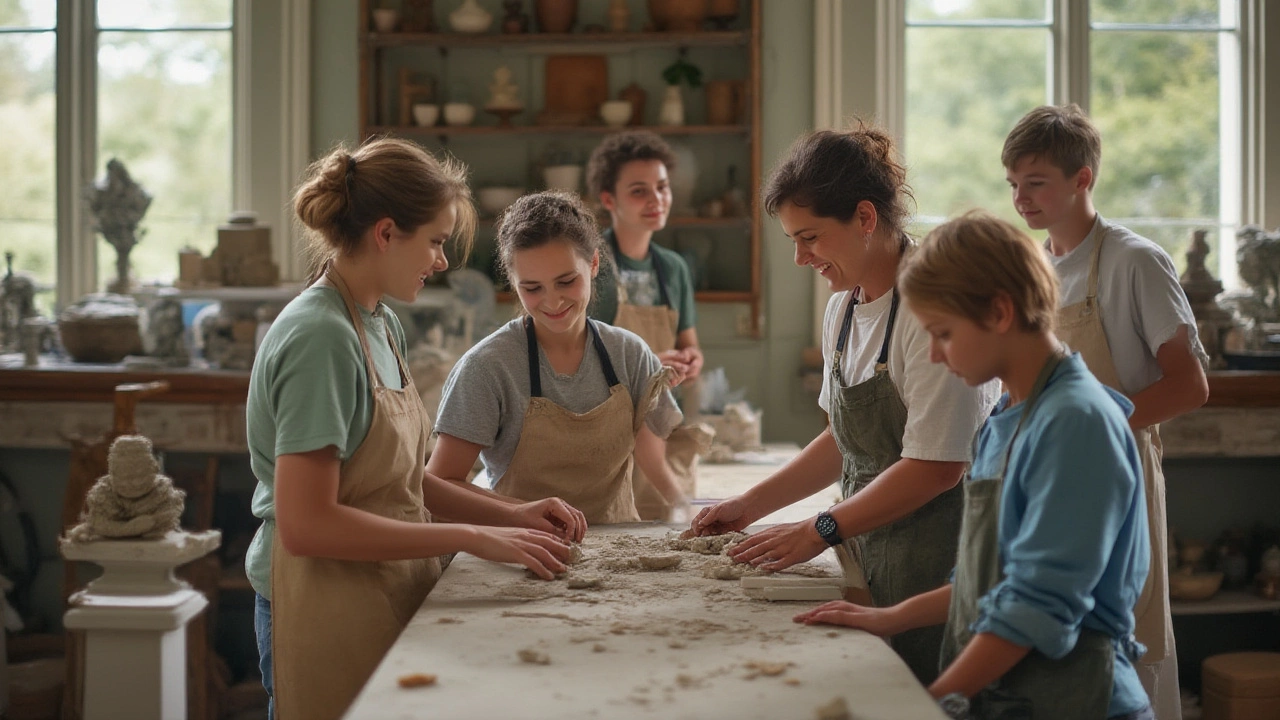
Start with simple shaping. With clay, roll a ball, then gently press a thumb into the center to create a bowl shape. This “thumb pot” exercise teaches you how pressure changes the material. For wood, practice roughing out a form using the gouge knife; remove large chunks first, then refine with finer tools.
Don’t skip the sanding stage. After carving, sand the surface using the grain direction of the wood or the texture of the clay. Begin with 120‑grit paper, then move to 220‑grit for a smoother finish. Sanding removes tool marks and reveals the true shape you’ve created.
One shortcut many novices miss is the “armature.” For larger sculptures, build a simple armature from wire or aluminum mesh. It supports the material and prevents sagging. Wrap the wire tightly around a core shape, then add clay or plaster over it. The armature saves time and stops you from having to rebuild a collapsed piece.
Another tip is to work in layers. In clay, apply a thin slab over a base, then carve details into the top layer. In wood, carve the main shape first, then add finer details like grooves or textures later. Layering keeps the piece balanced and reduces the chance of over‑cutting.
Finally, always step back and look at your work from different angles. Sculpting is a 3‑D medium, so the perspective you see up close can be misleading. A quick 360° walk-around helps you spot uneven areas and adjust before the material hardens.
Putting these tips into practice will speed up your learning curve. Grab a simple project – a small animal, a basic vase, or a decorative mask – and apply the tool selection, armature, and layering steps. You’ll see measurable improvement after just a few sessions.
Remember, sculpture is as much about experimentation as it is about technique. Keep a notebook of what works, what tools feel right, and how long each step takes. Over time you’ll develop a personal workflow that feels natural and efficient.
Ready to start sculpting? Pick up a piece of clay, set up your basic tool kit, and follow these tips. The first piece you finish will be a milestone, and each new project will get easier and more rewarding.
How to Learn Sculpture Art: Step-By-Step Guide for Beginners
Want to learn sculpture art? Get hands-on tips, key facts, and practical advice to kick-start your journey and sculpt like a pro. No experience needed.
Continue Reading
Sculpture Display: Two Things That Matter Most
Figuring out how and where to display a sculpture can make or break the whole experience for viewers. This article breaks down the two most important things you should seriously think about before setting your sculpture on a pedestal or in your living room. Get practical suggestions, learn from real examples, and avoid common mistakes that could leave your sculpture overlooked. Make your artwork stand out the way it deserves. Find out which factors really move the needle.
Continue Reading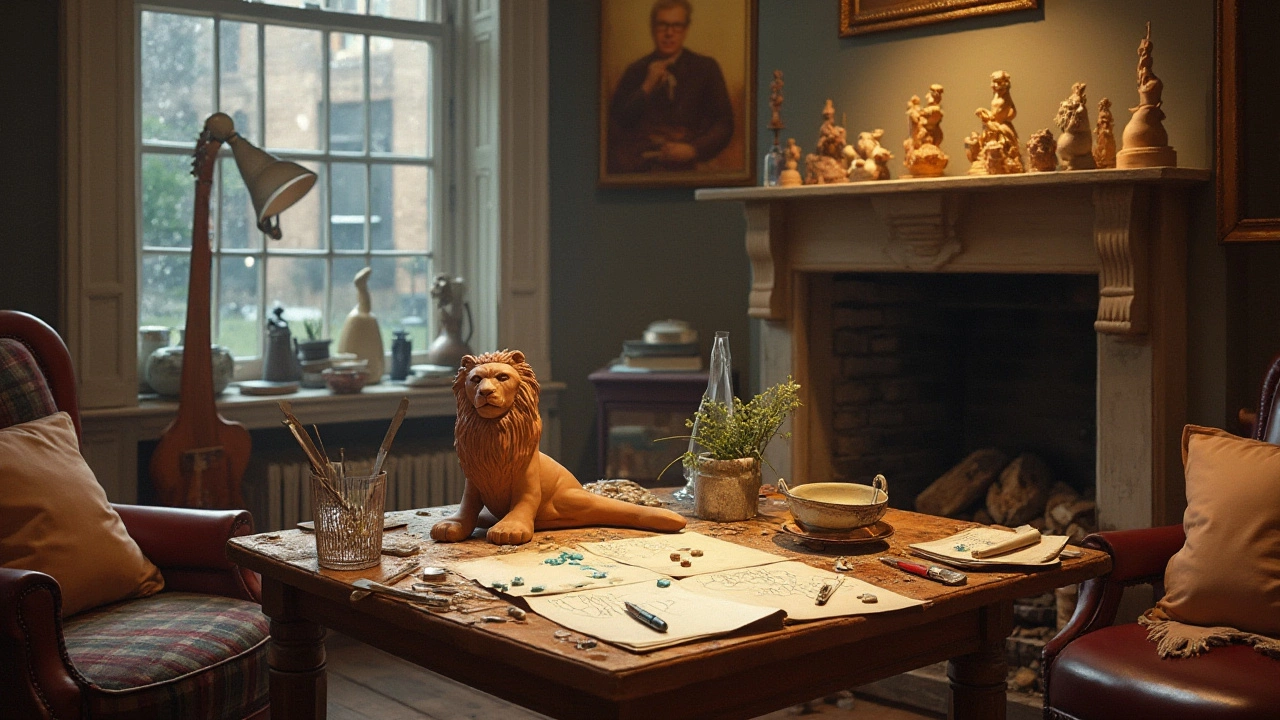
Easy Techniques for Making Sculptures at Home
Creating sculptures at home can be a fulfilling hobby that allows for personal expression and creativity. With the right materials and techniques, anyone can transform a simple idea into a stunning work of art. This guide outlines the basic steps and tools needed to start crafting sculptures from the comfort of your own home. From selecting the right materials to refining your techniques, learn how to embark on your artistic journey today.
Continue ReadingCategories
Most popular
-

-
 Decoding the Message Behind Abstract Art Nov 15 2024
 -

-
 Can Wealth Secure the Iconic Mona Lisa Painting? Jan 11 2025
 -