Sculptural Techniques: Practical Tips for Getting Your Hands Dirty
If you’ve ever wanted to turn a block of clay or a piece of wood into a real 3‑D artwork, you’re in the right spot. Sculptural techniques are all about understanding the material, the tools, and the step‑by‑step process that brings an idea to life. Below you’ll find clear, hands‑on advice you can try today, plus links to deeper guides on our site.
Pick the Right Material and Tools First
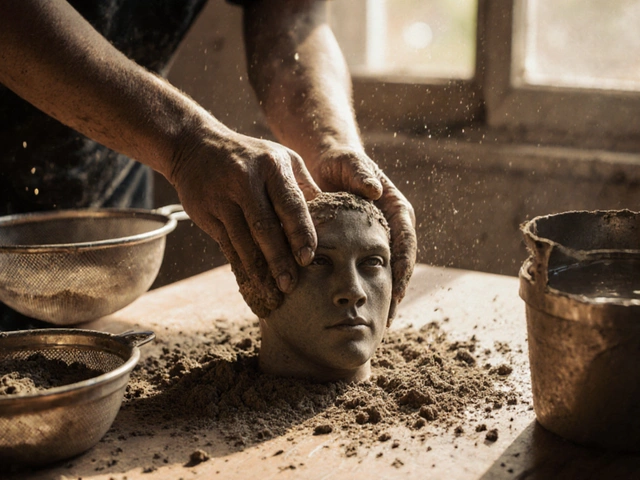
Before you start shaping, decide what you’ll work with. Clay is great for beginners because it’s forgiving and easy to repair. If you prefer something that lasts, try plaster, stone, or even found objects like metal scrap. Each material needs its own set of tools – wire cutters for metal, carving knives for stone, and silicone molds for resin. The key is to match the tool to the material so you don’t waste time fighting against it.
One quick test: press your thumb into a small piece of the material. If it dents easily, you’re looking at a soft medium like clay or wax. If it cracks, you’re dealing with a harder medium that will need more force and proper safety gear. Always wear goggles and a mask when you’re cutting stone or sanding metal – safety first, art second.
Core Steps Every Sculptor Follows
1. **Sketch the Idea** – Even a rough doodle helps you visualize the final shape. Sketch from every angle. 2. **Build an Armature** – Think of it as the skeleton. For clay, a simple wire frame supports the weight and keeps the piece from sagging. 3. **Add Bulk** – Apply the material in layers. With clay, start with a rough block, then carve away excess. With stone, you’ll chisel down from a larger block. 4. **Refine Details** – Switch to finer tools once the basic shape is solid. Small chisels, dental picks, or fine brushes can add texture. 5. **Finish and Protect** – Sand, polish, or apply a sealant depending on the medium. A clear acrylic spray works well on resin and metal, while a wax polish brings out shine in stone.
These steps repeat across most sculptural forms, whether you’re making a life‑size figure or a tiny tabletop piece. The main variation is how you handle the material in each stage.
Our post How to Learn Sculpture Art: Step‑By‑Step Guide for Beginners walks through each of these steps with photos and tool recommendations. If you’re curious about what actually counts as a sculpture, check out Sculpture Art: What Actually Makes Something a Sculpture? for a quick breakdown of the core concepts.
Got a specific technique in mind? Try carving reliefs on a wooden panel – it’s a low‑cost way to practice depth without needing a full 3‑D space. Or experiment with mixed‑media assemblage: glue together metal, wood, and found objects to create texture you can’t get from a single material.
Remember, the best way to improve is to make mistakes early. Don’t be afraid to smash a piece that didn’t turn out right; you’ll learn more from that failure than from a flawless project. Keep a simple notebook of what worked, which tools felt comfortable, and how long each stage took. Over time you’ll see patterns and can streamline your workflow.
Ready to start? Grab a small block of clay, a basic armature wire, and a few sculpting tools. Sketch a simple shape – maybe a basic human head or a rough animal form – and follow the five steps above. In a few hours you’ll have a tangible piece you can paint, seal, or display.Keep coming back to this page for fresh tips, new material reviews, and deeper dives into advanced techniques like lost‑wax casting or polymer clay baking. Happy sculpting!
Exploring the Dynamic Styles in Sculpture Art
Sculpture art has a rich and diverse history that spans centuries and continents. This form of art is defined by its three-dimensional nature and the wide variety of materials used by artists throughout time. From ancient carvings to contemporary installations, sculpture has continuously evolved, reflecting cultural and societal changes. Understanding the different styles in sculpture art gives us insight into how artists express their creativity through form, texture, and space.
Continue Reading


