Portrait Painting on Canvas: Practical Tips to Get Real Results
Want to create a portrait that looks like it could step right out of the frame? You don’t need a fancy studio or a PhD in art history. All you need is a good canvas, the right supplies, and a clear step‑by‑step plan. Below you’ll find the basics that work for anyone starting out, plus a few pro tricks that keep the paint from turning into a mess.
Choosing the Right Canvas and Materials
First thing’s first: the canvas. Go for a pre‑stretched, medium‑grade cotton or linen canvas with a 2‑to‑3‑paint‑dot priming. That surface gives the paint enough tooth to grip without soaking in too fast. If you’re on a budget, a 8 × 10 inch canvas is a solid starter size – big enough to show detail, small enough to finish quickly.
Next, pick your paints. Acrylics dry fast and are forgiving, while oils let you blend longer and achieve smoother skin tones. For beginners, acrylics paired with a retarder medium give you oil‑like workability without the long drying time. Don’t forget a basic set of brushes: a flat 1‑inch for blocking in shapes, a round ½‑inch for detail, and a soft sable or synthetic brush for glazing.
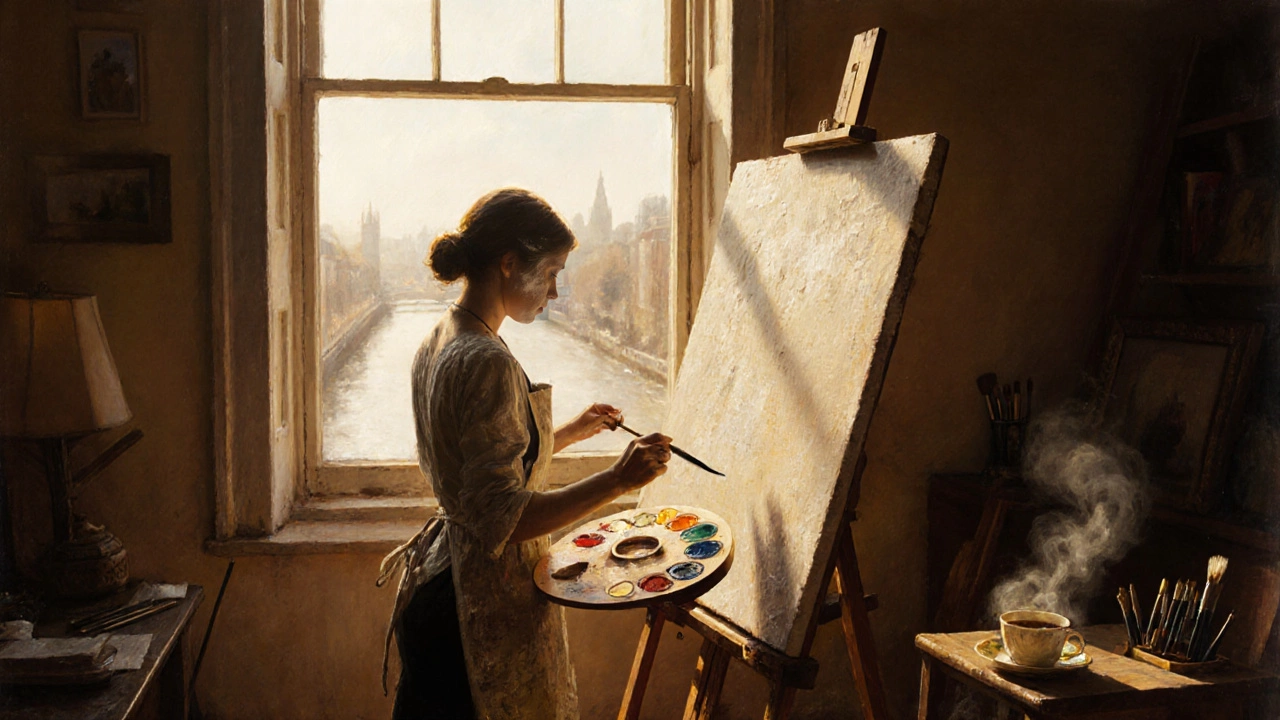
Finally, set up your workspace. Good lighting (daylight or a daylight‑balanced lamp) is key, and a simple easel keeps the canvas at a comfortable angle. Keep a palette, a jar of water (or solvent for oils), and paper towels within arm’s reach – less scrambling, more painting.
Step‑by‑Step Painting Process
1. Sketch the basic shape. Use a light charcoal pencil or a thin charcoal pastel to draw the head, shoulders, and major facial lines. Keep it loose – you’ll erase and reshape as you go. Focus on proportions: eyes are usually halfway down the head, and the nose sits halfway between the eyes and chin.
2. Block in the major color zones. Mix a thin wash of the skin tone and apply it with a large flat brush. Don’t aim for perfection; just cover the areas where the light hits. Then add a slightly darker tone for shadows under the chin, around the nose, and under the brow ridge. This creates a quick value map that guides the rest of the work.
3. Build up layers. Once the first wash dries (10‑15 minutes for acrylics), start adding mid‑tones. Blend the edges while the paint is still wet; this avoids harsh lines. For oil painters, use the “slow over fast” rule – let the thinner, faster‑drying layers sit underneath the thicker, slower‑drying ones.
4. Refine details. Switch to a smaller round brush for the eyes, lips, and hair. Pay attention to the catch‑light in the eyes – a tiny white dot can make the portrait pop. Use a dry‑brush technique for subtle texture in the hair, lightly dragging a mostly dry brush over a wet area.
5. Glaze for depth. Mix a transparent glaze (a little acrylic medium with a tiny amount of color) and sweep it over the whole face. This unifies the tones and adds a natural sheen. For oils, a thin layer of linseed oil mixed with a small amount of pigment does the same trick.
Step back often. Every few minutes, walk a few steps back from the canvas and look at it from a distance. Your brain picks up on off‑balances that you might miss up close.
When you’re happy with the result, let the painting cure fully (a week for acrylics, a month for oils). Then varnish with a matte or gloss finish, depending on the look you want. Varnish protects the paint and brings out the colors.
That’s it – a simple, repeatable workflow you can use for every portrait on canvas. Experiment with different skin tones, try a larger canvas, or swap acrylics for oils once you feel confident. The more you practice, the better your portraits will look, and the faster you’ll finish them.
Best Surface for Portrait Painting: Canvas, Panel, or Paper?
Discover the ideal surface for portrait painting. Compare canvas, linen, wood panels, and more to choose the perfect base for oil or acrylic portraits.
Continue ReadingCategories
Most popular
-
 Start Your Oil Painting Journey: Dark vs. Light Mar 20 2025
 -
 What Do You Call a Person Who Does Fine Art? Dec 29 2025
 -

-

-