Oil Portrait Surface: Choosing & Preparing the Right Base
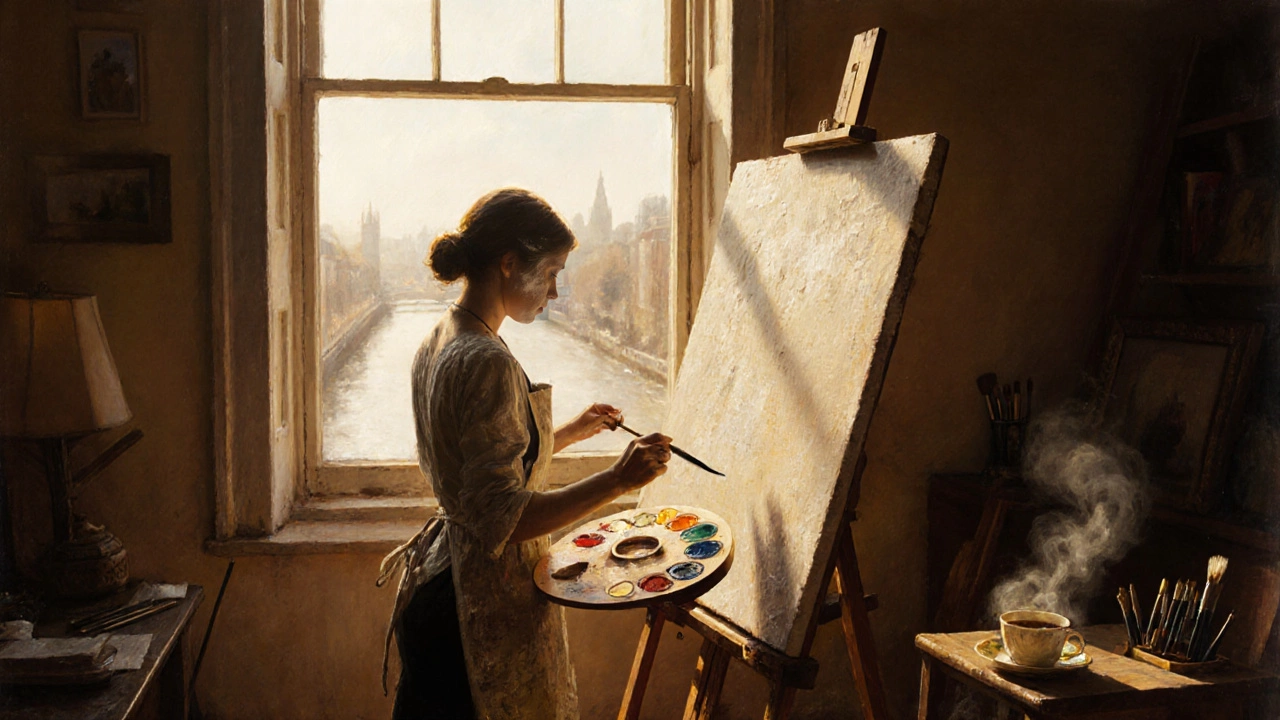
If you want your oil portrait to look good and last, the surface matters as much as the paint. A good base gives the paint something to grip, controls drying, and helps you avoid cracks later. Below you’ll get a quick run‑down of the most common surfaces, plus step‑by‑step prep tips you can start using tonight.
Common Surface Options
Stretched canvas. Most artists start here because it’s cheap, lightweight, and easy to hang. Cotton canvas is affordable but absorbs paint fast, while linen has a smoother weave and holds detail better. Both need a proper primer before you paint.
Wood panels. A solid panel gives a hard, non‑flexible surface that’s great for fine detail. Poplar, birch, and MDF are popular choices. They don’t stretch like canvas, so you won’t get the dreaded sagging effect.
Gesso‑coated boards. You can buy pre‑primed boards or apply gesso yourself. These are flat, cheap, and perfect for practice portraits. Just be sure the gesso is fully dry before you start.
Mixed media pads. Some pads come with a paper‑like surface that’s already primed for oil. They’re handy for quick studies, but they’re not as durable for a finished piece.
Prep Tips for a Perfect Base
1. Clean the surface. Dust, oil, or glue residue will stop the paint from sticking. Wipe a canvas with a dry cloth; sand a panel lightly to remove rough spots.
2. Apply gesso. Use a brush or roller to spread a thin, even coat. Let it dry for at least 24 hours, then sand with fine grain sandpaper for a smooth finish. Two coats are usually enough; more coats give a harder surface but add time.
3. Seal wood. Before gesso, brush a thin layer of wood sealant or sanding sealer. This stops the wood from soaking up the gesso and keeps the surface even.
4. Stretch tight. If you’re using canvas, pull it tight over the frame and staple it securely. A tight canvas reduces the chance of paint cracking as it ages.
5. Test the grip. Lightly swipe a dab of oil paint across the prepared area. If it spreads too much, add another thin layer of gesso. If it beads up, you may have over‑primed; sand gently.
6. Consider texture. Some portraitists like a slight tooth to hold brushstrokes. You can achieve this by sanding the final gesso layer with 400‑grit paper.
7. Mind the environment. Paint on a surface that’s at room temperature. Cold or humid conditions can affect drying and cause cracking later.
When you’ve finished prep, label your surface (date, type, any special notes) and store it flat until you’re ready to work. This little habit saves you from mixing up a canvas with a panel later on.
Choosing the right oil portrait surface doesn’t have to be a mystery. Start with a cheap stretched canvas for practice, move to a linen canvas when you need fine detail, and switch to a wood panel for a finished piece that stays flat. Follow the prep steps, and you’ll notice smoother blends, richer colors, and fewer surprises when the paint finally dries.
Ready to try it out? Grab a piece of canvas, a bottle of gesso, and a sandpaper, and prep your first portrait surface tonight. You’ll see how a simple prep routine can turn a good painting into a great one.
Best Surface for Portrait Painting: Canvas, Panel, or Paper?
Discover the ideal surface for portrait painting. Compare canvas, linen, wood panels, and more to choose the perfect base for oil or acrylic portraits.
Continue Reading


