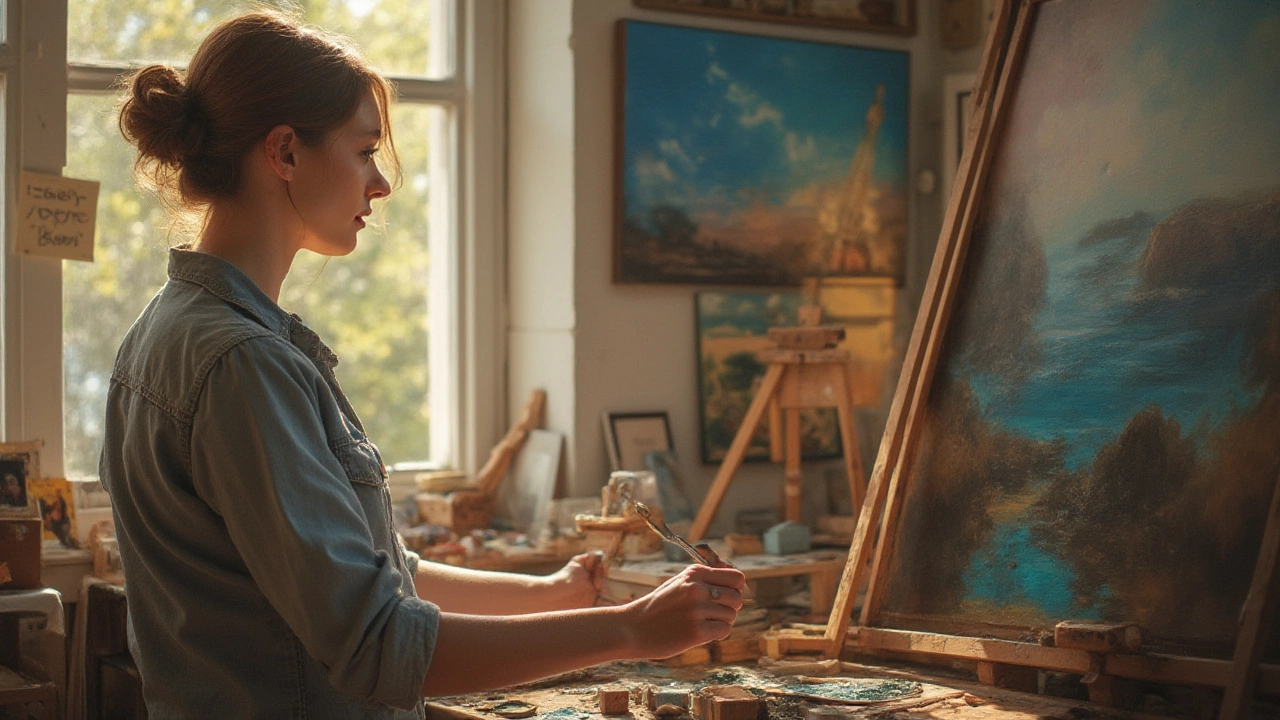
Oil Paint Drying: What to Expect and How to Speed It Up
If you’ve ever stared at a wet oil painting and wondered when you can safely touch or add another layer, this guide is for you. Below you’ll get straight‑to‑the‑point answers about drying times, the factors that change them, and simple tricks to keep your workflow moving.
Factors that Influence Drying Time
First, know that oil paint doesn’t dry like water‑based paints. It cures through oxidation, so the surrounding air and the paint’s composition matter a lot. A thick impasto will take days or even weeks, while a thin glaze can dry in a few hours. Here are the biggest influencers:
- Paint thickness: The thicker the layer, the slower the oxidation. Try to keep the wet paint under 1/4 inch for quicker results.
- Mediums and additives: Adding linseed oil slows drying, whereas alkyd mediums or drying agents (like cobalt or lead) speed it up.
- Temperature and humidity: Warm (70‑75°F) and dry rooms shave hours off the drying time. A cold, humid studio can double it.
- Colour and pigment: Earth tones (ochres, umbers) tend to dry faster than cadmium reds or ultramarines, which have larger pigment particles.
- Surface: Canvas ready‑to‑paint (gessoed) dries slower than wood panels or metal because of the absorbency difference.
Understanding these points helps you plan your painting session and avoid the dreaded “wet‑on‑wet” mistakes.
Pro Tips to Manage Drying
Now that you know what slows or speeds drying, put the knowledge into action. Below are practical steps you can start using today:
- Use a drying medium: Mix a small amount of an alkyd medium (about 10‑15% of the paint volume). It adds a glossy finish and cuts drying time by half.
- Apply thin layers: Build up colour with multiple thin glazes rather than one thick slab. Each layer will dry faster, and you’ll get more control over colour harmony.
- Control the studio climate: A portable heater or a small dehumidifier can create an optimal environment. Keep the space above 70°F and below 55% humidity for best results.
- Use a fan wisely: Gentle airflow helps oxidation, but a strong wind can cause dust to stick to the surface. A low‑speed fan aimed at the painting works well.
- Check dryness with the “touch test”: Lightly press a finger on an inconspicuous spot. If the paint feels tacky, it’s still curing. A dry surface will feel firm and not leave a mark.
- Plan your painting order: Start with background washes that need the longest to dry, then move to details that can be added later.
These habits not only speed up drying but also protect the paint from cracking or dust accumulation.
Remember, oil paint drying is a natural process, and trying to rush it too much can affect colour shift and durability. By adjusting thickness, choosing the right medium, and managing temperature, you strike a balance between speed and quality. Keep an eye on your work, experiment with a few tweaks, and you’ll soon know exactly how long each colour and technique takes in your own studio.
Slow Over Fast Rule in Oil Painting: Essential Techniques for Brilliant Results
Understanding the 'slow over fast' rule is key for oil painters. Learn how this technique impacts paint drying, layer stability, and your masterpiece's longevity.
Continue ReadingCategories
Most popular
-
 Understanding the Meaning of Abstract Art Apr 6 2025
 -
-

-

-
 Why Modern Art Captures Us Feb 14 2025