Learn Sculpture: Your First Steps to Creating 3‑D Art
Ever wondered how a block of clay becomes a statue? It’s not magic – it’s just a few simple choices and practice. Below you’ll find the practical stuff you need to get your hands dirty without feeling lost.
Pick the Right Materials and Tools
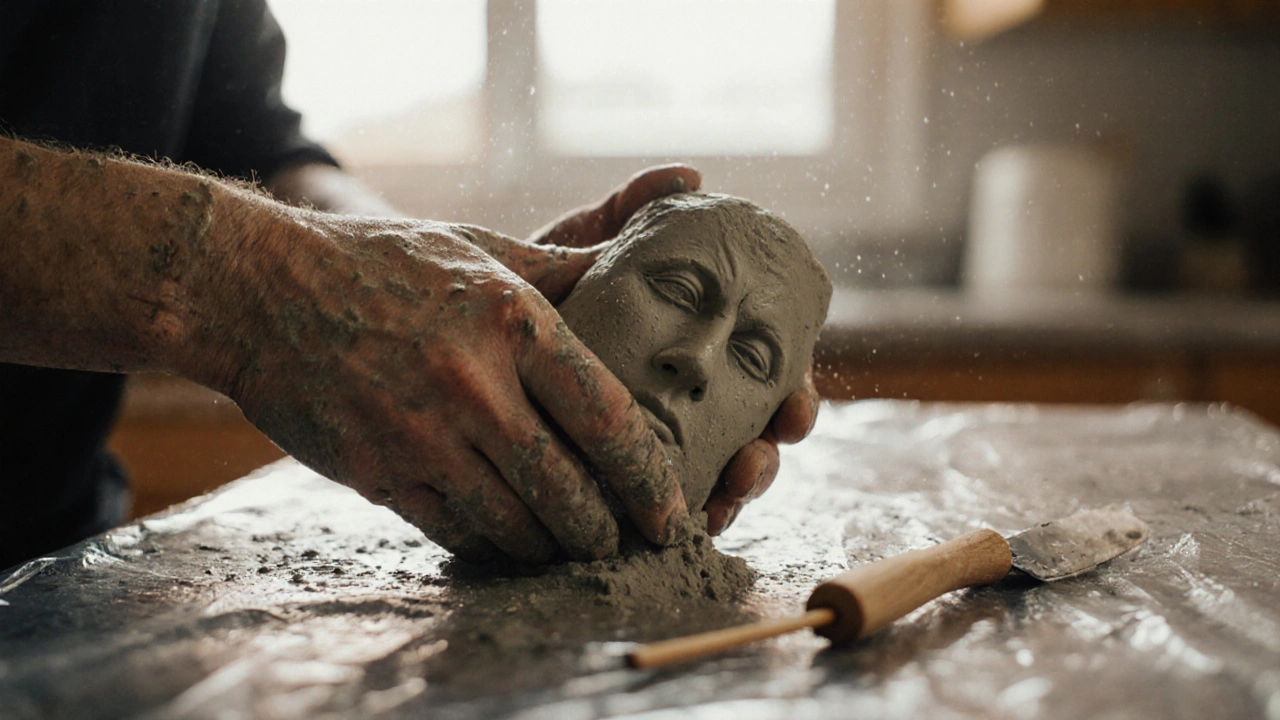
First thing: decide what you’ll work with. Clay is the easiest for beginners because it stays soft and can be re‑worked. Look for air‑dry clay if you don’t have a kiln; it hardens on its own. If you prefer something hard‑er, try plaster or plaster of Paris – you’ll need a mold, but the results are sturdy.
Next, grab a few basic tools. A wooden spoon works as a simple scraper, a plastic knife can cut shapes, and a palette knife helps smooth surfaces. You don’t need a massive toolbox – start with these three and add more as you get comfortable.
Don’t forget a sturdy work surface. A piece of plywood or a thick cardboard board works fine. Cover it with a rubber mat or a layer of newspaper to protect both the surface and your tools.
Basic Techniques to Try Today
Start with the “pinch” method. Roll a ball of clay, then pinch the center and pull the walls outward to form a cup or simple bowl. This teaches you how the material stretches and where it thins out.
Another easy move is “coiling”. Roll long snakes of clay and stack them on top of each other, smoothing the joins as you go. Coiling is great for making vases, pots, and even abstract shapes.
If you’re feeling adventurous, try “slabbing”. Flatten a piece of clay with a rolling pin, cut out a shape, then bend it around a simple form like a cup or a box. This introduces you to creating flat surfaces that can become curves.
Remember to keep your clay moist. A spray bottle filled with water is your best friend – a quick mist prevents cracks and makes smoothing easier.
When you’re ready to finish, let your piece dry slowly. Sudden temperature changes can cause cracks, so place it in a cool, dry room and check it every day. Once fully dry, sand any rough spots with fine‑grit sandpaper.
Want to add color? Acrylic paints work well on dry clay. Just apply a thin layer, let it dry, then seal with a clear acrylic spray for extra protection.
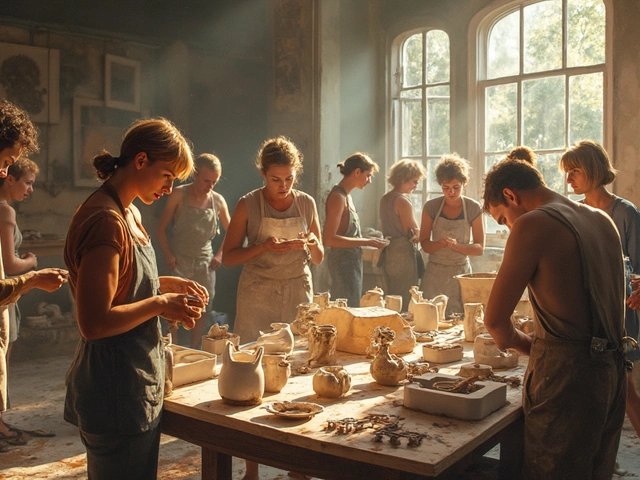
Finally, keep learning. Websites like Artistry Education Hub offer free video demos that walk you through each technique step by step. Join a local maker space or a weekend workshop – the hands‑on guidance can boost your confidence fast.
With the right basics, you’ll move from simple pins and coils to more daring projects like carving wood or sculpting with metal. The key is to start small, practice regularly, and enjoy the process of turning raw material into something you can see and touch.
Is Sculpting Difficult? What Really Matters When You Start
Sculpting isn't about talent-it's about showing up. Learn how to start with clay, avoid common mistakes, and build real skill without formal training or expensive tools.
Continue Reading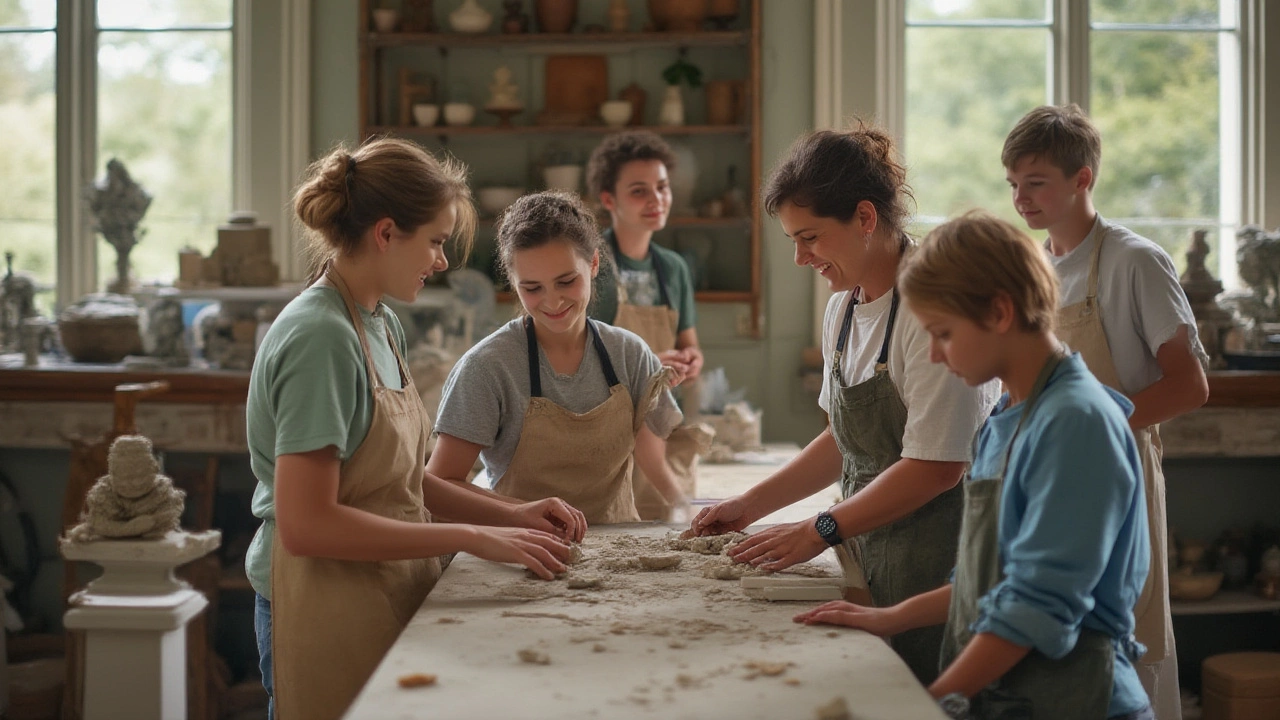
How to Learn Sculpture Art: Step-By-Step Guide for Beginners
Want to learn sculpture art? Get hands-on tips, key facts, and practical advice to kick-start your journey and sculpt like a pro. No experience needed.
Continue ReadingCategories
Most popular
-
-
-

-

-
 Three Main Types of Abstract Art Explained Oct 19 2025