Layering Oils: Simple Steps to Build Rich, Durable Paintings
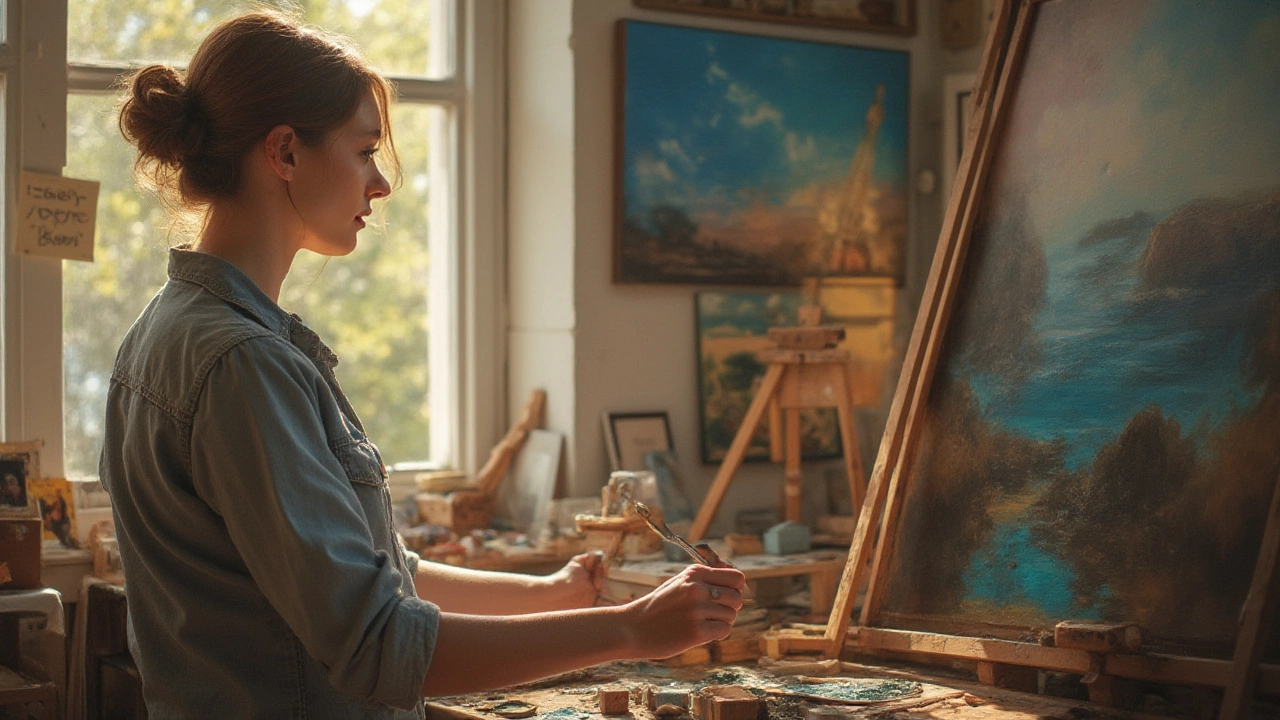
Ever wonder why some oil paintings look like they have a glow coming from inside the canvas? The secret is often how the artist builds layers. By stacking thin, flexible coats over each other, you get depth, vibrant color shifts, and a surface that stays stable for years. This guide walks you through the basics of layering oils, so you can start adding that extra punch to your work right now.
Why the “Fat Over Lean” Rule Matters
The first rule to nail is the classic “fat over lean” principle. In plain English, it means each new layer should contain more oil (fat) than the one beneath it. A lean layer is thin, with lots of solvent like turpentine, while a fat layer is richer in oil, often using linseed or pop‑linseed oil. This difference lets each layer dry at its own pace—lean layers dry fast, fat layers take longer. If you ignore the rule and put a thick, oily glaze on top of a dry, lean undercoat, the paint can crack as it ages.
Putting the rule into practice is easier than it sounds. Start your underpainting with a mixture of one part oil paint to two parts solvent. Once it’s dry, switch to a 1:1 mix for the next coat, and finish with a pure oil or a medium like walnut oil for the final glaze. You’ll notice the paint stays flexible, and the colors begin to bloom together.
Practical Layering Techniques You Can Start Today
Now that the foundation rule is clear, let’s talk about three everyday techniques that make layering oils work for you.
1. Glazing. This is the art of applying a thin, transparent layer of color over a dry base. Mix a small amount of paint with a generous splash of medium (linseed oil works well). Use a soft brush to sweep the glaze across the canvas—think of it as adding a tinted veil. Glazes boost depth without hiding the texture underneath.
2. Scumbling. Here you lay a light, opaque coat over a darker underpainting. The key is to use a dry brush and a higher solvent ratio, so the new paint only catches the raised bumps of the layer below. The result is a broken, textured look that adds visual interest, especially in skies or foliage.
3. Impasto. If you want actual texture, apply thick paint straight from the tube or mix with a small amount of medium to keep it workable. This technique works best as a final touch because the heavy mass needs a stable, lean foundation. Think of impasto for highlights on a portrait’s cheek or the peaks of a mountain.
Timing is everything. Let each layer dry to the touch before adding the next—usually a few hours for lean layers and a day or more for fat ones. If you’re in a hurry, use a fast‑drying medium like alkyd, but remember it still counts as “fat,” so keep the layering order intact.
Common mistakes to avoid: mixing a watery wash with a thick impasto in the same pass, and forgetting to let a lean undercoat cure before a glossier topcoat. Both can cause cracking or uneven drying.
Quick checklist before you move on to the next layer:
- Is the previous layer completely dry?
- Does the new mix have more oil than the one below?
- Am I using the right brush technique (glaze, scumble, or impasto)?
- Did I thin the paint enough for a smooth application?
Follow these steps, and you’ll see your oil paintings gain that luminous depth that keeps viewers looking longer. Layering oils isn’t magic—it’s just smart, patient work. Grab your brushes, mix a little more oil, and start building those beautiful layers today!
Slow Over Fast Rule in Oil Painting: Essential Techniques for Brilliant Results
Understanding the 'slow over fast' rule is key for oil painters. Learn how this technique impacts paint drying, layer stability, and your masterpiece's longevity.
Continue Reading


