Master the Creative Process: Simple Steps to Turn Ideas into Art
Ever wonder why some artists seem to glide from sketch to finished piece without a hitch? The secret is a clear creative process. It’s not magic – it’s a series of habits you can learn and apply. Below you’ll find a down‑to‑earth guide that shows how to plan, experiment, and finish work without getting stuck.
1. Start with a Strong Idea
Everything begins with a spark. It could be a photo, a memory, or just a color that catches your eye. Write that spark down in a sketchbook or a phone note. Keep the description short – one sentence is enough. When you return to it later, you’ll have a clear anchor instead of a vague feeling.
Next, ask yourself three quick questions: What story do I want to tell? Which medium fits best? How much time can I spend on it? Answering these keeps the project focused and stops you from drifting into endless indecision.
2. Plan, Then Play
Planning doesn’t mean rigidly mapping every brushstroke. Create a loose outline – thumbnails, color palettes, or a quick thumbnail collage. This stage is the playground where you test composition, lighting, and scale. If a thumbnail feels off, scrap it and try another. The goal is to discover what works before committing to the final piece.
When you feel comfortable with the layout, set a small deadline. A two‑hour window for a sketch or a day for a color study keeps momentum moving. Short, timed experiments prevent perfection paralysis and let you see progress fast.
After the experimental phase, review your work. Spot the strongest elements and note any problems. This quick critique helps you decide what to keep, change, or discard before you start the final version.
Now you’re ready for the main event – the final piece. Use the notes from your experiments to guide brushwork, line quality, and color choices. Work in layers, letting each dry or settle before adding the next. This mirrors the “slow over fast” rule many oil painters swear by, keeping the artwork stable and vibrant.
Throughout the creation, pause every 20‑30 minutes to step back. A fresh eye catches mistakes you missed while immersed. If something feels off, trust that instinct and adjust quickly; it’s easier to fix early than after hours of work.
When the piece looks complete, set it aside for a day. Return with fresh eyes for a brief final pass. Minor tweaks – tightening edges, balancing contrast – are the finishing touches that turn good work into great work.
Finally, share your art. Posting on social media, joining a forum, or showing it to a friend brings feedback and motivation. Even a single comment can spark ideas for the next project, closing the loop of the creative process.
Remember, the process is personal. Some artists love long‑form planning; others thrive on spontaneous bursts. Experiment with the steps above, mix them to fit your style, and keep refining. The more you practice, the smoother the journey from idea to finished art becomes.
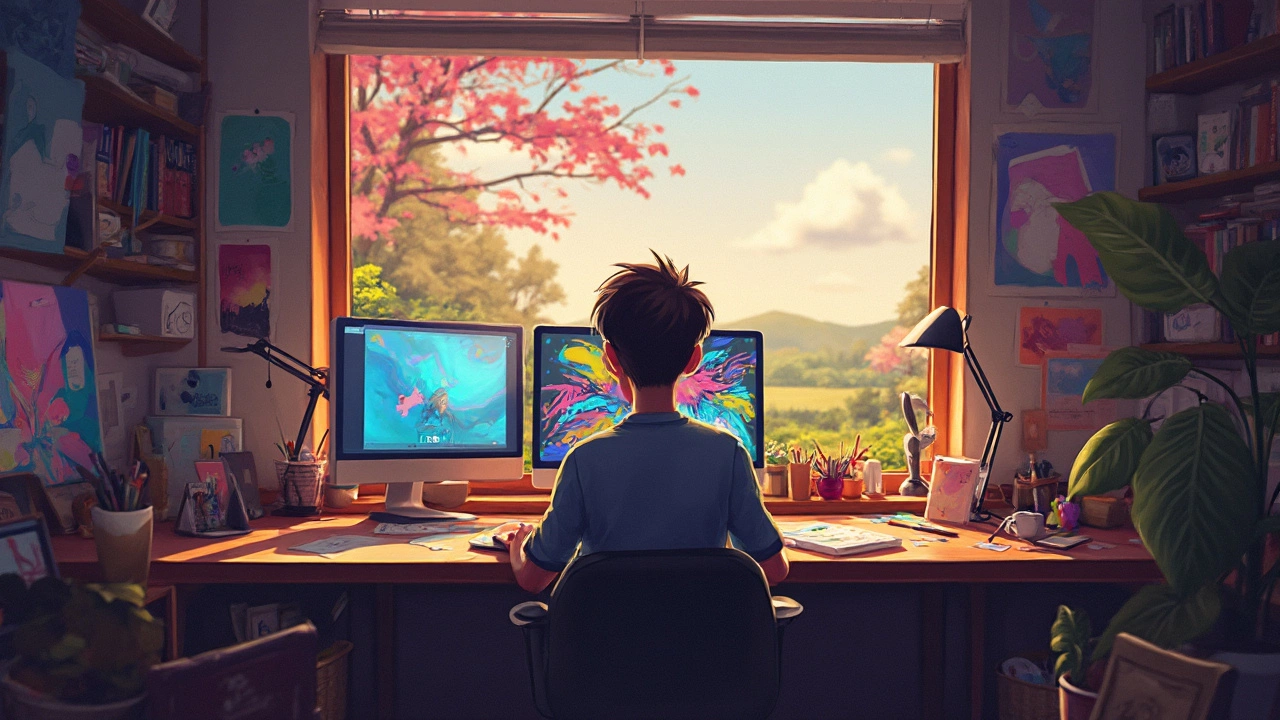
How to Create Cool Digital Art
Creating cool digital art involves mastering the basics of design software and understanding fundamental art principles. This article provides practical tips and insights to enhance your digital art skills, whether you're a beginner or looking to up your game. From choosing the right tools to understanding color theory, the journey to becoming a skilled digital artist is both exciting and rewarding. You'll discover useful advice on honing your style and finding inspiration within the digital medium. Unlock your creative potential with these actionable steps.
Continue Reading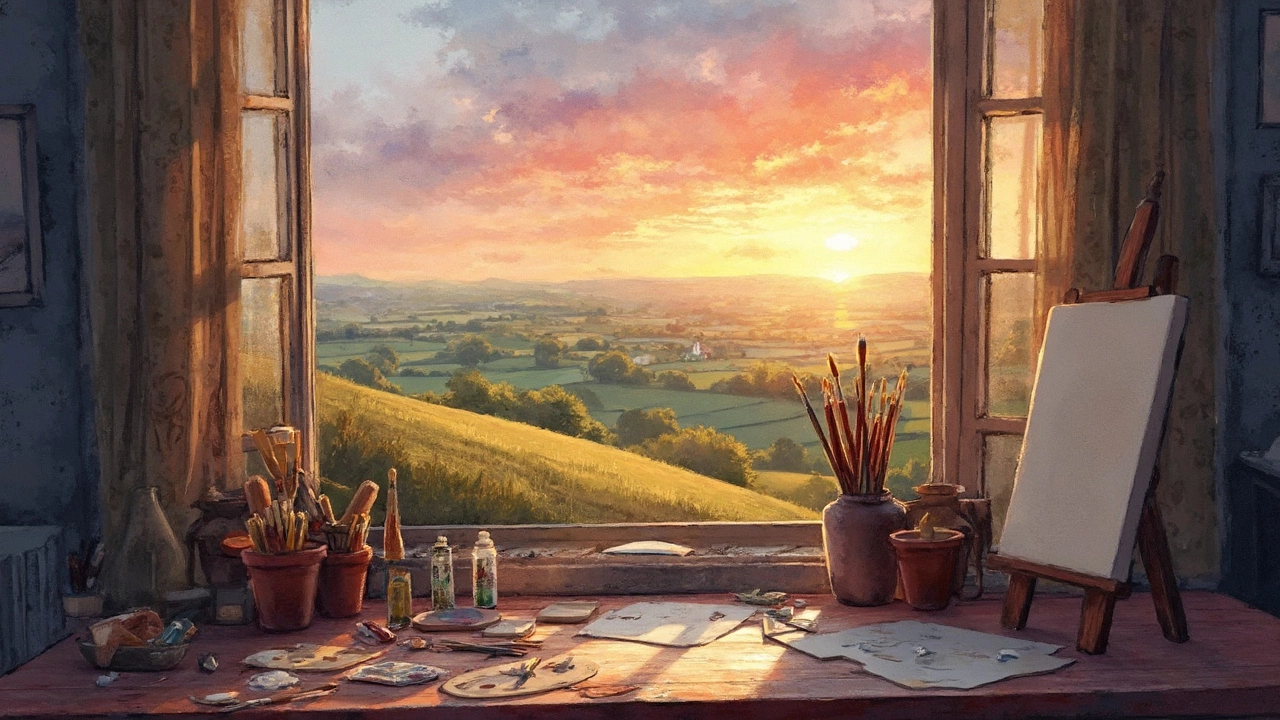
How to Create a Stunning Landscape Painting
Learn the essential techniques and tips for creating your landscape painting. This guide covers everything from selecting the right materials to mastering the techniques that will make your art stand out. Discover the key elements of composition, color theory, and learn how to convey emotion in your work. Perfect for beginners looking to dive into the world of landscape art.
Continue Reading