Oil Painting Varnishing Timeline Calculator
Varnishing Timeline Calculator
Determine when your oil painting is ready for varnishing based on paint thickness and drying conditions
It’s been months since you finished your last oil painting. The brushstrokes are dry, the colors have settled, and you’re finally ready to hang it. But then you pause. Should I seal my oil painting? It’s a question every oil painter asks-and too many answer wrong.
Oil paint dries slowly. Not because it’s wet, but because the oil oxidizes over time. That’s why a painting that looks finished at week four might still be changing under the surface six months later. If you slap a varnish on too early, you trap solvents, crack the paint, or turn your masterpiece yellow. But if you wait too long, dust, smoke, and UV light start eating away at your colors.
There’s no magic date. No universal rule. But there are clear signs-and a proven process-that tell you exactly when and how to seal your work for lasting results.
Why varnish at all?
You don’t have to varnish an oil painting. Some artists skip it. But if you care about how your painting looks in 20 years, you should.
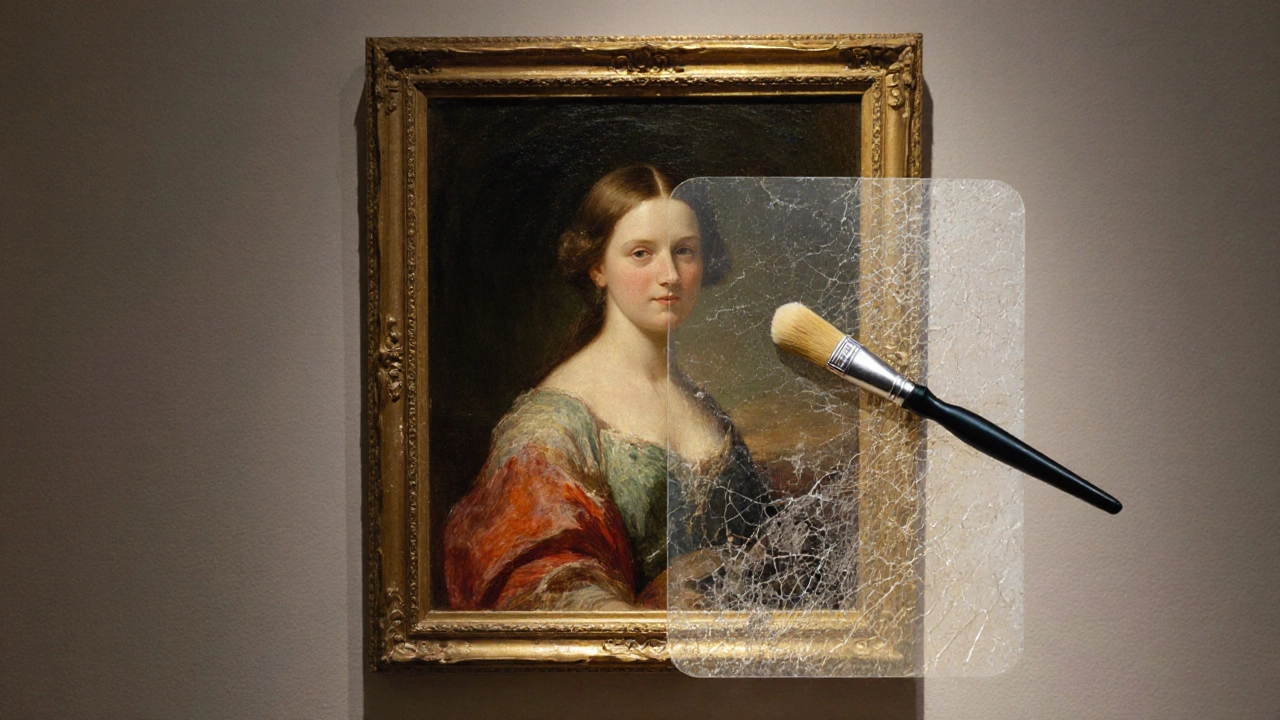
Varnish isn’t just a shiny coat. It’s a protective barrier. It shields the paint from dirt, grime, and accidental fingerprints. It evens out the surface gloss-so a matte area doesn’t look dull next to a glossy one. And most importantly, it makes cleaning possible.
Think of it like a removable skin. Over time, varnish yellows or gets dirty. When that happens, you can take it off-without touching the paint underneath-and reapply a fresh layer. That’s something you can’t do with paint.
Without varnish, your painting’s surface is exposed. Dust sticks. Smoke stains. Sunlight fades. And if someone accidentally touches it with a damp cloth? You’ve just damaged the paint layer permanently.
How long to wait before varnishing
This is where most people mess up. They varnish after a week. Or two. Or when it feels dry to the touch.
Oil paint doesn’t dry like watercolor. It cures. That means the oil molecules slowly react with oxygen and harden from the inside out. A thin layer might feel dry in a week. A thick impasto area? That could take six months or more.
The standard rule: wait until the thickest part of your painting is dry to the core. That usually means six to twelve months. Yes, it’s long. But here’s the trick: you can test it.
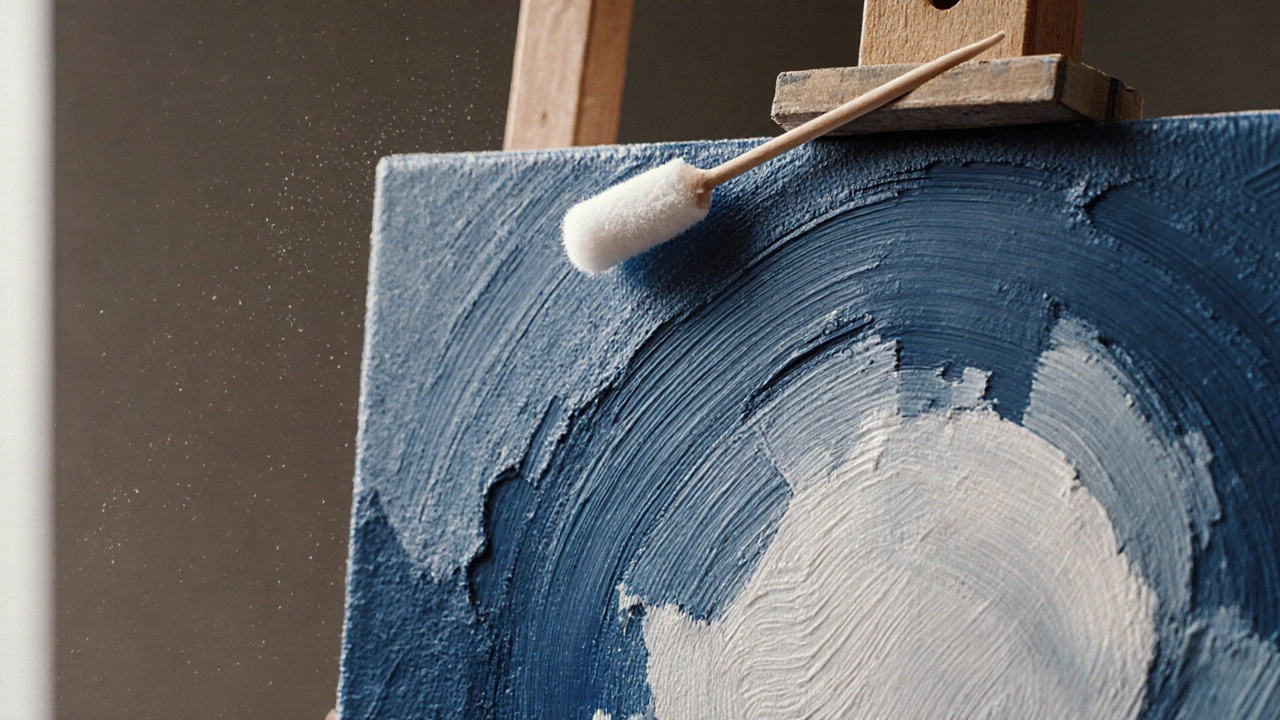
Take a cotton swab, dip it in odorless mineral spirits (not turpentine), and gently rub a hidden corner-like the back edge of the canvas. If paint comes off on the swab, it’s not ready. If it stays clean, you’re good to go.
Some artists use a method called the "thumb test." Press your thumbnail lightly into an inconspicuous area. If it leaves a dent, wait longer. If it doesn’t, you’re safe.
There’s one exception: if you’re using a retouch varnish. That’s a thin, temporary layer meant for paintings that aren’t fully cured. It’s used to even out dull spots during the drying process. But it’s not a final seal. Don’t confuse it with the real thing.
What kind of varnish to use
Not all varnishes are made equal. There are three main types used for oil paintings: damar, acrylic, and synthetic.
Damar varnish is the traditional choice. Made from tree resin dissolved in solvent, it dries clear and has a warm glow. It’s easy to remove for restoration. But it yellows over time-especially in low light. If you’re painting a bright blue sky or a crisp white dress, damar might not be your best friend.
Acrylic varnish is modern. It’s water-based, non-yellowing, and dries faster. It’s also more flexible, so it won’t crack as the canvas moves. The downside? It’s harder to remove. If you ever need to restore the painting, a conservator will have to use stronger solvents.
Synthetic varnishes (like Golden MSA or Lascaux) are the best of both worlds. They’re non-yellowing, removable with mild solvents, and UV-resistant. They’re what museums use. They cost more, but if you’re selling your work or want it to last generations, this is the one to pick.
For most artists, synthetic varnish is the smart choice. It’s the most forgiving, the most durable, and the easiest to maintain.
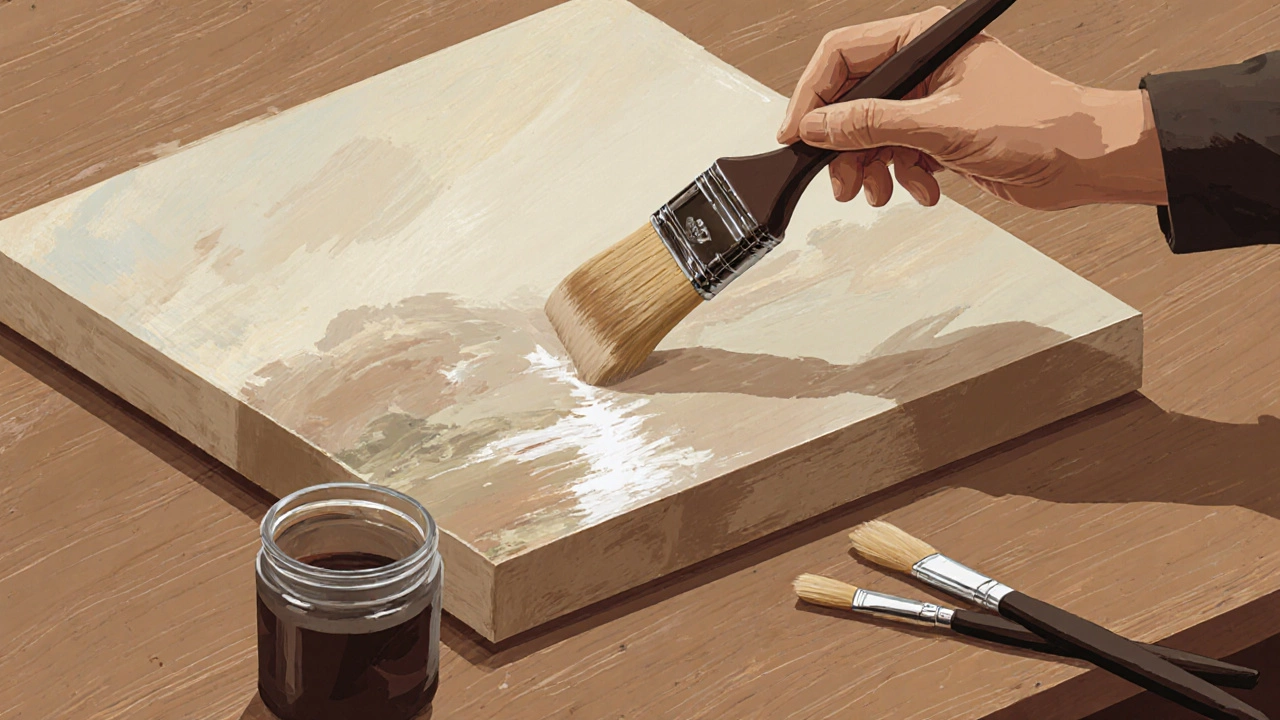
How to apply varnish properly
Applying varnish isn’t like painting. You don’t want brushstrokes. You don’t want bubbles. You want a smooth, even film.
Here’s how to do it right:
- Work in a dust-free room. Close windows. Turn off fans. Even a single speck of dust will stick and ruin the surface.
- Use a wide, soft, clean brush-preferably a synthetic one designed for varnishing. A natural hair brush can shed.
- Stir the varnish gently. Don’t shake it. That creates bubbles.
- Apply in thin, even strokes. Start from one corner and work across the surface in one direction. Then go over it lightly in the opposite direction to smooth out any ridges.
- Don’t overload the brush. Too much varnish pools in corners and drips.
- Let it dry for 24 hours in a clean, ventilated space. Don’t touch it.
Some artists use a spray varnish. It’s fast and even, but it’s harder to control. You need a well-ventilated area, protective gear, and a steady hand. For beginners, brush-on is safer.
Matte, satin, or gloss?
Your varnish comes in finishes: gloss, satin, or matte.
Gloss gives you the deepest color and richest shine. It’s what you see in galleries. But it also reflects light, which can make it hard to view under bright lamps.
Satin is a happy medium. It reduces glare while keeping color depth. Most artists choose this.
Matte flattens the surface. It’s great for soft, atmospheric paintings. But it can make colors look dull if overused. And it’s harder to clean.
Match the finish to your painting’s intent. If your work is full of texture and contrast, gloss enhances it. If it’s muted and subtle, satin or matte might be better.
Pro tip: you can mix finishes. Apply gloss over the bright areas and matte over the shadows. That’s called "selective varnishing" and it’s a pro technique.
What happens if you skip it
You can live without varnish. But your painting won’t.
Over time, the surface will get dull. Dust builds up. Grease from fingers leaves smudges. Sunlight bleaches the reds and fades the yellows. If you ever try to clean it with a damp cloth, you risk lifting the paint.
One artist I know left a large landscape unvarnished for 15 years. When she finally decided to varnish it, the surface was so dirty, the varnish didn’t stick properly. She had to send it to a conservator-costing more than the original frame.
Sealing your painting isn’t optional if you want it to survive. It’s part of the process-like stretching the canvas or priming the board.
Common mistakes to avoid
- Applying varnish too soon. This traps solvents and causes cloudiness or cracking.
- Using household varnish. Floor varnish, wood varnish, spray paint-none of these are made for fine art. They yellow, crack, or dissolve paint.
- Skipping the test. Always check the thickest area before applying.
- Applying in humid weather. Moisture can cause the varnish to turn milky.
- Using dirty brushes or containers. Even a speck of dried varnish can leave a mark.
And never varnish over a painting that’s still wet. I’ve seen it happen. Someone rushes to finish for a show. The varnish sinks into the paint, dragging color with it. The result? A muddy, uneven mess. No amount of touch-up can fix it.
How to maintain a varnished painting
Once sealed, your painting still needs care.
Hang it away from direct sunlight. UV rays fade pigments, even through varnish. Keep it away from heat sources like radiators or fireplaces. Humidity swings can cause the canvas to expand and contract, stressing the paint layer.
Don’t clean it with water or household cleaners. Dust it gently with a soft, dry brush-like a clean makeup brush or a soft artist’s brush. If it gets smudged, wait. Don’t wipe. Over time, the varnish will yellow or collect dirt. That’s when you re-varnish.
Every 20 to 30 years, depending on environment, your varnish will need replacing. That’s normal. It’s not a failure. It’s maintenance.
Think of it like changing the oil in your car. You don’t do it because something’s broken. You do it so nothing breaks.
Final answer: Yes, seal it-but wait
Should you seal your oil painting? Yes. But not yet.
Wait until the thickest paint is fully cured. Test it. Use a professional-grade synthetic varnish. Apply it carefully. Choose the right finish. And then-finally-step back and admire what you’ve made.
Your painting will thank you in 10, 20, 50 years. When someone looks at it and says, "This still looks brand new," you’ll know why.
Can I use Mod Podge to seal my oil painting?
No. Mod Podge is a craft adhesive designed for paper and fabric. It’s not archival, not flexible, and not made for oil paint. It will yellow, crack, and possibly dissolve the paint layer over time. Never use craft sealants on fine art.
How do I know if my oil painting is dry enough?
Use the cotton swab test. Dip a swab in odorless mineral spirits and gently rub a hidden edge. If no paint transfers, it’s dry. If the swab picks up color or stickiness, wait longer. For thick areas, wait at least six months.
Can I varnish an oil painting that’s been sitting for 10 years?
Absolutely. In fact, it’s ideal. A painting that’s been sitting for a decade is fully cured. Clean the surface gently with a soft brush to remove dust, then apply a fresh layer of synthetic varnish. It will look like new.
Is spray varnish better than brush-on?
It’s faster and more even, but harder to control. Spray varnish can create overspray, uneven coverage, or a foggy finish if used in a poorly ventilated space. Brush-on gives you more control, especially on textured surfaces. Beginners should start with brush-on.
What if I don’t like the gloss after varnishing?
You can remove it. Synthetic varnishes are designed to be removable with mild solvents. Wait a week for it to fully cure, then use a conservation-grade varnish remover with a soft cloth. Once removed, you can reapply a different finish-like satin or matte.