Budget Sculpting Material Selector
Select your project characteristics below to find the best budget-friendly material option.
Recommended Materials
Adjust the settings above to see recommendations.
Pro Tip from the Article
Don't feel pressured to stick to one material. Most professional sculptors mix media. Use foil for bulk, wire for structure, air-dry clay for skin, and epoxy for fine details. This hybrid approach keeps costs low while maximizing creative control.
You want to start sculpting, but the price tags on professional modeling clays make you flinch. A five-pound block of high-quality oil-based clay can cost more than your first month of rent in some cities. It feels like a barrier. But here is the truth: some of the most impactful sculptures in history started with trash. You do not need expensive polymer clay or bronze casting kits to create something real. The cheapest sculpting material is often hiding in your recycling bin.
This guide breaks down the most affordable options available right now. We are looking at materials that cost pennies per pound, require minimal tools, and still allow you to build complex forms. Whether you are a student, a hobbyist, or just testing if you have the patience for 3D art, these materials will let you learn without draining your wallet.
Paper and Glue: The King of Low-Cost Sculpting
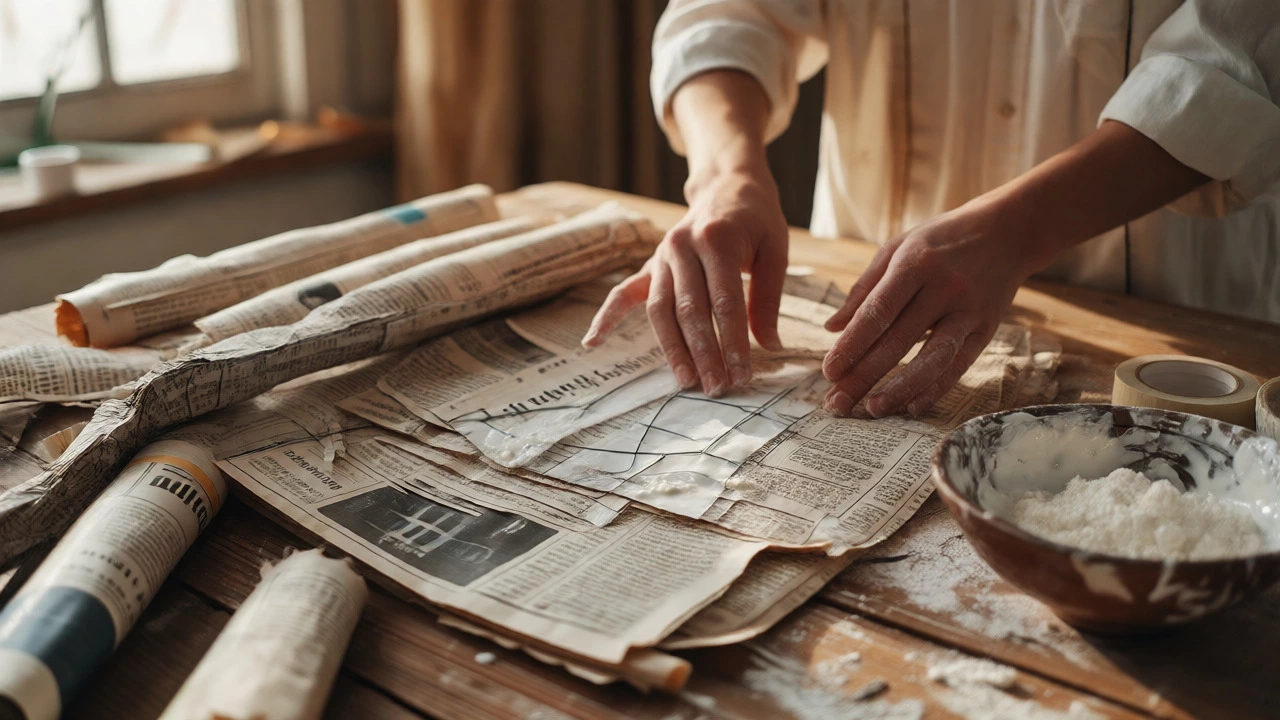
If we had to pick one winner for the absolute lowest cost, it would be Papier-mâché, which is a composite material made from paper pieces or pulp bonded with a wet adhesive such as paste or glue. Why? Because paper is cheap, and flour and water are free if you already have them in your kitchen. You are essentially building with cardboard boxes and old newspapers.
The process involves layering strips of paper over an armature (a skeleton for your sculpture). As the glue dries, it hardens into a lightweight, durable shell. This method is incredibly forgiving. Made a mistake? Tear off the wet layer and try again. Want to add texture? Crumple the paper before gluing it down.
- Cost: Near zero. A bag of flour costs less than $5 and lasts months. Old newspapers are often free.
- Best For: Large-scale forms, masks, and organic shapes.
- Pro Tip: Use masking tape for the internal structure instead of heavy wire. It’s lighter and easier to shape with scissors.
The downside? It takes time to dry. If you live in a humid climate, your sculpture might stay damp for days. But for pure volume creation, nothing beats the value proposition of paper.
Wire and Aluminum Foil: Building the Skeleton
Before you cover anything in clay or paper, you need a core. This is where Aluminum foil and craft wire come in. These two materials form the backbone of almost every budget sculpture.
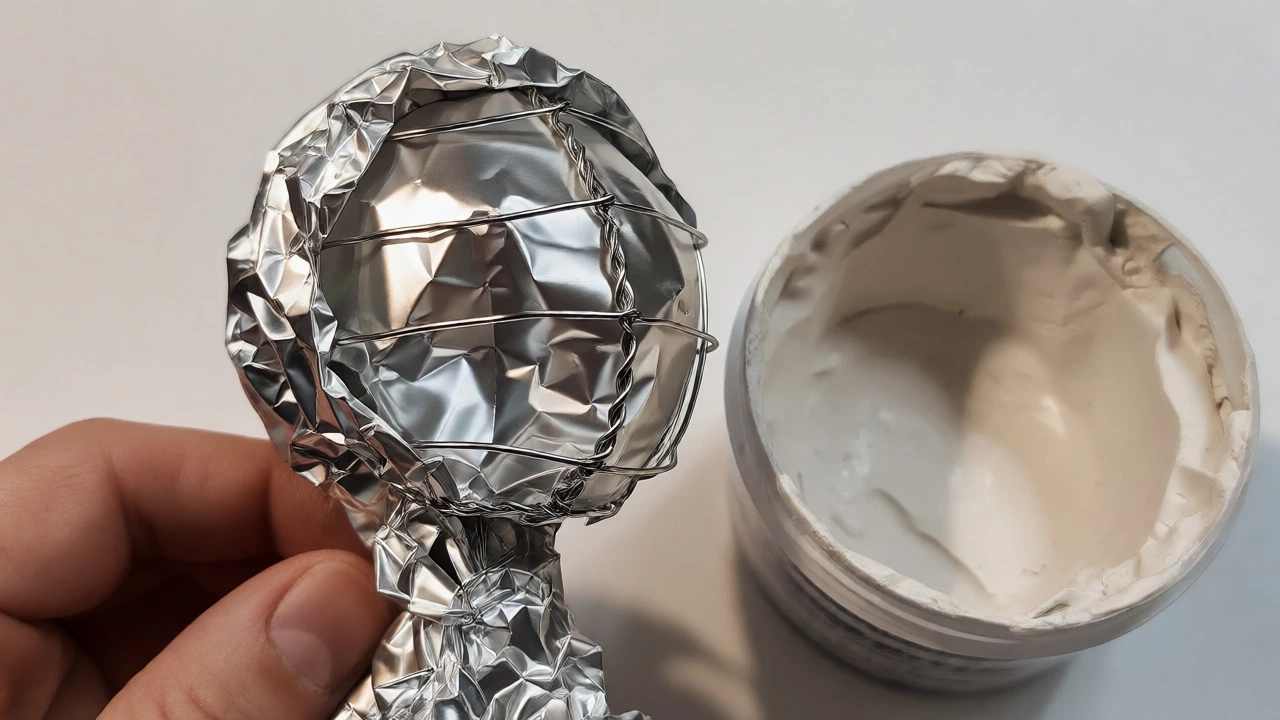
Aluminum foil is malleable. You can crush it into a tight ball to represent a head, then wrap it around wire arms to suggest muscles. It holds its shape surprisingly well when compressed. Craft wire (often sold as floral wire or aluminum craft wire) provides the structural integrity. You twist it to create the pose, then bulk it out with foil.
| Material | Average Cost (per lb) | Malleability | Weight | Best Use Case |
|---|---|---|---|---|
| Aluminum Foil | $1 - $2 | High | Very Light | Bulk filling, quick mockups |
| Craft Wire | $3 - $6 | Medium | Light | Armatures, joints, thin limbs |
| Cardboard | $0 - $1 | Low | Medium | Flat planes, architectural forms |
| Wood Scraps | $0 - $5 | N/A | Heavy | Base support, rigid cores |
Using foil as a base saves massive amounts of expensive outer-layer materials. If you plan to use air-dry clay later, covering a foil core means you only need a thin skin of clay. You aren’t paying for solid mass; you’re paying for surface detail.
Air-Dry Clay: The Accessible Standard
When people think of "cheap" sculpting clay, they usually mean Air-dry clay. Unlike polymer clay, which requires baking in an oven, air-dry clay hardens through evaporation at room temperature. Brands like DAS or Crayola Model Magic dominate this space.
It is user-friendly. No special kilns, no toxic fumes, no complicated firing schedules. You open the tub, shape the clay, and wait. Within 24 to 72 hours, depending on thickness, it becomes solid enough to sand and paint.
However, there is a catch. Air-dry clay shrinks as it dries. If you build a thick lump, it might crack. The solution? Always build over an armature (like our foil friend from above). Keep your layers thin-under half an inch is ideal. If you need to add volume, do it in stages, letting each layer dry slightly before adding the next.
Is it the cheapest? Not strictly. A pound of decent air-dry clay costs about $2-$4. But compared to epoxy putties ($10+) or oil clays ($8+), it is very accessible. Plus, you don’t need an oven, which saves energy costs and equipment investment.
Epoxy Putty: Small Scale, High Strength
If you are sculpting small figures-think action figure size or smaller-Epoxy putty (such as Milliput or Apoxie Sculpt) offers incredible strength for a low entry price. You buy a small tube, mix equal parts of two compounds, and you have a working window of 15-30 minutes.
Why consider it? It bonds to almost anything: metal, wood, plastic, and cured clay. It doesn’t shrink significantly. Once cured, it is rock hard and waterproof. You can drill it, sand it, and paint it immediately.
The cost trap: Epoxy putty is expensive by weight. A small package might cost $5, but it yields less than a quarter-pound of usable material. However, for detailing faces, hands, or intricate armor on a 6-inch figure, you use grams, not pounds. So, while the unit price is high, the actual cost per project can be under $2.
Warning: Epoxy putty gets sticky fast. Wear gloves. And work in a ventilated area, though most modern formulas are low-odor.
Recycled Plastics: Heat and Mold
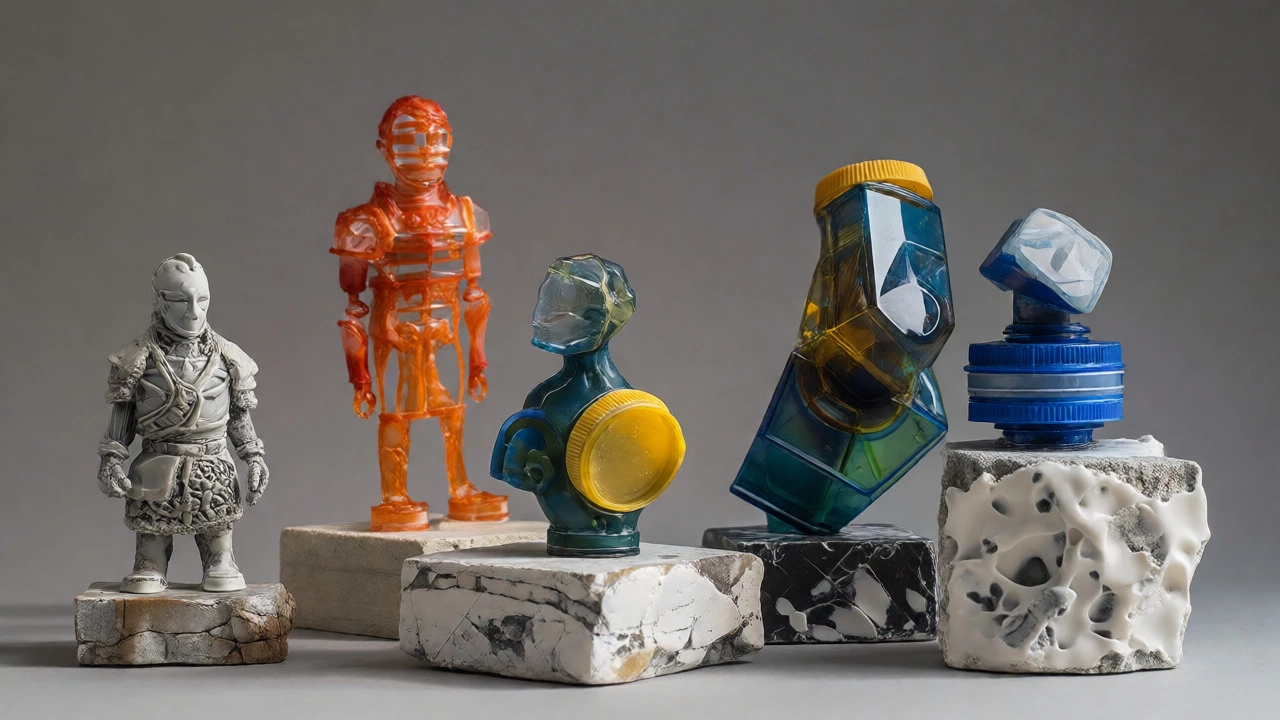
Have you ever tried melting a plastic bottle cap? Thermoplastics (specifically types labeled #5 PP or #6 PS) become pliable when heated and harden when cooled. This allows you to reuse scrap plastic endlessly.
You can cut up old yogurt containers, bottle caps, or packaging trays. Heat them gently with a heat gun or even a hair dryer on high. They soften enough to bend, stretch, or fuse together. When they cool, they return to a rigid state.
This method is messy and unpredictable. The plastic can smell bad if overheated. But it is virtually free if you source your own trash. It is excellent for creating abstract forms, industrial-looking textures, or futuristic designs. Just remember: never melt PVC (#3) indoors due to harmful fumes. Stick to safe plastics.
Decision Guide: Which Material Fits Your Project?
Choosing the right material depends on three factors: scale, detail level, and durability needs. Here is a quick heuristic to help you decide.
- Building large volumes (over 1 foot tall)? Use Paper/Papier-mâché over a wire/cardboard armature. It’s light and cheap.
- Sculpting detailed faces or hands? Use Air-dry clay for the main form, then touch up details with Epoxy Putty.
- Need a permanent outdoor piece? Avoid paper and basic air-dry clay unless sealed heavily. Use Epoxy Putty or treated concrete.
- Just learning anatomy? Use Aluminum Foil and Tape. You can re-shape it instantly without wasting material.
Don’t feel pressured to stick to one material. Most professional sculptors mix media. They might use foil for the body, wire for the limbs, air-dry clay for the skin, and epoxy for the jewelry. This hybrid approach keeps costs low while maximizing creative control.
Common Pitfalls to Avoid
Even with cheap materials, beginners waste money through simple mistakes. Here are the big ones.
Ignoring the Armature: Trying to sculpt a standing human figure out of just clay will result in collapse. Gravity wins. Always build a skeleton first. Even a simple bundle of crumpled newspaper wrapped in tape works.
Over-wetting Papier-mâché: Too much water makes the paper soggy and prone to tearing. Dip your brush in the glue mixture, wipe off excess, then apply. Damp is better than soaked.
Skipping Sealing: Cheap materials are porous. If you paint directly onto raw air-dry clay, it absorbs the paint unevenly. Seal your finished piece with white glue diluted with water (50/50 mix) or a clear acrylic spray. This creates a uniform surface for painting.
Buying in Bulk Too Soon: Don’t buy a 10lb bucket of clay until you know you like the medium. Start with a 1lb tub. If you hate sculpting, you haven’t lost $50. If you love it, you can upgrade later.
What is the absolute cheapest sculpting material?
Papier-mâché using recycled paper and homemade flour-and-water paste is generally the cheapest option, often costing less than $1 per large project. Aluminum foil is also extremely inexpensive and serves as a great base material.
Can I use household items instead of artist clay?
Yes. Salt dough (flour, salt, water) is a classic homemade alternative. It is non-toxic and easy to bake in a standard oven. However, it is fragile and susceptible to moisture damage, so it is best for indoor display pieces rather than long-term preservation.
Does air-dry clay shrink a lot?
Air-dry clay typically shrinks between 5% and 10% as it dries. To prevent cracking, keep layers thin (under 1/2 inch) and build over an armature. Adding material in stages rather than one large lump helps manage shrinkage stress.
Is epoxy putty safe to use indoors?
Most modern epoxy putties are low-odor and safe for indoor use with basic ventilation. However, always wear gloves to prevent skin irritation. If you have strong chemical sensitivities, choose a brand specifically labeled as odorless or low-VOC.
How do I make my cheap sculpture look professional?
Focus on finishing techniques. Sand rough edges with fine-grit sandpaper, seal the surface with gesso or diluted glue, and apply multiple thin coats of paint. Lighting and presentation matter too; placing a simple piece on a clean pedestal elevates its perceived value.