First Oil Painting Subject Selector
Not sure where to start? Select a subject below to see the skills you'll learn, common pitfalls to avoid, and specific tips for your first canvas.
Fruit Still Life
BeginnerForm & Light Logic
Simple Landscape
BeginnerColor Mixing & Depth
Abstract Flowers
IntermediateBrushwork & Texture
Seascape
IntermediateAtmosphere & Layers
Interior Corner
AdvancedPerspective & Value
Universal Beginner Tips
You bought your first tube of oil paint, squeezed out some Titanium White and Burnt Sienna, and now you’re staring at a blank canvas. It’s terrifying. The smell of linseed oil is intoxicating, but the fear of ruining it with a muddy brown blob is real. Here’s the truth: there is no such thing as a "bad" first attempt, but there are definitely smarter ways to start.
If you try to paint a hyper-realistic portrait or a complex cityscape on day one, you will likely quit by day three. Oil paint has a learning curve. It dries slowly, blends easily, and forgives mistakes, but it also punishes indecision. You need subjects that let you practice control without demanding perfection. So, what actually works? Let’s look at five specific ideas that build your skills while giving you a finished piece you’ll actually want to hang on your wall.
The Classic Still Life: Fruit and Bowls
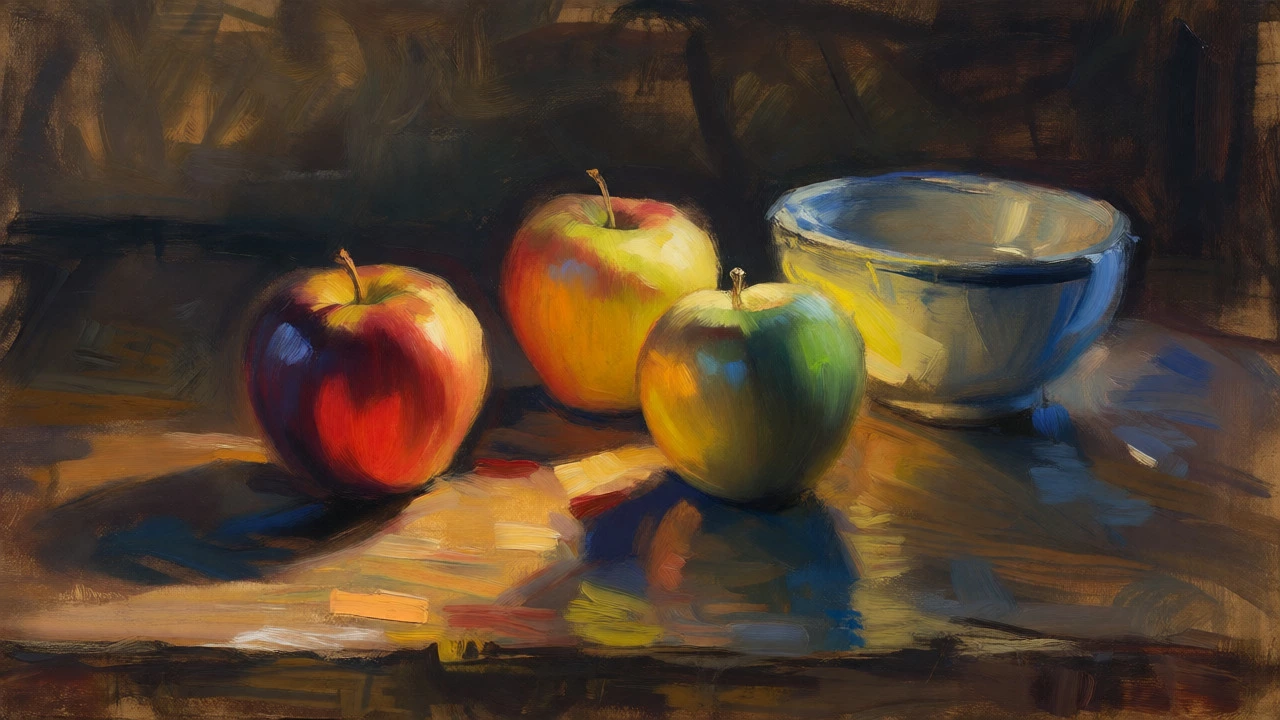
Why do every art school start here? Because fruit doesn’t move. A bowl of apples is the ultimate training ground for understanding light, shadow, and form. When you paint an apple, you aren’t just drawing a circle; you’re learning how light wraps around a sphere. This teaches you chiaroscuro-the dramatic contrast between light and dark-in a low-stakes environment.
Start with simple shapes. An orange, a lemon, and a ceramic bowl. Avoid shiny glass or metallic objects for your first go, as their reflections can get tricky. Set up a single lamp in a dark room. This creates strong highlights and deep shadows, making it easier to see where the colors change. Use a limited palette: Yellow Ochre, Cadmium Red, and Ultramarine Blue. If you mix these three well, you can create almost any earth tone you need. The slow drying time of oils allows you to blend the edge of the highlight into the mid-tone seamlessly, something acrylics rush you through.
| Subject | Primary Skill Learned | Common Pitfall | Time Estimate |
|---|---|---|---|
| Fruit Still Life | Form & Light Logic | Making all fruits same color | 4-6 hours |
| Simple Landscape | Color Mixing & Depth | Using black for distance | 3-5 hours |
| Flowers (Abstract) | Brushwork & Texture | Over-blending petals | 1-2 hours |
| Seascape | Atmosphere & Layers | Too much detail in waves | 5-8 hours |
| Interior Corner | Perspective & Value | Ignoring cast shadows | 6-10 hours |
A Simple Seascape: Horizon Lines and Atmosphere
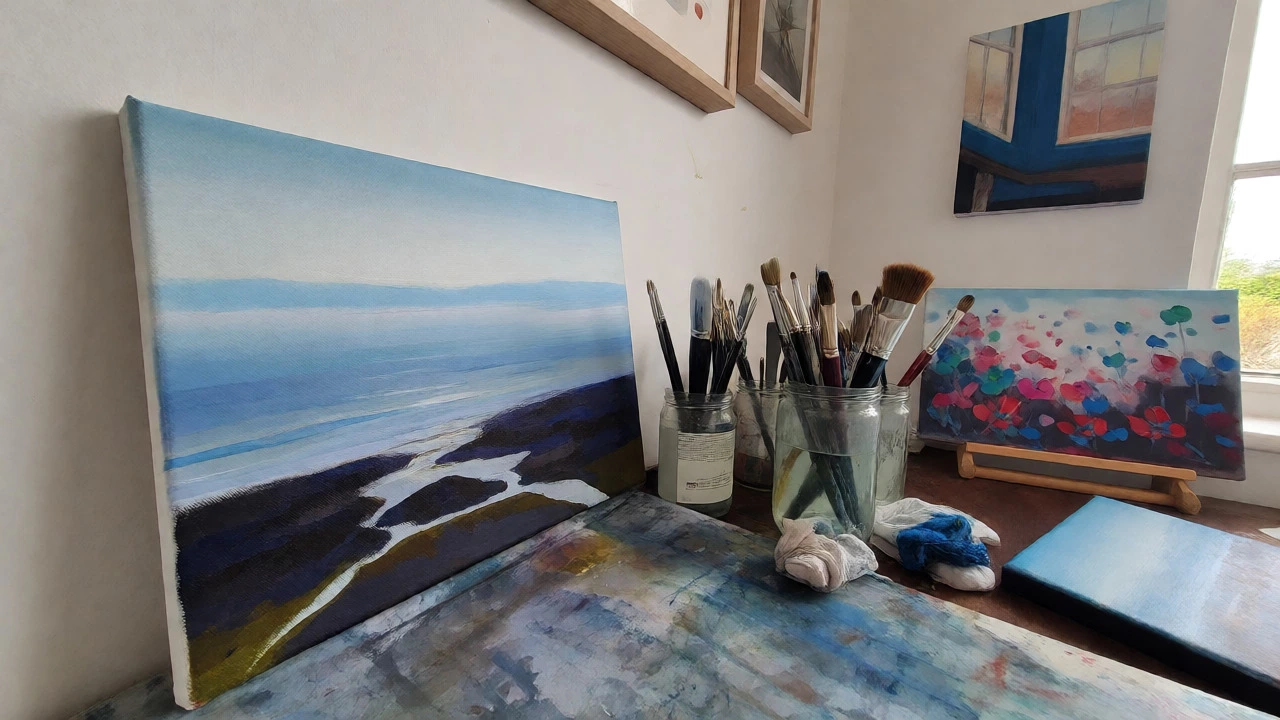
If you live near the coast-or just miss the ocean-a seascape is forgiving. Why? Because water is fluid. There are no rigid edges. If your wave looks wrong, you can wipe it away with a rag and turpentine before it dries. The key lesson here is atmospheric perspective. Things further away appear lighter, cooler, and less detailed. Your foreground rocks should be dark and sharp; the distant horizon should be pale blue and blurry.
Don’t try to paint every ripple. Paint the feeling of movement. Use a large brush for the sky and sea, saving smaller brushes only for the foam or rocks. Mix your blues with white to lighten them, not black. Black tends to make blues look dirty and flat. Try adding a touch of yellow to your distant blues to push them back visually. This concept, often taught in foundational color theory courses, prevents your painting from looking like a child’s crayon drawing.
Flowers: Embrace Imperfection
Flowers are beautiful, but they are complex. For a first oil painting, don’t try to paint a photorealistic rose. Instead, think about flowers abstractly. Focus on color blocks and texture. Oils are perfect for this because you can use impasto techniques-applying thick paint directly from the tube-to mimic the texture of petals.
Set up a vase with tulips or lilies. Step back. Squint. What do you see? Not individual petals, but blobs of red, green, and yellow. Paint those blobs. Let the brushstrokes show. If you smear the paint too much, it turns into mush. Leave it alone. Let the paint sit. This teaches patience, a virtue every oil painter needs. You’ll learn that sometimes doing nothing is more powerful than adding another stroke. This approach aligns with the philosophies of artists like Monet, who prioritized light and impression over strict realism.
An Interior Corner: Finding Drama in the Mundane
You don’t need to travel to find inspiration. Look at the corner of your living room. Maybe there’s a chair, a plant, and a window. This setup teaches you value structure. Values are the lights and darks of a painting. Before you worry about color, map out the values. Is the chair darker than the wall? Is the plant casting a shadow?
This subject helps you understand spatial relationships. How does the floor meet the wall? How does light spill across the furniture? Start by blocking in the largest shapes with thin, watery paint (this is called a "dead layer" or underpainting). Once that’s dry, add color. This method prevents you from getting bogged down in details too early. It’s a systematic approach used by professionals to ensure the composition holds together before committing to heavy paint layers.
Practical Tips for Your First Canvas
Beyond the subject, how you handle materials matters. Here are three rules to save your sanity:
- Lean Fat Over Lean: This is the golden rule of oil painting. Early layers should have more solvent (turpentine or mineral spirits) and less oil. Later layers should have more oil and less solvent. If you put a lean layer over a fat layer, the top layer dries slower, causing cracks. Think of it like building a house: the foundation must be stable before you add the roof.
- Clean Brushes Properly: Don’t leave brushes sitting in solvent overnight. They’ll lose their shape and bristles. Clean them immediately with odorless mineral spirits, then wash with soap and water if needed. Good brushes last years; bad care ruins them in weeks.
- Work Wet-on-Wet: For your first few paintings, take advantage of oils’ slow drying time. You can blend colors directly on the canvas for hours. This is different from acrylics, which dry fast. Enjoy the freedom to adjust a gradient until it feels right.
Remember, the goal isn’t to create a masterpiece. The goal is to finish. Many beginners abandon paintings halfway through because they get stuck on a difficult section. Pick a small canvas-maybe 8x10 inches. Finishing a small piece gives you dopamine hits of accomplishment. Do ten small paintings instead of one giant struggle. Each one teaches you something new about pigment behavior and brush control.
So, grab that brush. Squeeze out some paint. Don’t overthink the subject. Pick the fruit bowl, the view out your window, or the pile of books on your desk. Make a mess. Blend it. Wipe it off. Start again. That’s how you learn.
How long does an oil painting take to dry?
Oil paints dry through oxidation, not evaporation, so they dry much slower than acrylics. Thin layers may feel dry to the touch in 24-48 hours, but fully curing for varnishing can take several months to a year. However, you can apply new layers after a few days using the "fat over lean" technique.
Do I need expensive oils to start?
No. Student-grade oils are perfectly fine for beginners. They contain fewer pigments and more fillers, which means lower tinting strength and opacity, but they behave similarly to artist-grade paints. Save money for high-quality brushes and canvases instead.
What is the easiest color to mix?
Greens are notoriously difficult to mix cleanly. Beginners often end up with muddy browns. It is easier to buy pre-mixed greens initially. Skin tones are also challenging. Stick to primary colors (Red, Blue, Yellow) plus White and Black to learn basic mixing before tackling complex hues.
Can I paint over mistakes?
Yes, absolutely. If the paint is wet, wipe it off with a rag and solvent. If it’s dry, you can scrape it off with a palette knife or simply paint over it once it’s fully cured. One of the biggest advantages of oils is their reworkability.
Is turpentine safe to use indoors?
Traditional turpentine has strong fumes and can cause headaches. Odorless Mineral Spirits (OMS) are a safer, low-toxicity alternative widely available today. Always work in a ventilated area regardless of the solvent used.