Watercolor Layering: Techniques, Tips, and How to Build Depth in Your Paintings
When you work with watercolor layering, the process of applying multiple transparent washes of paint to build color, depth, and luminosity. Also known as glazing, it’s what separates flat, muddy watercolors from paintings that glow from within. Most beginners think watercolor is about speed—dashing in color before it dries. But the real magic happens after the first wash dries. That’s when you start building up tone, shadow, and atmosphere, one thin layer at a time.
Watercolor layering isn’t about covering up mistakes—it’s about revealing them slowly. Each layer lets light pass through, bounce off the paper, and come back to your eyes. That’s why a well-layered sky doesn’t look painted—it looks like sky. And why a tree trunk gains weight and dimension without ever using black. You don’t need more paint. You need more patience. Many artists skip layering because they’re afraid of overworking the paper. But the real danger isn’t too many layers—it’s too few. A single wash often looks weak. Two or three thoughtful layers? That’s where the painting comes alive.
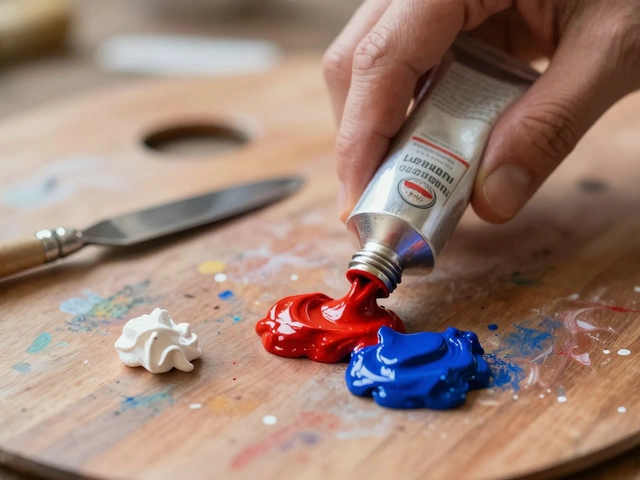
Related to this is the concept of transparent watercolor, a technique that relies on the paper’s white surface to reflect light through thin paint films. Opaque paints like gouache or acrylic block that effect. If you want your watercolors to shimmer, stick to transparent pigments. Pay attention to how your paints behave. Ultramarine blue and burnt sienna layer beautifully. Cadmium red? It can become muddy if you’re not careful. And always let each layer dry completely. Rushing this step is the #1 reason people get muddy results.
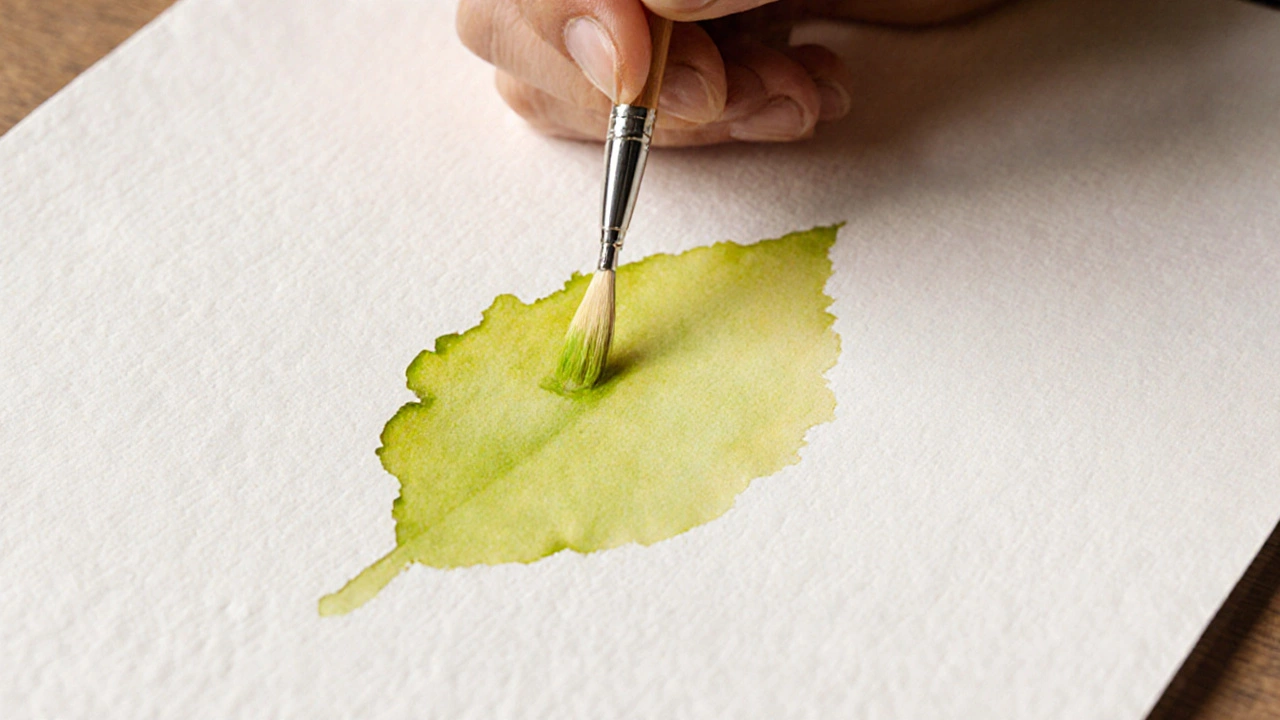
There’s also glazing watercolor, a specific type of layering where you apply a very thin, almost watery wash over a dry layer to shift color or tone. It’s how you turn a dull green leaf into something alive—adding a hint of yellow-green over a base of blue-green, or a whisper of red to warm up a shadow. Glazing doesn’t hide what’s underneath. It enhances it. Think of it like stacking glass. Each sheet changes the light, but you still see through it.
People assume watercolor layering is for advanced artists. It’s not. It’s for anyone who’s tired of their paintings looking flat. You don’t need fancy brushes or expensive paper. You just need to slow down. Let one layer dry. Then ask: What’s missing? A deeper shadow? A warmer highlight? A cooler edge? Add it. Not with a thick stroke—but with a whisper of paint.
What you’ll find in the posts below aren’t abstract theories. They’re real, practical examples of how watercolor layering works in actual paintings. You’ll see how artists use it to create depth in landscapes, how they build skin tones in portraits, and how they avoid the common traps that ruin layering. Some posts show you exactly which pigments work best together. Others break down step-by-step how to layer a sky or a forest. There’s no magic. Just method. And if you’ve ever looked at a watercolor and wondered why it feels alive while yours feels dead—this is why.
Are You Supposed to Layer Watercolor? The Real Guide to Building Depth Without Muddying Your Paint
Learn how to layer watercolor properly to create depth, avoid muddy colors, and unlock the true potential of this transparent medium. No fluff-just practical tips for better paintings.
Continue ReadingCategories
Most popular
-

-
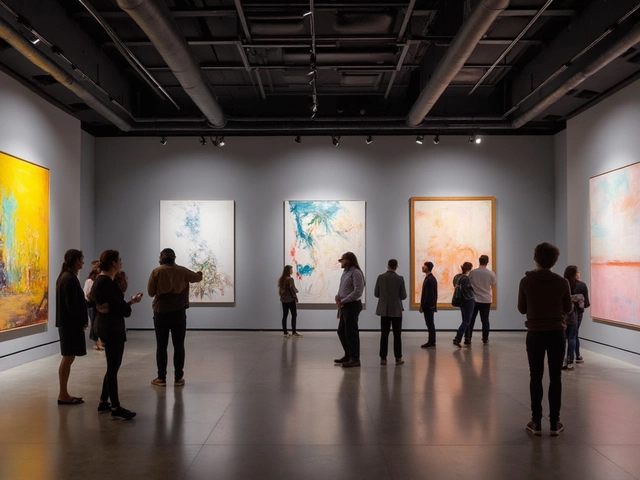 The Art of a Two-Artist Exhibition Apr 10 2025
 -
-

-