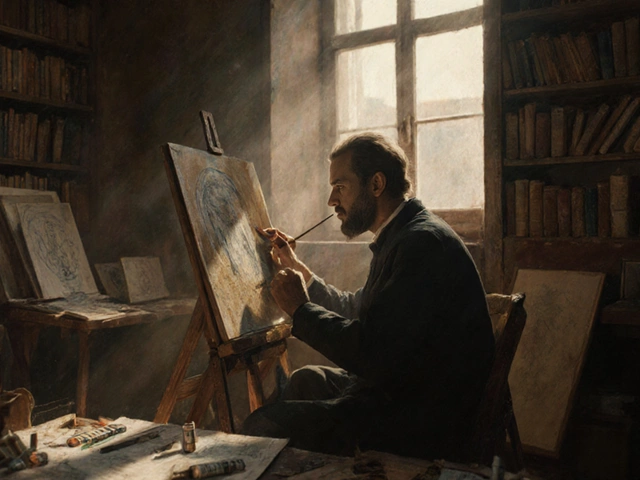
Painting Process: A Practical Guide for Every Artist
Ever wondered why some paintings look flawless while others feel flat? It usually comes down to the steps you follow. Below you’ll find the core pieces of a solid painting process, plus shortcuts that save time and money.
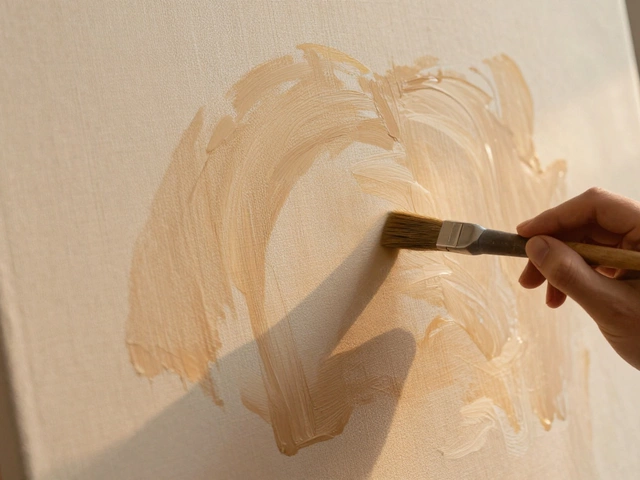
Choosing the Right Surface
The first decision you make is the ground you paint on. Canvas, linen, wood panels, or heavyweight paper each have strengths. Canvas is cheap and flexible, great for big oil works. Linen costs more but gives a smoother feel and lasts longer. Panels are perfect for detailed portrait work because they stay flat and resist warping.
When you pick a surface, think about the medium you’ll use. Acrylics stick to almost anything, but oil paint needs a properly primed board. A thin coat of gesso on wood or canvas creates a barrier that prevents the oil from soaking in and cracking later.
One common mistake is ignoring the texture. Rough texture adds character to landscapes, while a smooth panel helps you blend skin tones in portraits. Test a small swatch before you commit to a full-size piece.
Key Techniques to Keep Your Paintings Fresh
Now that you’ve got the right surface, let’s talk technique. The "slow over fast" rule is a lifesaver for oil painters. It means you should apply slower‑drying layers on top of faster‑drying ones. Start with thin, quick‑drying underpaint, then build up richer, slower layers. This prevents cracking and keeps colors vibrant.
Another game‑changer is activating oil paint with the right medium. A few drops of linseed oil or a modern solvent can improve flow and glaze ability. Mix only the amount you need – too much medium makes the paint soggy and hard to control.
Textures add interest. The scrubbing technique, where you drag a dry brush or rag across wet paint, creates a gritty surface that works well for rocks, bark, or clothing folds. Try it on a test strip first to see how much pressure gives the effect you want.
Don’t forget to step back often. Looking at your work from a distance reveals where color relationships need tweaking. It’s easier to fix a problem early than after the paint dries.
Finally, protect your finished piece. A final varnish layer locks in colors and keeps dust off the surface. Choose a matte or gloss finish based on the look you prefer, and apply it in a well‑ventilated area.
Follow these steps, experiment with the tips, and watch your paintings improve fast. The painting process isn’t a rigid recipe – it’s a toolbox you can adapt to your style. Happy painting!
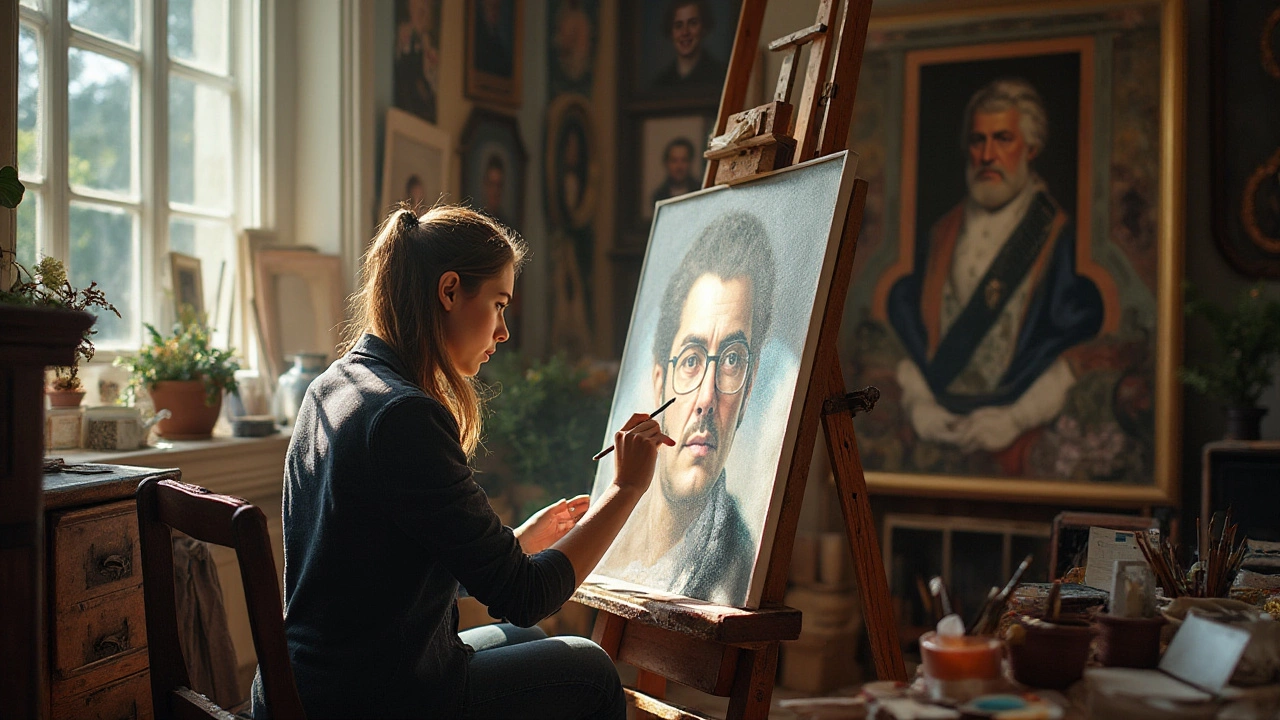
The Art and Patience Behind Portrait Painting Timelines
Portrait painting is an intricate and time-consuming art form that dates back thousands of years. The time to complete a portrait varies based on the artist's style, medium used, and the desired level of detail. This article explores how long portraits traditionally took to create, highlights some historical examples, and provides insights into modern approaches. It also offers tips for artists and art lovers to appreciate and understand the patience involved in this artistic process.
Continue ReadingCategories
Most popular
-
-
-
-
-
 Are Art Prints Just Posters? Mar 17 2025