Beginner Sculptor: Your First Steps in 3‑D Art
Picking up a block of clay or a piece of wood can feel intimidating, but it doesn’t have to be. As a beginner sculptor you only need a few basic tools, a simple workflow, and a mindset that embraces trial and error. This guide walks you through everything you need to start shaping your ideas into real, three‑dimensional art.
Essential Tools for the New Sculptor
You don’t need an expensive studio to begin. A small set of hand tools will cover most entry‑level projects:
- Clay or modeling compound: Water‑based clay is cheap and easy to clean. If you prefer a firmer feel, try oil‑based polymer clay.
- Wooden modeling tools: A basic kit includes a ribbon tool, a loop tool, and a needle tool. Each creates different textures and removes material.
- Wire armature: Thin galvanized wire gives your piece structure and prevents it from collapsing.
- Scraper and putty knife: Great for smoothing surfaces and shaping larger volumes.
- Sandpaper (various grits): Use it once your sculpture is dry to refine details.
Buy what fits your budget and upgrade later. The key is to have a hand‑friendly set that lets you experiment without hesitation.
Simple Techniques to Build Confidence
Start with a small project—like a basic animal form or a simple abstract shape. Follow these steps:
- Sketch your idea: A quick 2‑D sketch helps you visualize the proportions before you add material.
- Create an armature: Bend wire into a rough skeleton that matches the main lines of your sketch. This backbone supports the clay and keeps the weight balanced.
- Add bulk: Coat the armature with clay, pressing firmly to cover the wire. Don’t worry about details yet; focus on getting the right volume.
- Refine the form: Use the loop and ribbon tools to carve out curves, joints, and basic features. Keep your fingers close—your sense of touch is a powerful guide.
- Smooth and finish: Wet your fingertips or a soft brush to blend seams. After the piece dries (usually 24‑48 hours for small works), sand any rough spots.
Repeat these steps with different subjects. The more you practice, the faster you’ll recognize where to add or remove material without over‑thinking each move.
Our tag page also highlights two very helpful articles: “Sculpture Art: What Actually Makes Something a Sculpture?” breaks down the definition of sculpture, and “Sculpture Art: How to Get Started Without Feeling Lost” offers a step‑by‑step starter plan. Both are perfect reads if you’re looking for extra context or a quick motivation boost.
Finally, keep your workspace tidy. A clean area reduces accidental smudges and makes it easier to see the shape you’re building. Store tools in a simple container and label any clays you mix so you can replicate colors later.
With the right tools, a clear process, and a willingness to make a mess, you’ll move from “I’ve never sculpted” to “I made this piece” faster than you think. Grab a piece of clay, set up a small table, and let your hands do the talking. Happy sculpting!
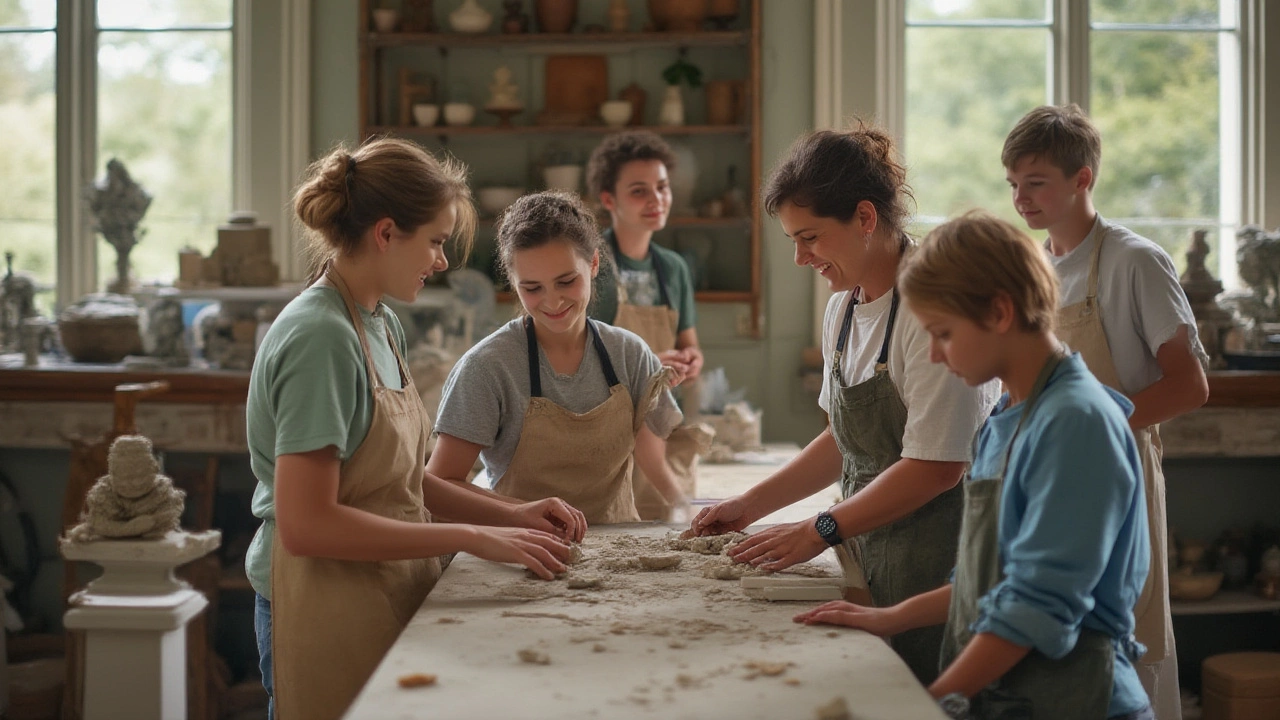
How to Learn Sculpture Art: Step-By-Step Guide for Beginners
Want to learn sculpture art? Get hands-on tips, key facts, and practical advice to kick-start your journey and sculpt like a pro. No experience needed.
Continue Reading