Paint Prep Decision Assistant
Answer the questions below to get a personalized recommendation on whether to strip, scuff-and-prime, or simply repaint your surface.
You’re staring at a peeling door or a yellowed kitchen cabinet, and the question hits you: do I really have to strip all this old paint off before I start again? It’s tempting to just slap a new coat on top. After all, it saves hours of scraping, sanding, and breathing in dust. But here’s the hard truth: skipping the prep work is often what causes your fresh paint job to fail within six months.
The answer isn’t always "yes." Sometimes stripping is overkill; other times, it’s non-negotiable. It depends entirely on the condition of the existing layer, the type of paint underneath, and where the object lives. Let’s break down exactly when you need to grab that scraper and when you can get away with a quick scuff-and-prime.
When You Absolutely Must Strip
If the old paint is failing, you have no choice. Adhesion is the golden rule of painting. New paint needs a stable, sound surface to bond to. If the old layers are loose, they’ll take your new paint right off with them.
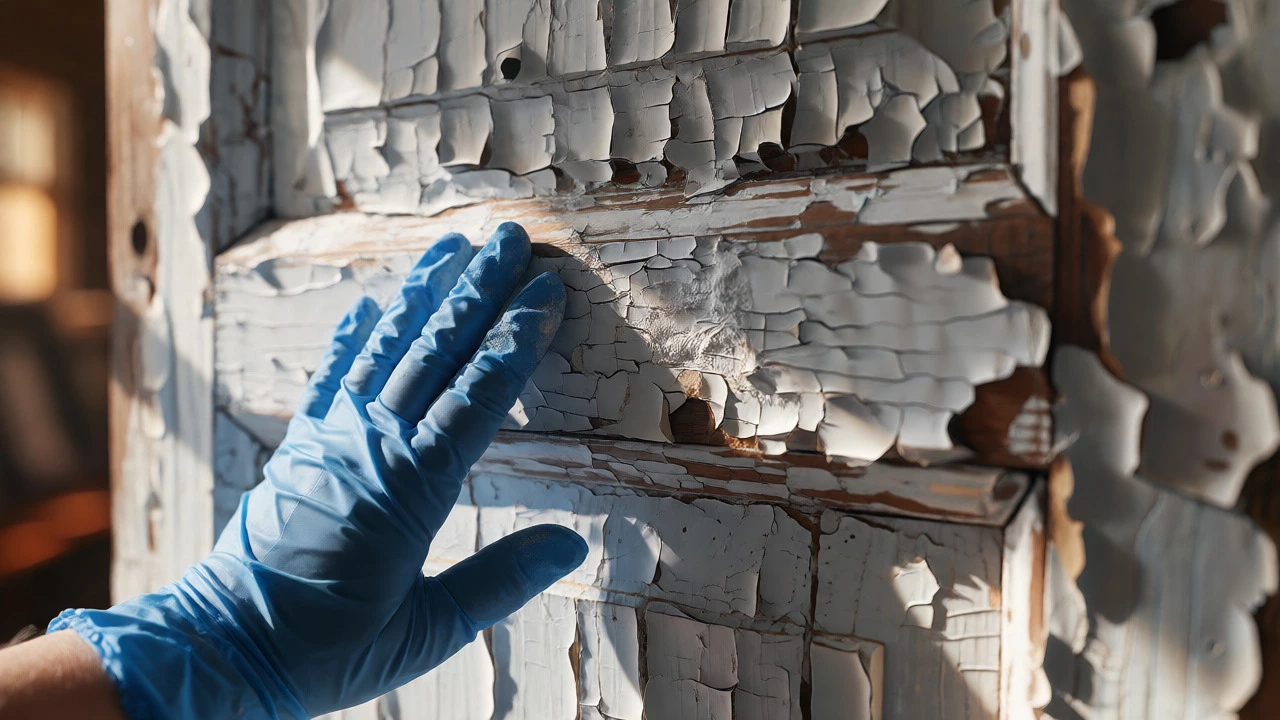
- Peeling or Flaking: If you run your hand over the surface and paint comes off in sheets, strip it. No primer can save a crumbling base.
- Chalking Surfaces: Rub your palm firmly against an exterior wall. If you get a cloud of colored powder on your hand, the binder has broken down due to UV exposure. This is called chalking. You must wash and strip until the chalk stops, or the new paint will simply sit on top like dust.
- Multiple Thick Layers: If there are more than three or four coats, especially on doors or windows, the edges become rounded and ugly. Stripping back to bare wood restores crisp lines and allows the new finish to look professional rather than bulky.
- Lead Paint Concerns: In homes built before 1978 (in the US) or generally pre-1970s elsewhere, white paint often contains lead. Sanding lead paint creates toxic dust. While you don't always have to strip it if it's intact, if you are sanding through to bare wood, you need to be extremely careful or hire a pro. If the paint is already deteriorating, removal is safer for long-term health.
When You Can Skip the Stripper
Not every project requires a full reset. If the current finish is solid, you can save yourself days of labor. The key here is adhesion testing.
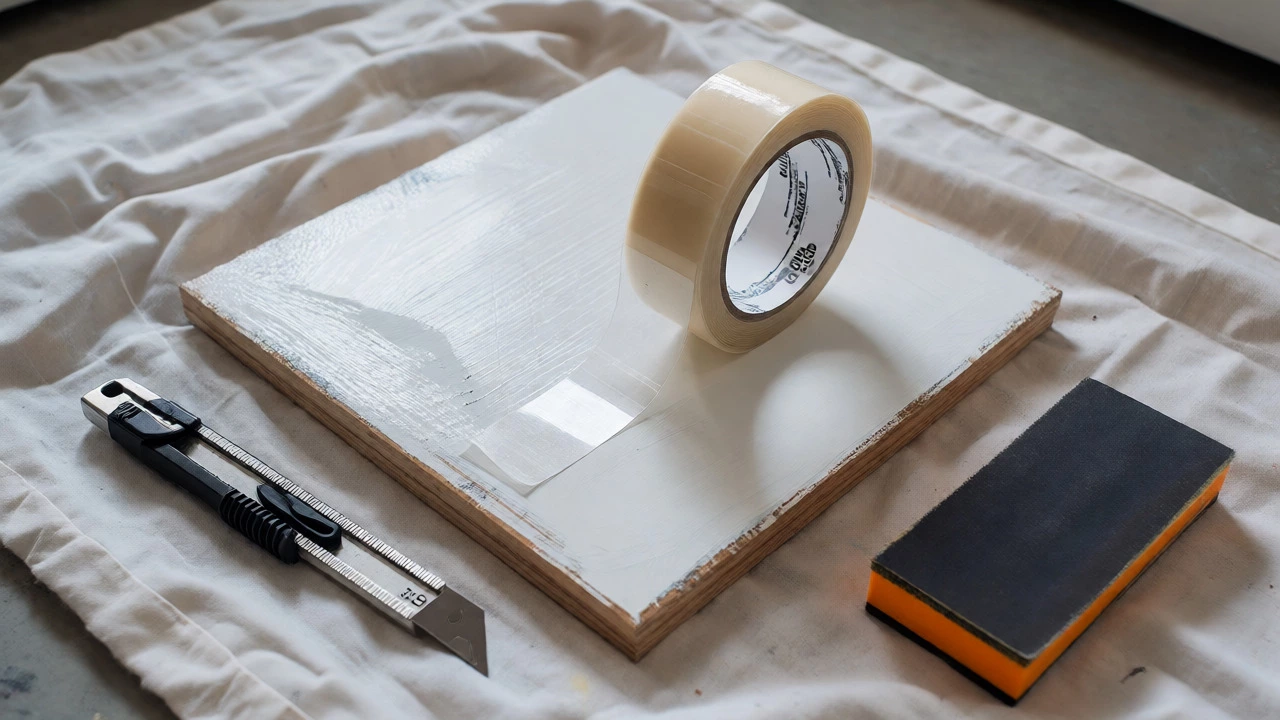
Try the cross-hatch test. Use a utility knife to cut a grid pattern into the paint, about 1cm squares. Press a piece of strong tape over the cuts and rip it off quickly. If paint pulls up, you need to strip. If the tape stays clean, the bond is strong.
You can usually skip stripping if:
- The Surface is Sound: No cracks, bubbles, or loose areas.
- You Are Going From Light to Dark: Covering a dark color with light paint might require more coats, but it doesn’t require stripping. Just use a high-quality blocking primer.
- Latex Over Latex: Modern water-based paints adhere well to each other. A thorough cleaning and a light sanding are usually enough.
The Oil vs. Latex Dilemma
This is the most common trap DIYers fall into. If you have old oil-based paint (common on trim, doors, and radiators in older homes), you cannot simply put latex (water-based) paint directly over it without prep. Oil and water don’t mix chemically. Latex will peel off oil paint like skin sunburned badly.
Do you have to strip the oil paint completely? Not necessarily. But you must degloss it. Oil paint cures to a hard, glossy shell. Latex needs tooth to grip. Here is the protocol:
- Clean Thoroughly: Use a trisodium phosphate (TSP) substitute to remove grease and grime. Oil paint attracts kitchen grease.
- Sand to Degloss: Use 120-grit sandpaper. You aren’t trying to remove the paint, just scratch the surface so it looks dull and matte everywhere.
- Prime Correctly: Apply a bonding primer designed for slick surfaces. Shellac-based primers (like Zinsser BIN) are excellent for blocking stains and sticking to oil.
- Topcoat: Now you can apply your latex finish.
If the oil paint is heavily cracked or thick, however, stripping is better. Cracks in oil paint will telegraph through latex, showing as visible lines forever.
Methods of Removal: Which One Fits Your Project?
Once you’ve decided to strip, choosing the method depends on the material and the amount of layers. Here is a comparison of the main approaches.
| Method | Best For | Pros | Cons |
|---|---|---|---|
| Chemical Strippers | Intricate furniture, moldings, multiple layers | Reaches crevices; less physical effort | Fumes; messy cleanup; slow process |
| Mechanical Sanding | Flat surfaces, small spots, final smoothing | Fast; precise control | Dust hazard; risk of gouging wood |
| Heat Gun | Thick layers on flat wood/brick | No chemicals; fast on thick coats | Risk of burning wood; fire hazard; uneven results |
| Wire Brush/Scraping | Loose, flaking paint only | Cheap; immediate | Labor-intensive; leaves scratches |
Chemical Strippers are the go-to for detailed work. Modern soy-based or citrus strippers are less harsh than the old methylene chloride formulas, though still potent. They soften the paint into a gel that you scrape off. Be warned: they smell, and they require neutralizing with mineral spirits or water depending on the brand.
Heat Guns are powerful tools. They bubble up paint instantly. However, they are unforgiving. Hold it too long, and you burn the wood, leaving black marks that bleed through primer. They also release toxic fumes from older paints. Use them outdoors or with heavy ventilation.
Safety First: Don’t Ignore the Dust
Old paint isn’t just annoying; it can be dangerous. As mentioned, lead is a real concern in older properties. Even without lead, paint dust irritates lungs and eyes.
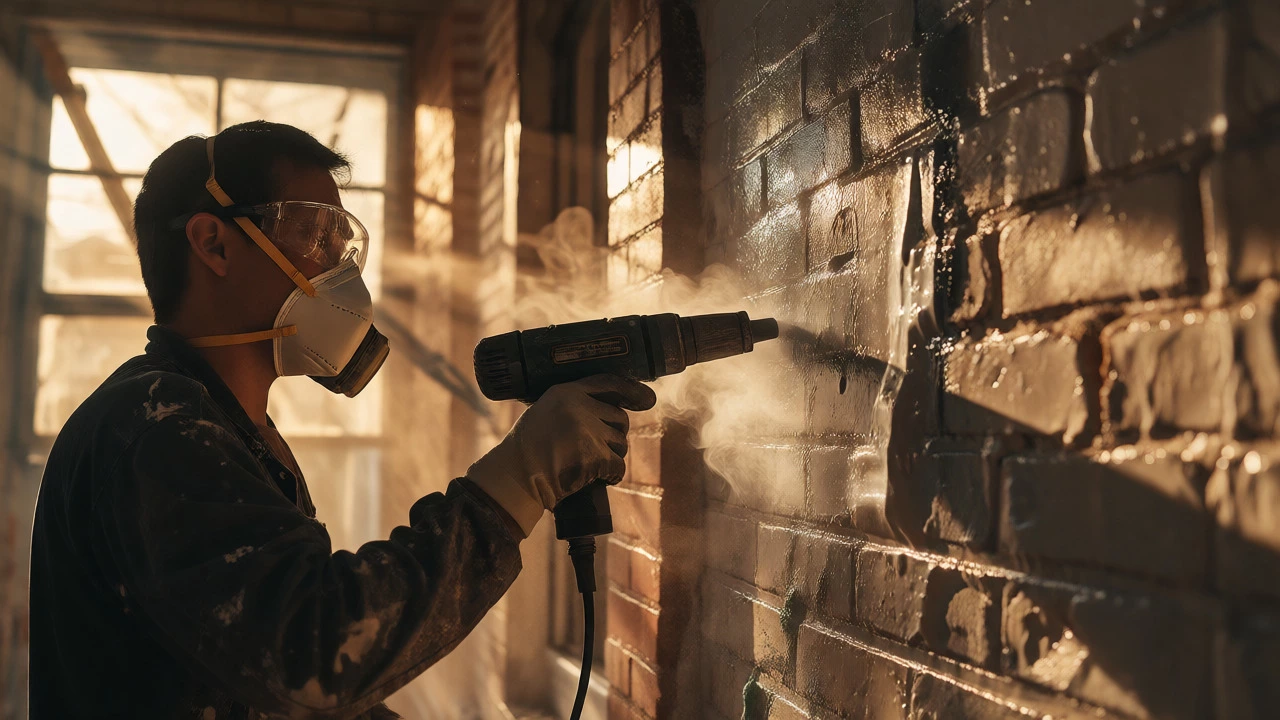
Always wear a N95 respirator mask, not just a surgical mask. Safety glasses are mandatory, especially when scraping overhead-gravity works against you. If you are using chemical strippers, nitrile gloves are essential. Some strippers penetrate latex gloves instantly.
Ventilation is critical. Open windows, use fans to blow air out, and never work in a sealed room when using solvents.
The Middle Ground: Scuff and Prime
For many interior walls and cabinets, full stripping is unnecessary. The "scuff and prime" method is the sweet spot between laziness and perfectionism.
1. Clean the surface with a degreaser. 2. Lightly sand with fine-grit paper (150-220 grit) to create a matte finish. 3. Wipe away all dust with a tack cloth. 4. Apply a high-adhesion primer. 5. Paint.
This works for 80% of repaint jobs. It fails when the substrate itself is compromised (rotting wood, damp plaster) or when switching incompatible paint types without proper bridging.
Special Case: Brick and Masonry
Stripping paint from brick is controversial. Many homeowners regret it. Paint traps moisture in porous brick. When you strip it, you expose the brick to weather. If the brick wasn’t painted originally, it might crumble faster once exposed. Furthermore, removing paint from rough brick texture is incredibly difficult. Chemical strippers get trapped in pores, requiring pressure washing, which can damage mortar joints.
Only strip brick if the paint is actively spalling (flaking off chunks of brick) or if you are committed to maintaining a natural look with regular sealing. Otherwise, repaint over it with a breathable masonry paint.
Final Decision Checklist
Before you buy stripper or rent a sander, ask these questions:
- Is the paint loose? Yes = Strip.
- Are there more than 3 layers? Yes = Consider stripping for aesthetics.
- Is it oil under latex? Yes = Sand and prime (don’t strip unless cracked).
- Is it lead paint? Yes = Test kit first. If positive, consider encapsulation instead of dry sanding.
- Is it brick? Yes = Think twice. Repaint might be safer.
Repainting is 90% preparation. The time you spend deciding whether to strip now saves you from redoing the whole job next year. Trust your eyes and the cross-hatch test. If the foundation is shaky, build anew. If it’s solid, reinforce and move forward.
Can I paint over old oil-based paint with latex?
Yes, but only after proper preparation. You must clean the surface, sand it thoroughly to remove the gloss (deglossing), and apply a high-quality bonding primer. Without this step, the latex will likely peel off because it cannot mechanically grip the smooth, cured oil surface.
How do I know if my old paint contains lead?
Homes built before 1978 in the US (or roughly pre-1970s in many other countries) are at higher risk. You can buy inexpensive lead test kits at hardware stores. These swab tests change color in the presence of lead. Always test before sanding or scraping unknown paint layers.
Is it worth stripping paint from brick?
Usually, no. Brick is porous and meant to breathe. Removing paint is difficult, expensive, and can damage the brick or mortar. Unless the paint is causing structural issues by trapping moisture, it is often better to repaint the brick with a breathable masonry paint rather than attempting to return it to its original state.
What is the best way to remove paint from intricate moldings?
Chemical strippers are the best option for intricate details. Mechanical sanding cannot reach deep grooves effectively, and heat guns can warp delicate wood. Apply a thick layer of chemical stripper, let it dwell until the paint bubbles, then scrub with stiff nylon brushes and rinse according to the product instructions.
Do I need to strip paint if I am changing colors drastically?
No, stripping is not required for color changes. Instead, use a tinted primer or a high-hide white primer. This blocks the old color and provides a uniform base for the new paint, ensuring true color representation without the labor of removal.